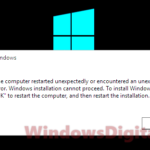
“Windows setup could not configure Windows to run on this computer’s hardware” is an error message that may show up during Windows 11 or Windows 10 installation or upgrade (from a previous Windows version). It will interrupt and stop the process halfway, and you won’t be able to continue with the install.
Page Contents
What could cause the error?
There are a few things that could cause the error, including corrupted installation files (particularly during a significant and major Windows update), issues with Windows Update services, Windows activation errors (if you’re fresh installing Windows that requires a license), errors in the OS system files, or conflicts between existing software.
To fix this, we have compiled a list of applicable solutions sorted by their importance. So, you do not need to go through all of them; you can just work your way down the list until a solution works for you.
If the error occurs during Windows 11 or 10 installation…
If you encounter the problem during Windows update, skip this fix. If you were installing Windows 10/11 and the error popped up, try the following steps:
On the exact screen where the error was shown, press Shift + F10 keys to open the command prompt directly from the screen. In the command prompt, enter the following two lines. Press the Enter key after each line.
CD C:\windows\system32\oobe
msoobe
The installation should now resume, and eventually be completed.
Check your hard disk status
If you suspect that your hard disk or its storage controller driver is causing the error, search for and download the appropriate drivers for your hard disk drive from Intel’s website on another computer with internet access. Burn the drivers to a CD or copy it onto a USB flash drive, and then run them on the problem PC during the setup.
If you have no access to the internet at the moment or you simply do not know what that driver is about or how to find it, try to install Windows onto another hard drive and see if the “Windows setup could not configure Windows to run on this computer’s hardware” problem persists.
If you encounter the error during Windows Update
The first thing to try is, of course, to restart your PC and re-run Windows Update. It could be that some of the installation files it downloaded earlier were corrupted or missing. Before you re-run Windows Update, go to this folder C:\Windows\SoftwareDistribution and move all the files to another folder (anywhere you like).
These are the installation files Windows Update had downloaded and is prepared to be installed. You can straight away delete them, but we encourage you to just move them to another location just in case you need them again later, you can still retrieve them.
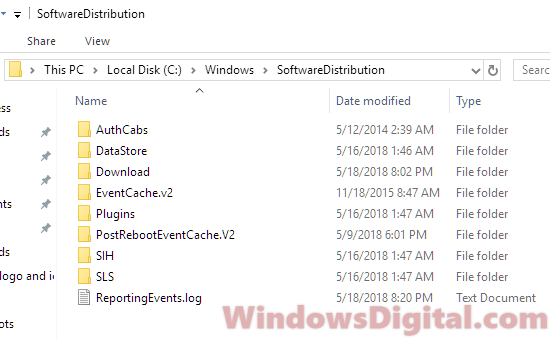
Generally, after removing the files in C:\Windows\SoftwareDistribution, Windows will re-download whatever it must when you run Windows Update again. So, try this and see if the problem can be fixed. If the same error shows up again, follow the next solution.
Run Windows Update Troubleshooter
The troubleshooters in Windows 11 and 10 have always been a hidden tool that most people neglect when they encounter a problem. For most Windows-related problems you encounter, the very first thing you should do is to run the troubleshooter for the problem area to see if it can resolve the issue automatically.
In this case, we should run Windows Update troubleshooter first. Follow these steps to do so:
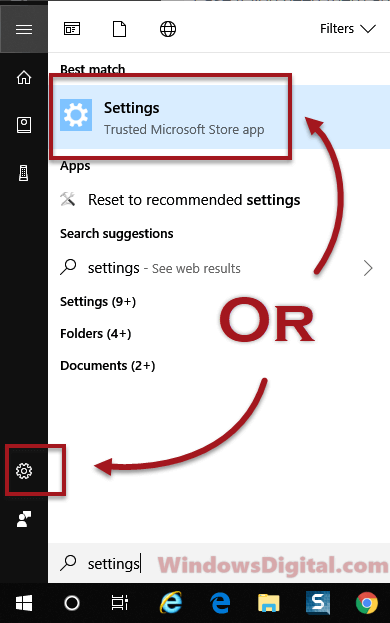
- Go to the Start menu or Windows Search.
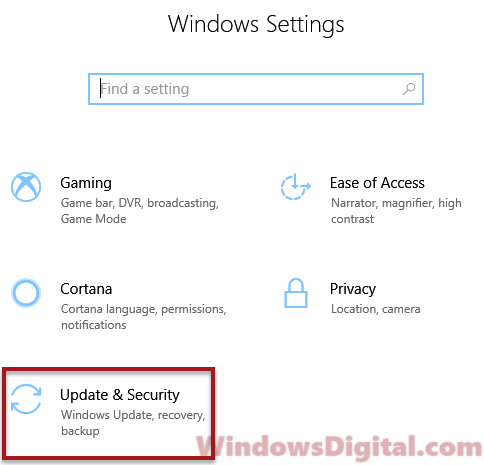
- Click on Settings, or search for “settings” and open it.
- Select Update & Security.
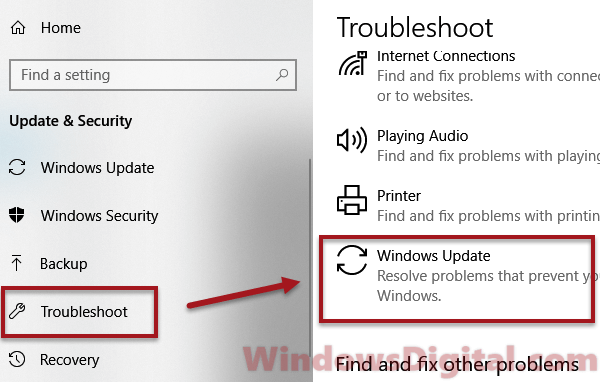
- From the left pane, select Troubleshoot.
- Select Windows Update, then click Run the troubleshooter.
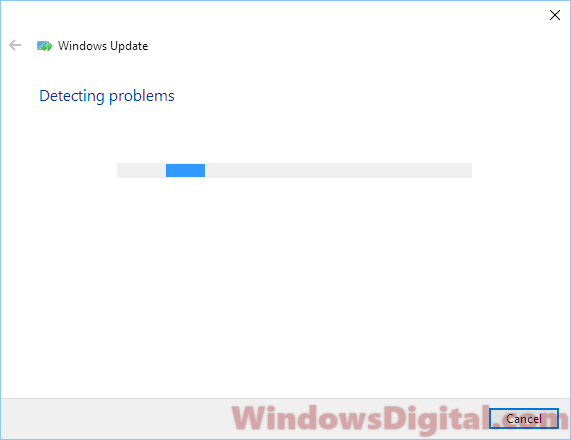
- Wait for the process to complete. Run Windows Update again when it’s completed.
Run DISM and SFC System file check
DISM (Deployment Image Servicing and Management) is a Windows built-in tool that automatically troubleshoots and fixes problems such as Windows Update issues. Meanwhile, SFC (System File Checker) is a tool that automatically scans and repairs missing or corrupted system files in the Windows OS. Both tools must be executed in the Command Prompt with administrative privileges. In our case, we will run SFC first and then DISM.
- Go to Windows Search.
- Search for cmd.
- Right-click command prompt from the search result, and select Run as administrator.
- In the command prompt, enter the following commands.
sfc /scannow
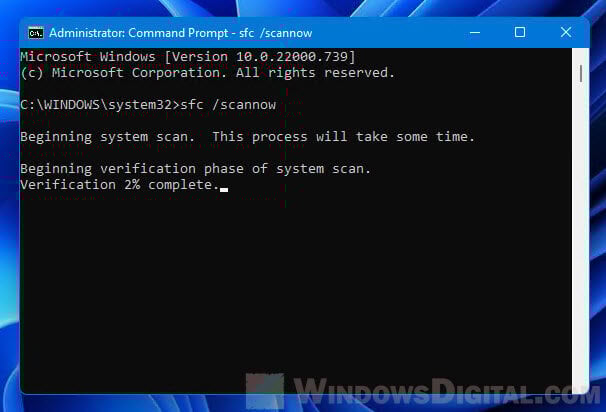
The process may take a while. When it’s completed, enter the following command to run the DISM check. Press the Enter key after each line of command:
Dism /Online /Cleanup-Image /RestoreHealth
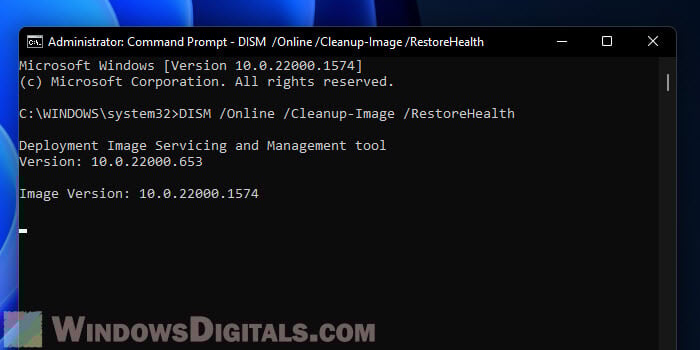
When both commands are executed, and their process completed, run Windows Update again. If the same error appears again, try the next solution.
Install the latest update via Update Assistant or Media Creation Tool
Windows Update can be installed via several other methods, such as using the update assistant or media creation tool. For major updates like the Windows April Update, we always recommend manually updating using the two mentioned tools.
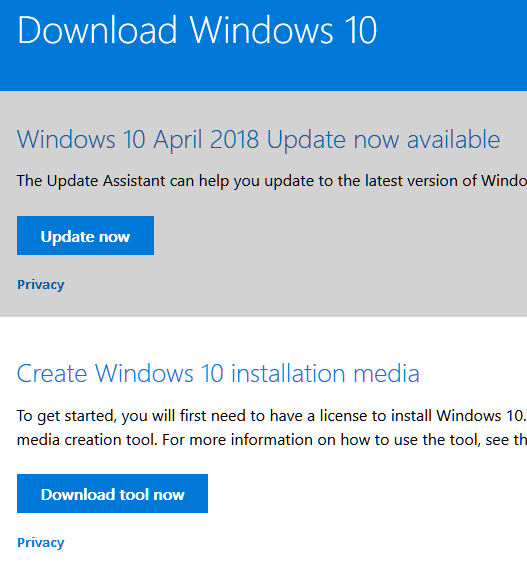
To run Windows Update Assistant, go to this page and download it. Run the tool, and it should automatically detect what is needed to be updated. Follow the on-screen instructions for the rest of the procedure.
To run the media creation tool, go to the same Microsoft’s page. Scroll down until you see media creation tool. Download and run the media creation tool. Select Upgrade this PC now. It should start the update right away.
