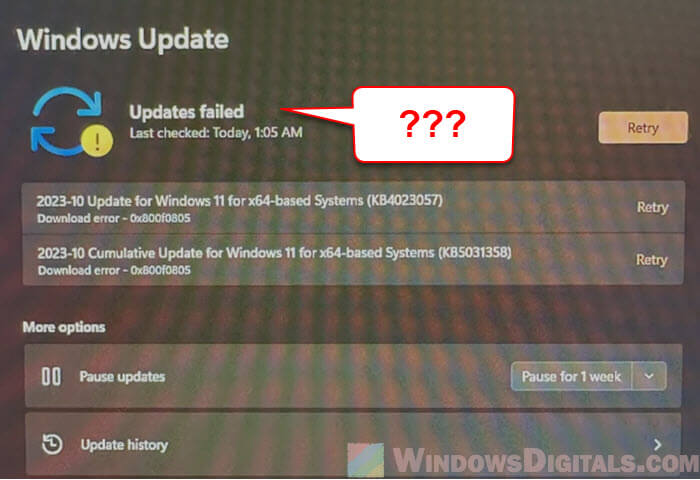
If you haven’t been able to update your Windows 11 for a long time because it fails every time you click the “Check for updates”, “Install now” or even the “Retry” button, this guide will show you what you can do to fix the issue.
Also see: How to Restart Windows Update Service on Windows 11
Page Contents
Why do Windows 11 updates keep failing?
One of the main reasons why Windows 11 updates fail and the “Retry” button doesn’t seem to work is because of problems connecting to the update server. This usually happens because your computer is missing some parts or settings that it needs to connect to the Windows Update server. Without these things, your computer can’t reach Microsoft’s update servers, and you end up stuck in an endless loop of failed attempts.
Some common reasons for this issue are:
- Corrupted update files or cache.
- Problems with Windows Update components like services or registry settings.
- VPN or proxy settings blocking the connection.
- An illegitimate Windows license.
Pro tip: How to Delete Windows Update Files in Windows 11
Reset Windows Update components manually
If your Windows updates keep failing no matter how many times you click on the “Retry” button, try resetting the Windows Update components. In most cases, resetting the Windows Update components can fix most issues caused by corrupted cache, disabled services, missing required DLLs, etc. You can do this by using built-in commands in Windows or with a tool called wureset (recommended for users who aren’t comfortable entering command lines). In the following, we’ll show you how to do it manually.
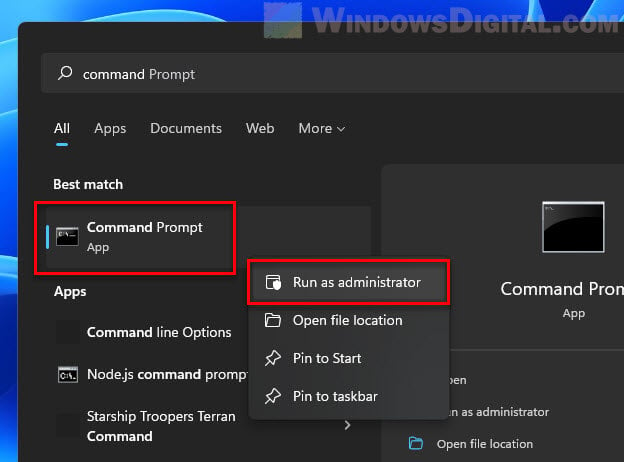
- Open Command Prompt as an administrator.
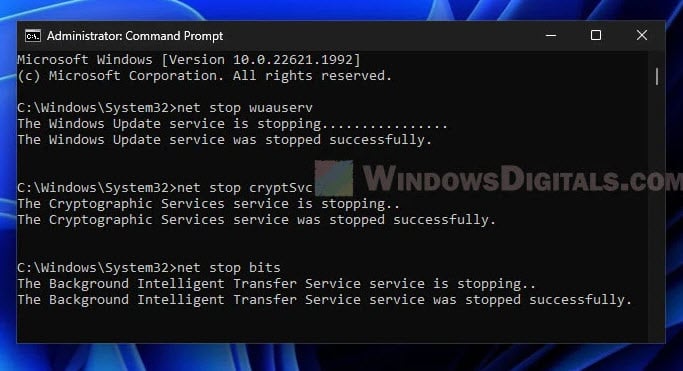
- To reset Windows Update components, you first need to stop a few services related to Windows Update that run in the background. Type the following commands one by one, and press Enter after each:
net stop bits
net stop wuauserv
net stop appidsvc
net stop cryptsvc
- Windows stores temporary installation files related to updates in the SoftwareDistribution folder. Deleting the files in this folder will get rid of corrupted caches and allow Windows Update to start fresh.
Del "%ALLUSERSPROFILE%\Application Data\Microsoft\Network\Downloader\*.*"
- You need to rename the SoftwareDistribution and catroot2 folders so that Windows creates new copies of these folders:
Ren %systemroot%\SoftwareDistribution SoftwareDistribution.bak
Ren %systemroot%\system32\catroot2 catroot2.bak
- To make sure the right permissions are set, reset the security descriptors for the Background Intelligent Transfer Service (BITS) and Windows Update services:
sc.exe sdset bits D:(A;;CCLCSWRPWPDTLOCRRC;;;SY)(A;;CCDCLCSWRPWPDTLOCRSDRCWDWO;;;BA)(A;;CCLCSWLOCRRC;;;AU)(A;;CCLCSWRPWPDTLOCRRC;;;PU)
sc.exe sdset wuauserv D:(A;;CCLCSWRPWPDTLOCRRC;;;SY)(A;;CCDCLCSWRPWPDTLOCRSDRCWDWO;;;BA)(A;;CCLCSWLOCRRC;;;AU)(A;;CCLCSWRPWPDTLOCRRC;;;PU)
- Next, re-register the necessary update DLL files:
cd /d %windir%\system32
regsvr32.exe /s atl.dll
regsvr32.exe /s urlmon.dll
regsvr32.exe /s mshtml.dll
regsvr32.exe /s shdocvw.dll
regsvr32.exe /s browseui.dll
regsvr32.exe /s jscript.dll
regsvr32.exe /s vbscript.dll
regsvr32.exe /s scrrun.dll
regsvr32.exe /s msxml.dll
regsvr32.exe /s msxml3.dll
regsvr32.exe /s msxml6.dll
regsvr32.exe /s actxprxy.dll
regsvr32.exe /s softpub.dll
regsvr32.exe /s wintrust.dll
regsvr32.exe /s dssenh.dll
regsvr32.exe /s rsaenh.dll
regsvr32.exe /s gpkcsp.dll
regsvr32.exe /s sccbase.dll
regsvr32.exe /s slbcsp.dll
regsvr32.exe /s cryptdlg.dll
regsvr32.exe /s oleaut32.dll
regsvr32.exe /s ole32.dll
regsvr32.exe /s shell32.dll
regsvr32.exe /s initpki.dll
regsvr32.exe /s wuapi.dll
regsvr32.exe /s wuaueng.dll
regsvr32.exe /s wuaueng1.dll
regsvr32.exe /s wucltui.dll
regsvr32.exe /s wups.dll
regsvr32.exe /s wups2.dll
regsvr32.exe /s wuweb.dll
regsvr32.exe /s qmgr.dll
regsvr32.exe /s qmgrprxy.dll
regsvr32.exe /s wucltux.dll
regsvr32.exe /s muweb.dll
regsvr32.exe /s wuwebv.dll
- Then, reset the Winsock and proxy settings with these commands:
netsh winsock reset
netsh winsock reset proxy
- Finally, restart the services you stopped earlier:
net start bits
net start wuauserv
net start appidsvc
net start cryptsvc
After completing all the above steps, try running Windows Update again to see if the issue is fixed.
Use the Media Creation Tool for an in-place upgrade
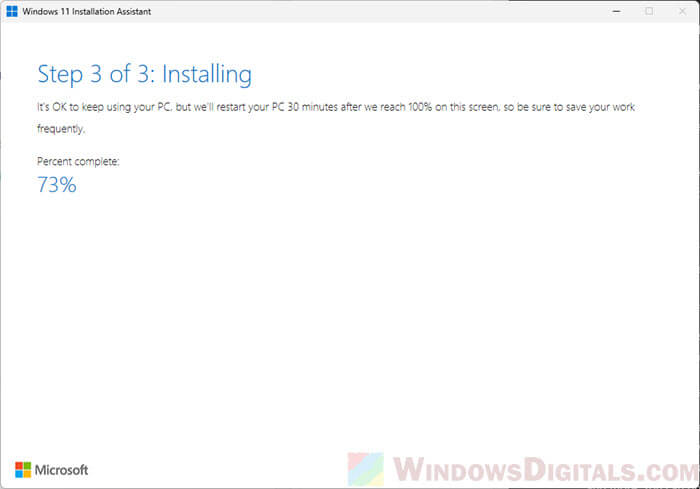
If resetting the Windows Update components doesn’t solve the problem, another good way to force update your Windows 11 to the latest version is by using Windows 11 Installation Assistant or its ISO. These tools let you reinstall and update Windows 11 without deleting your apps or files.
- Go to the official Microsoft website and download the Windows 11 Installation Assistant.
- Run the Installation Assistant and follow the instructions to continue with the installation. Windows will automatically be updated to the latest version.
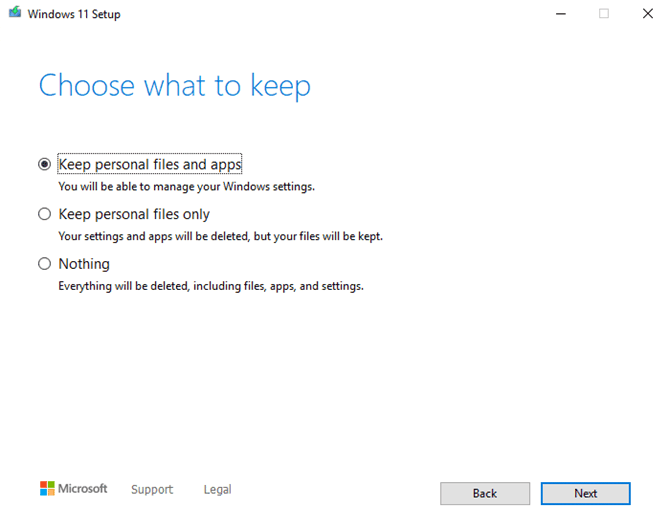
If the Installation Assistant doesn’t work to update your Windows 11 correctly, you can try downloading and using the Windows 11 disk image (ISO) instead. Once downloaded, open the “setup.exe” and select “Keep personal files and apps” when you’re asked to choose what to keep. Follow the instructions to continue with the installation.
This method will make sure that all the important system files are replaced and updated, which should fix most update issues.
Make sure you have a legit Windows license
Another pretty common reason Windows updates will almost always fail is if you are using a fake or pirated copy of Windows 11. Make sure that your Windows license is legitimate and activated. If your Windows isn’t activated, you may not be able to download and install updates, since the update server could block your PC.
To check if your Windows license is valid, follow the steps below:
- Open Settings.
- Go to System > Activation.
- Check the activation status.
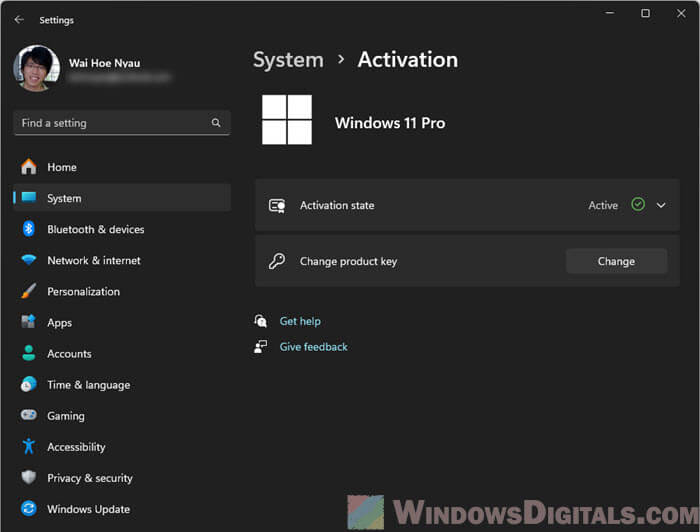
If Windows isn’t activated, consider buying a valid license so you can keep getting updates.
Check for VPN or proxy settings
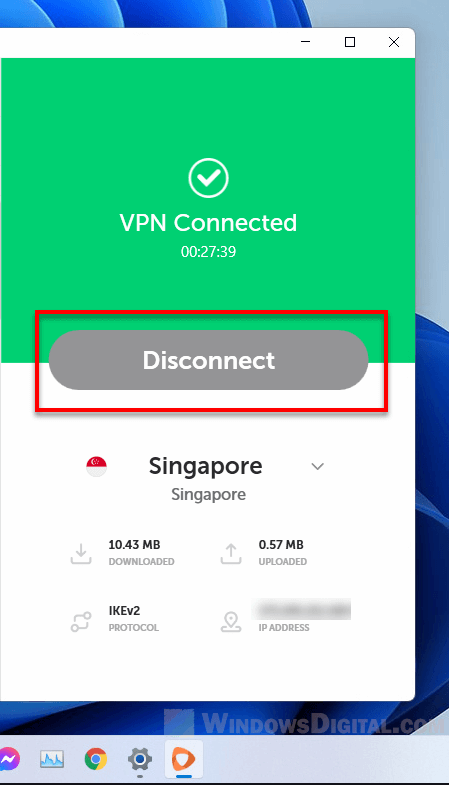
VPN or proxy settings can also be the culprit that stops your computer from connecting to the Windows Update server. If you use a VPN or have a proxy set up, try turning them off and running the update again.
- Open your VPN software and click on the disconnect button.
- Go to Settings > Network & Internet > Proxy. Turn off any proxy settings that are on.
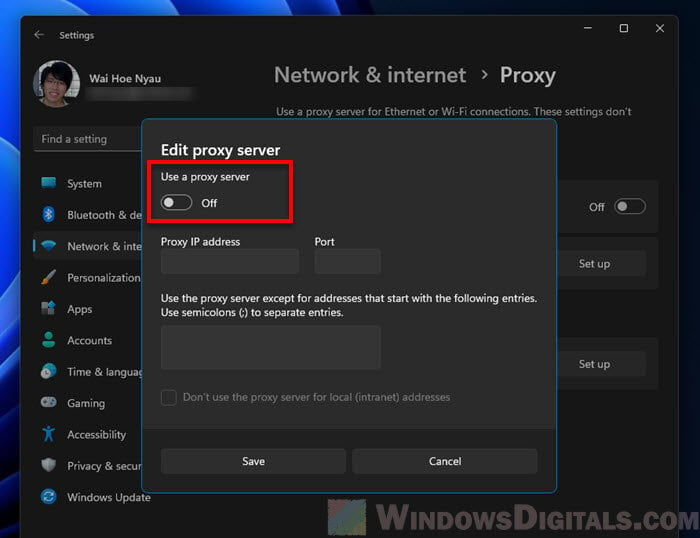
Once you have turned off the VPN or proxy, try the Windows Update again.
Manually download the update from the Microsoft Update Catalog
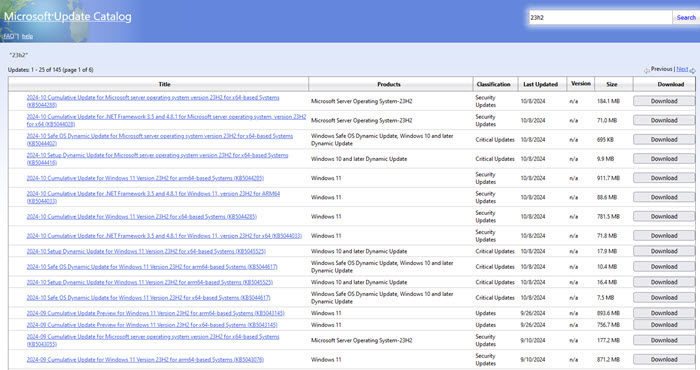
If you feel confident, you can try manually downloading the update that failed. Each update has a unique KB (Knowledge Base) number, which you can use to find the update package in the Microsoft Update Catalog.
- Go to Settings > Windows Update and find the KB number of the update that failed.
- Go to the Microsoft Update Catalog and search for the update using the KB number.
- Be sure to download the version of the update that matches your system (32-bit or 64-bit). Once downloaded, open the installer and follow the instructions to install the update package.
