Meta (Oculus) Quest 3 and its predecessors – Quest 2, Quest and even Rift S, allow you to take screenshots of what you’re seeing in your headset right from the device. As for video recording, only the Oculus Quest headsets have this feature. For Rift S, you will need external software to do it. So, where are all these screenshots and recorded videos stored after you’ve taken them?
Also see: How to Enable File Transfer Between Quest 3 and PC
Page Contents
Quest 3 screenshots and recorded videos location
When you take a screenshot or record a video on your Quest 3 VR headset, the screenshot or video will be stored locally on the headset. To access them, you have two choices:
- Use the share button that appears right after you’ve taken the screenshot or recorded the video to share the media files through apps like WhatsApp or others.
- Access the headset folders through File Explorer via your PC.
Using the share button
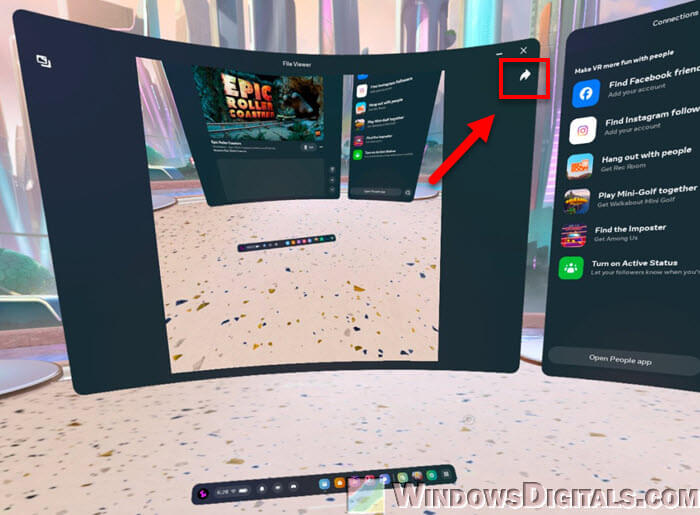
After you’ve taken a screenshot, you will see a button that says “Photo saved – You can view or share your photo now“. You can click on it to view the photo and then proceed by clicking the share button at the top right corner of the window to share it.
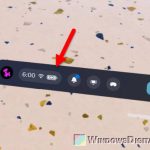
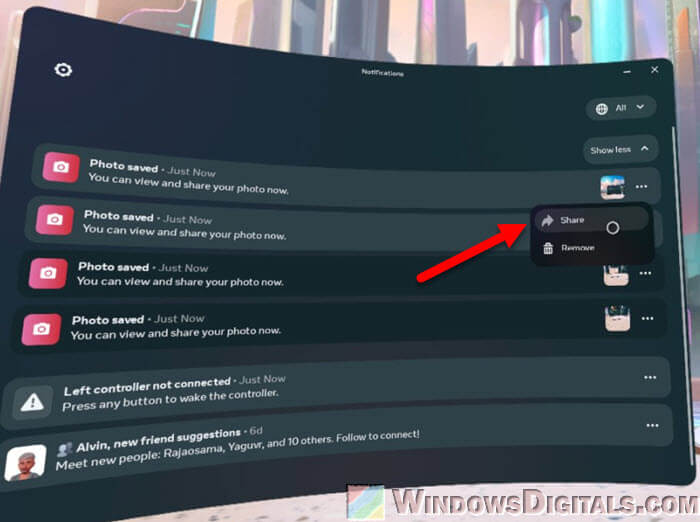
If you missed the “Photo saved” popup, you can view the photo again from the notification area. Just click the notification bell icon from the quick menu to access it.
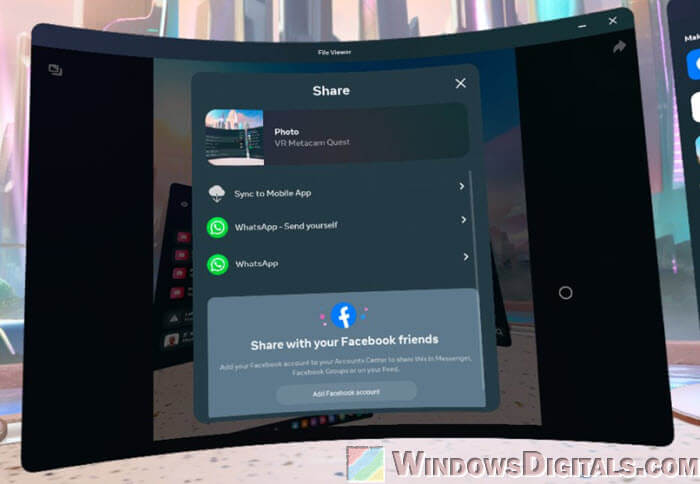
Once you’re on the share menu, you can select to share it via available platforms such as WhatsApp or Facebook. You can choose to send it to yourself too.
Pro tip: WiFi 5 vs WiFi 6 vs WiFi 6E for Virtual Desktop (VR)
Using File Explorer on a PC
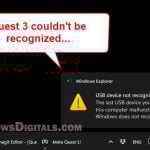
Another way to access your taken screenshots or recorded videos is through file transfer (MTP) between your Quest 3 headset and a PC via a link cable. Here’s how to do it:
- Connect your Quest 3 to your PC via a link cable and enable file transfer between them.
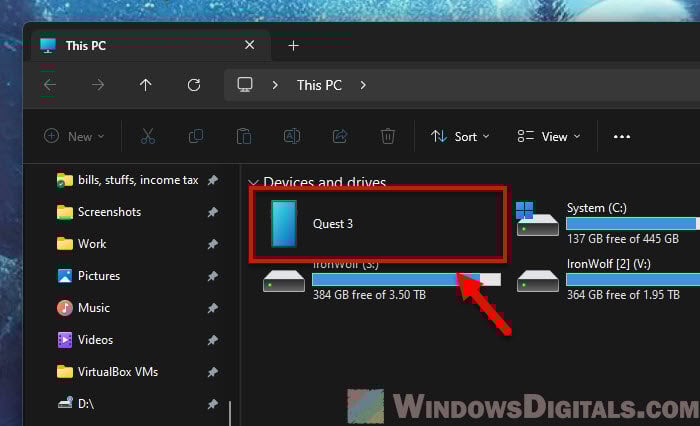
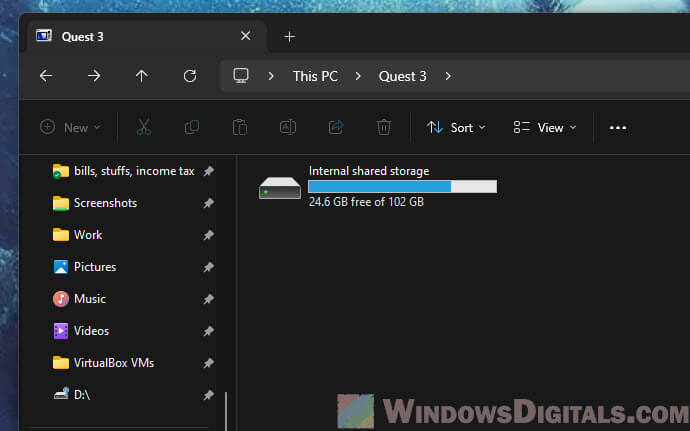
- Open File Explorer on your PC and go to the “This PC” section.
- Open the “Quest 3” device.
- Select “Internal shared storage“.
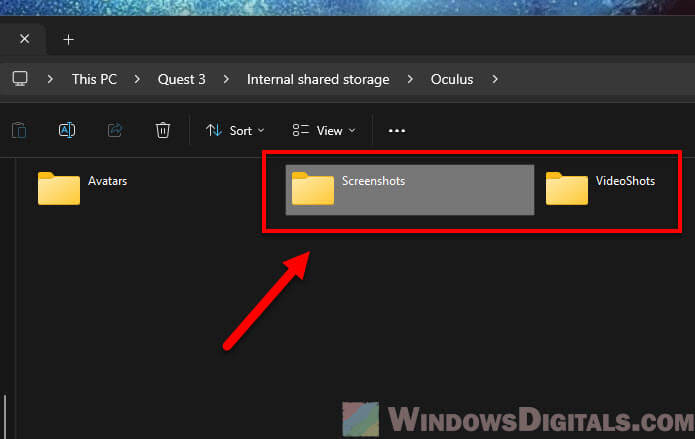
- Go to the “Oculus” folder.

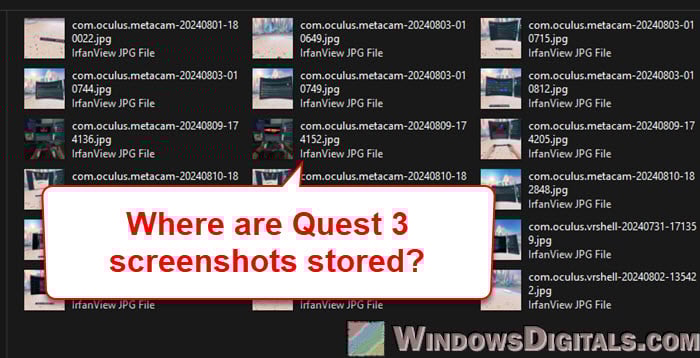
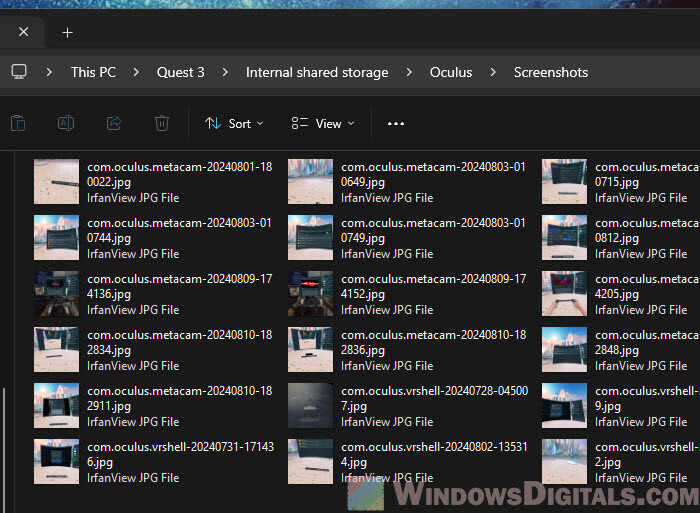
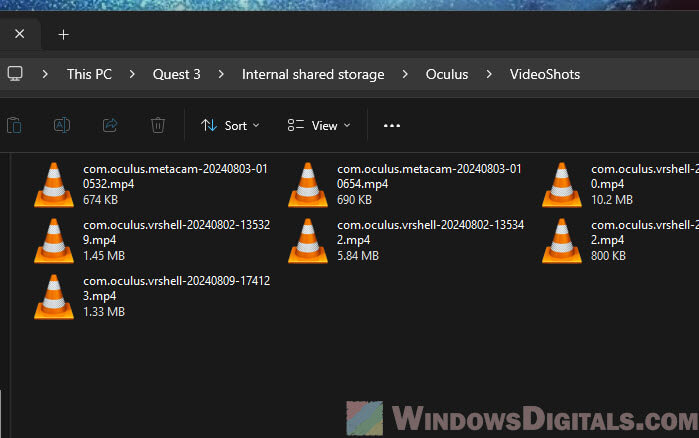
- Open the “Screenshots” or the “VideoShots” folder, depending on what you’re looking for.
- Now, you should see all the screenshots or videos you’ve taken on your Quest 3 VR headset.
After accessing the screenshots or videos, you can copy them anywhere on your PC and use them however you want.
Linked issue: Meta Quest 3 “General Device Problem” in Link (Cable)
You might want to clear the screenshots and recorded videos sometimes
If you don’t delete the photos or videos after copying or using them, they will stay on your device until you clear them. If storage is a concern, especially for 128GB models, you might want to clear them to free up some space.
This is especially important when you record a lot of videos on your Quest 3, as videos tend to take up much more storage space than screenshots.
Might be useful: How to Find the Best Channel for Your WiFi (VR)
What if I don’t have a link cable?
Other than the sharing method (usually through WhatsApp or Facebook), you might need to sideload a third-party file explorer app that lets you do wireless file transfer. The problem is that you will need to enable developer mode to sideload apps, and enabling developer mode for your Quest 3 headset is a pretty big topic and advanced thing to do.
If you’ve already enabled developer mode for your Quest 3, you can just use the SideQuest app to connect your headset wirelessly. That will also allow you to access your Quest 3 files wirelessly.