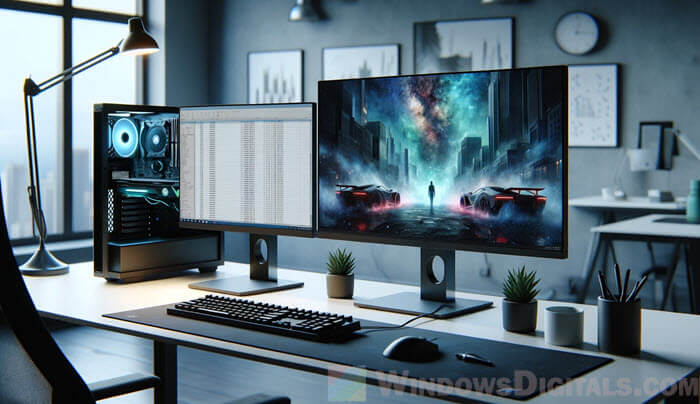
Is your graphics card not giving you enough ports to connect all your monitors? And you’re wondering if you can also use your computer’s built-in graphics at the same time? You’re in the right place. Using both your onboard graphics and a separate graphics card can help you connect more monitors for work, gaming, or just enjoying your media. This guide will show you how to check if your computer can handle it, and how to set it up in Windows 11.
Also see: Force App or Game to Use Nvidia GPU or Integrated Graphics
Page Contents
Why use both onboard and dedicated graphics?
Many people use both types of graphics so that they can use one more monitor. This can be a big help if all the ports on your main GPU are already used up.
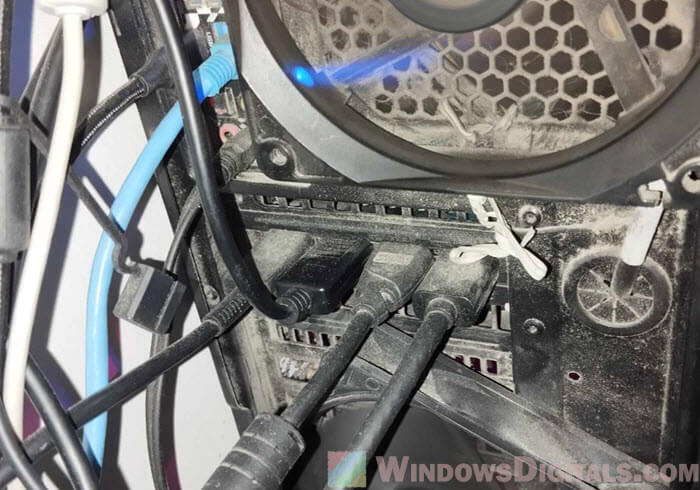
In a sense, using both can also help share the burden of graphics processing (in certain situations), and slightly increase your PC’s performance. For example, you can let your main GPU focus on heavy-duty games or video editing, while the onboard graphics handle less demanding things like viewing a webpage, etc.
Having both options also helps if one fails, and it gives you more ways to connect different displays and devices.
Might be useful: Check Graphics Card on Windows 11/10 (NVIDIA, AMD or Intel)
Check if your hardware supports running both graphics cards at the same time
Before you plug everything in, it’s important to make sure your motherboard can actually handle both onboard and dedicated graphics at the same time.
Check the motherboard manual
First, grab your motherboard’s manual. It’s the best way to get detailed info about what your motherboard can do, including whether it can run both types of graphics.
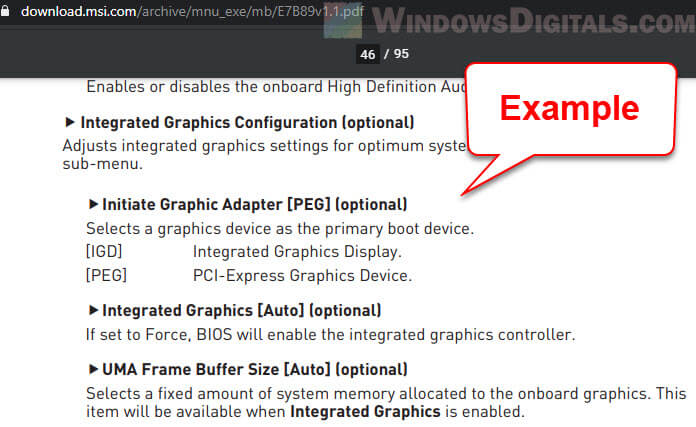
Look at the motherboard
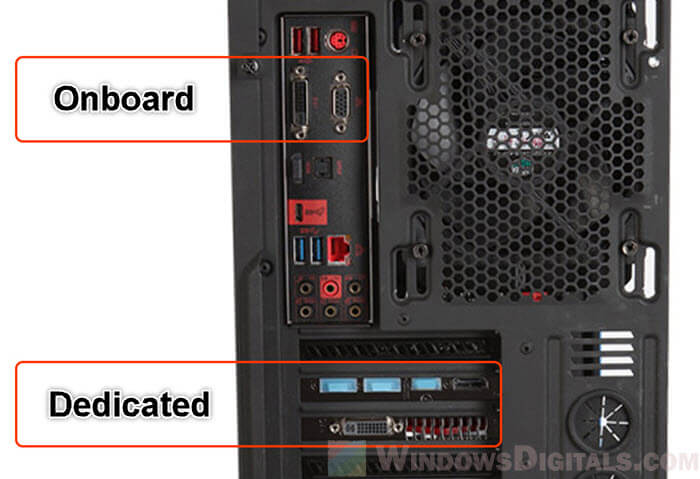
Take a look at your motherboard. If you see video output ports like HDMI, DVI, or VGA, that means it can do onboard graphics. This shows that your CPU and motherboard are set up to manage basic display tasks even without a dedicated graphics card.
Check the CPU
Not all CPUs come with integrated graphics. Check your CPU’s specs on the manufacturer’s website to make sure it supports onboard graphics.
BIOS/UEFI settings
Sometimes, the feature to run both graphics systems is turned off by default in the BIOS/UEFI. You’ll need to go into these settings to check for an option like “IGPU Multi-Monitor,” “Integrated Graphics,” or “Onboard VGA” and turn it on.
Is it compatible with your OS?
Make sure that your operating system, like Windows 11, supports using multiple displays. Most new operating systems do, but it’s better to double-check.
If you’re still unsure, visiting the motherboard manufacturer’s website or online forums like Reddit might help you find more details and user experiences about using dual graphics setups on your specific hardware.
Linked issue: Second monitor not detected Intel HD Graphics Windows 11/10
How to set up onboard and dedicated graphics in Windows 11
To get both your onboard graphics and a dedicated video card working together, follow the steps below.
- Restart your computer.
- Press the key to enter BIOS/UEFI settings (usually F2, F10, DEL, or ESC, depending on the manufacturer).
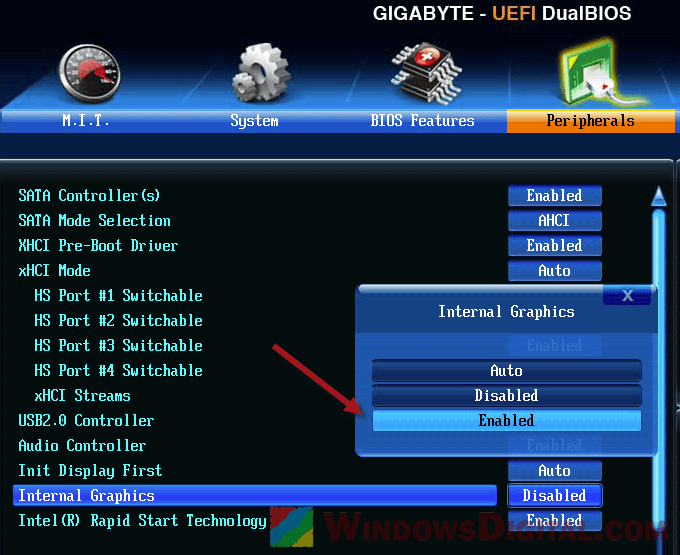
- Navigate to the graphics settings. Look for options like “IGPU Multi-Monitor,” “Integrated Graphics,” or similar.
- Enable the onboard graphics alongside the dedicated GPU. Save changes and exit BIOS/UEFI.
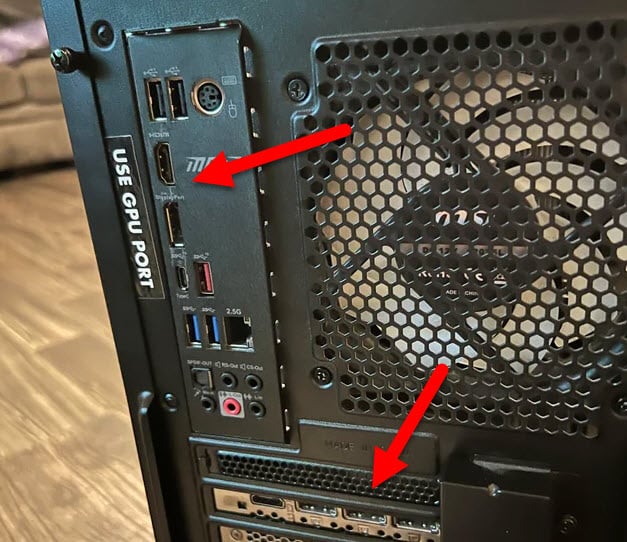
- Connect your primary monitor to the dedicated graphics card using its available ports.
- Connect the second monitor to the onboard graphics port on the motherboard. This could be HDMI, VGA, DVI, or DisplayPort, depending on your motherboard.
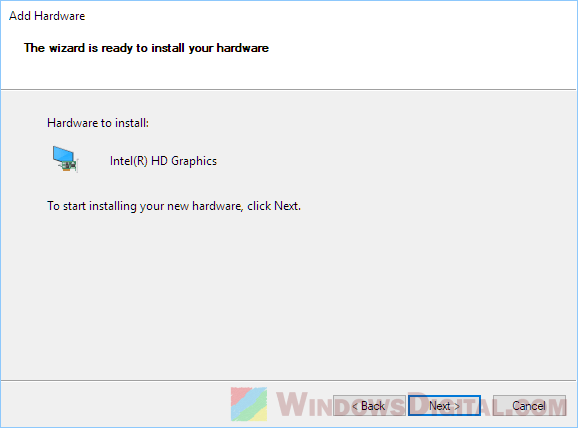
- Make sure you have the latest drivers for both your onboard graphics (usually from the CPU or motherboard manufacturer) and your dedicated graphics card.
- You can download these from the manufacturers’ websites and follow their installation guides.
- Right-click on your desktop and select “Display settings.”
- Both monitors should be detected here. If not, click on “Detect” to find the second monitor.
- Arrange the display order by dragging the numbered boxes to match your physical setup.
- Set the primary display as per your preference.
- Adjust the resolution and orientation for each monitor as needed.
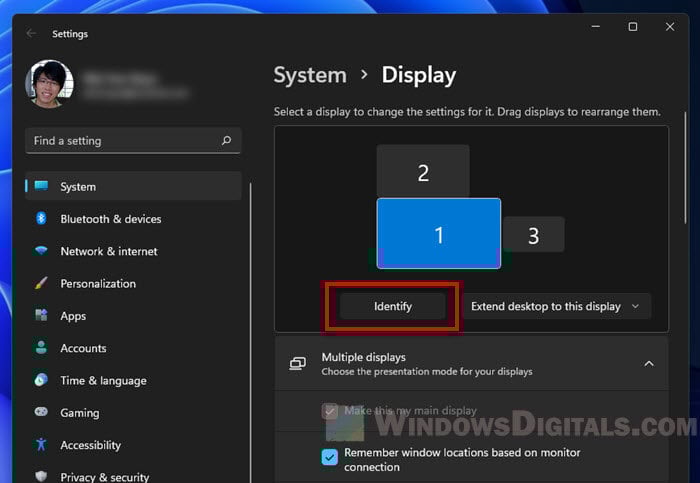
- In Windows 11, you can tell certain apps to use a specific graphics card.
- Go to Settings > System > Display > Graphics.
- Choose an app and select “Options.” Here, you can pick which graphics card the app should use.
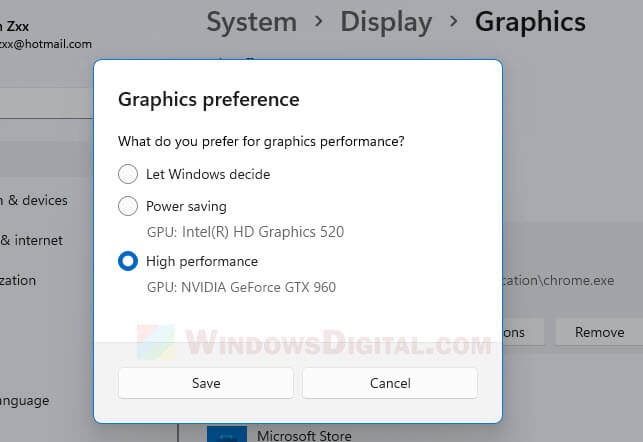
- Try running different apps on each monitor to test your setup. Watch how they perform and make sure everything is stable.
- If something isn’t working right, double-check the connections, settings, and driver installations.
Related problem: Game Stuttering and Lag on Dual Monitor (Fix)
Some common issues when using both integrated and dedicated graphics simultaneously
Monitors not detected
If your computer doesn’t recognize one or both monitors, check the connections to make sure the cables are plugged in right. If they are, try turning everything off and on again. If that doesn’t work, try updating or reinstalling the graphics drivers.
Similar issue: Intel HD Graphics: This computer does not meet the minimum
Problems in the BIOS/UEFI settings
If you can’t find the right BIOS/UEFI settings for dual graphics, check the motherboard’s manual for directions. If you still have questions, you should try to contact the manufacturer’s customer support or ask people on online forums regarding your motherboard’s model.
Lag and stuttering
If you’re seeing slower performance or lag, check your Windows power settings and set them to “High performance.” And don’t forget about cooling; if your system gets too hot, it might slow down to prevent further damage.
Some app might not work well this way
Older apps might not work well with dual graphics. You can run them in compatibility mode to help. For apps that are slow or have errors, try manually assigning them to the right GPU in Windows graphics settings.
Change the display resolution
If you have problems with resolution or quality, adjust the display settings for each monitor. Also, make sure you’re using good-quality cables, especially for higher resolutions.
