Video recording is an amazing extra feature that has been recently added to the Snipping Tool in Windows 11. You can now record video with just the Snipping Tool without the need to install any third-party screen recorder app. But there is a fairly common issue where some users find that their recorded videos have no sound, which means the audio isn’t getting recorded at all. This guide will talk about this problem and what you can do to include the audio in your video recording with Snipping Tool.
Also see: How to Record a Video of Your Screen with Sound on Windows 11 or 10
Page Contents
Make sure to enable “Include system audio” in Snipping Tool
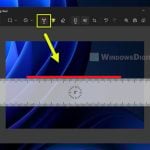
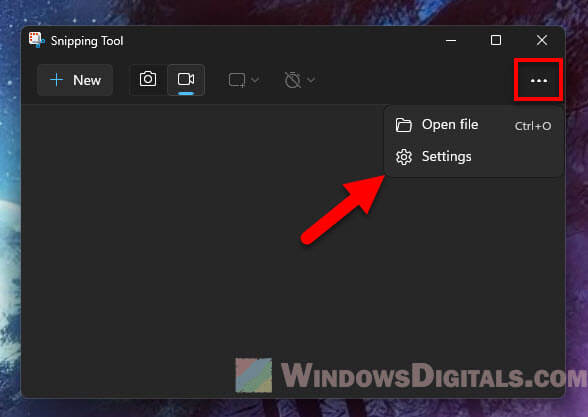
When you want to capture sound in your video recordings with the Snipping Tool on Windows 11, it’s important to check a few settings first. Open the Snipping Tool, click on the three dots in the top right corner, and select Settings.
Make sure these two options are on:
- “Include system audio by default when a screen recording starts” – This lets the Snipping Tool pick up any audio your computer is playing, like music or video sounds.
- “Include microphone input by default when a screen recording starts” – If you want to record your voice with the system sounds, turn this option on. It captures audio from your mic along with any other system sounds.
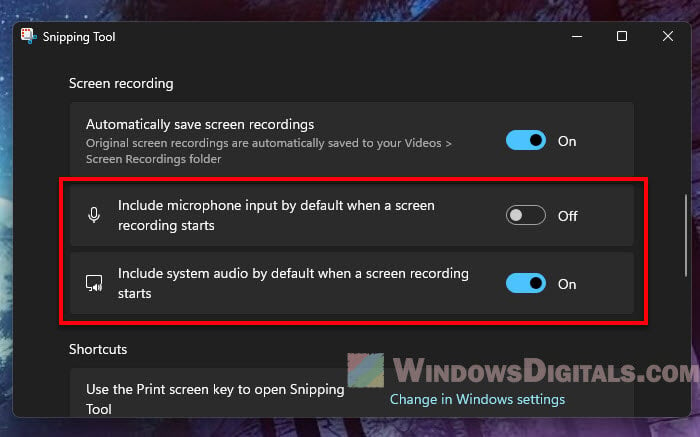
Turning on these settings makes sure your recordings include both the computer sounds and any audio from your mic. If you don’t turn these on, the Snipping Tool will just record the video without any sound.
Related problem: Snipping Tool No Video Recording Option, Why?
Avoid changing audio inputs during recording
To have a smooth video recording with sound, make sure your audio inputs are well connected before you start, and try not to change the audio inputs in the middle of the recording process.
- If you plan to use headphones, earphones, or an external mic, connect them to your computer first before starting your screen recording. This helps the Snipping Tool use the right audio source from the start.
- Once you start recording, avoid switching audio devices during the recording. If you plug in headphones after starting, it could mess up the sound capture. The Snipping Tool might stop recording sound or switch to another audio source unexpectedly.
Might be useful: Record Internal Audio on Windows 11/10 without Microphone
Check if your audio is muted
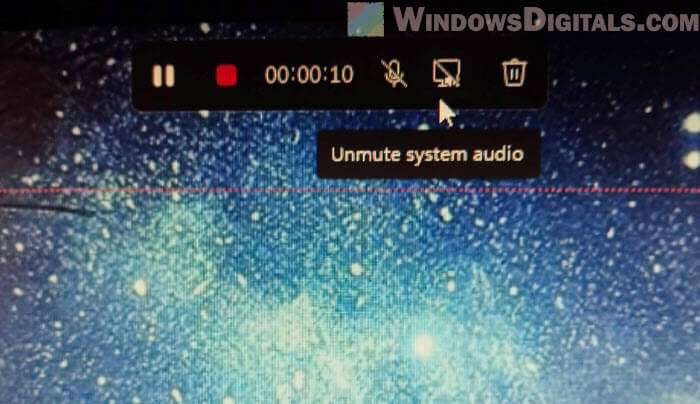
You should also double check that your audio isn’t muted (intentionally or accidentally) during a recording.
Keep an eye on the audio icons in your system tray or on your recording interface. Make sure they don’t show a muted symbol. If they do, you might need to unmute them or check your sound settings.
If your system audio is muted and you can’t unmute it, try restarting the app or your computer and see if the issue can be resolved.
Pro tip: How to Hear Yourself on Mic in Windows 11
Enable “Stereo Mix” or “Internal Aux Jack”
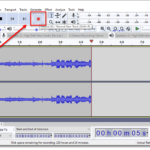
Sometimes, even if you set everything up right, your recordings might miss the audio. This can happen if the audio is routed in a way that the Snipping Tool can’t pick it up. To fix this, try to enable Stereo Mix or Internal Aux in your sound settings (if your sound card supports them).
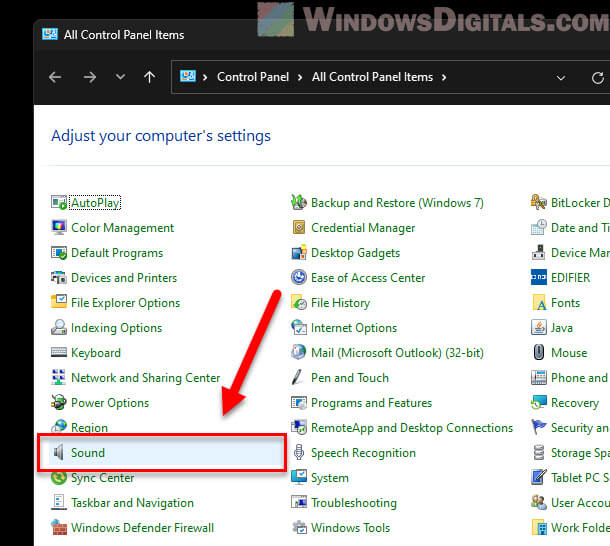
- Search for “Control Panel” in the Windows search bar and open it.
- Click on “Hardware & Sound,” then “Sound” (or just “Sound” if your control panel is showing all the items already).
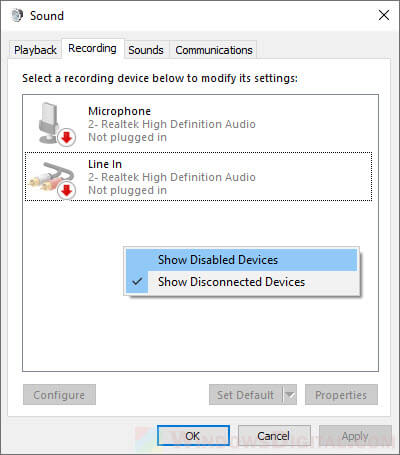
- In the Sound window, click on the “Recording” tab. Right-click on an empty space and make sure “Show Disabled Devices” is checked.
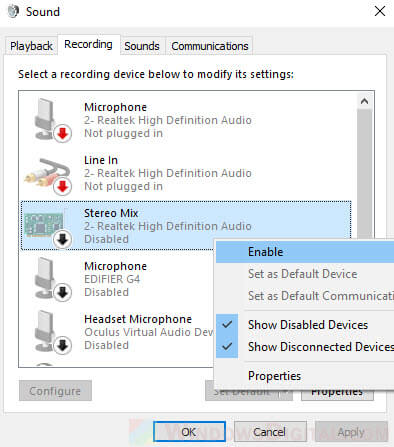
- Look for “Stereo Mix” in the list. If it’s off, right-click on it and choose “Enable.” This lets your system record all sounds played on your computer, no matter the source.
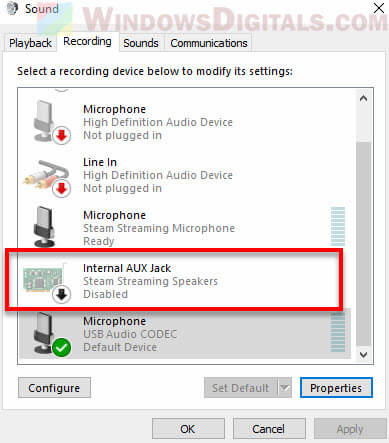
- If Stereo Mix isn’t available, look for “Internal Aux Jack” or a similar option and try turning it on. This also captures audio directly from your system.
Linked issue: Stereo Mix in Windows 10 or 11 Missing?
Enabling Stereo Mix is especially important for capturing audio from different sources at the same time.
Make sure Snipping Tool has permission to use your microphone
To successfully record audio with the Snipping Tool, it must have permission to access and use your microphone. This is especially important after an update or if you’re setting up the tool for the first time. Here’s how to check:
- Press Win + i keys to open Settings. Go to Privacy & Security.
- Scroll to the Microphone section under App Permissions and click it.
- Check the list of apps with microphone access. Ensure the Snipping Tool is listed and its access is turned On. If it’s not or if it’s disabled, you might need to turn it on or figure out why it’s not asking for access.
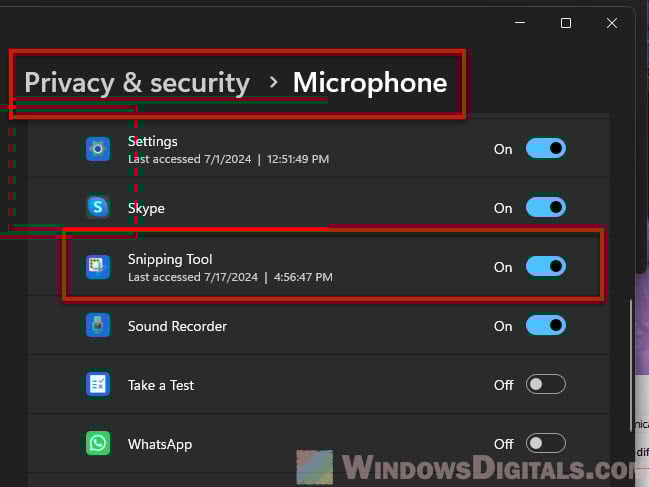
- If permission is off, just flip the switch to On to let the Snipping Tool use your microphone. This makes sure it can record your voice or other sounds through the mic.
Maybe try another app for screen recording
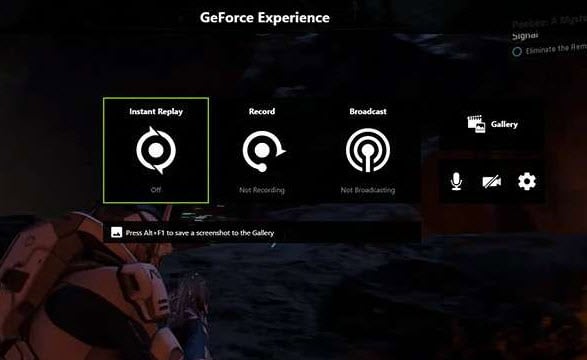
If you’re still having issues with the Snipping Tool not recording sound correctly and just couldn’t solve it, you might want to save yourself some time and try a different screen recording app instead. There are many other apps like OBS Studio or NVIDIA Share that are free, easy to use, and might even be better for recording both video and audio.