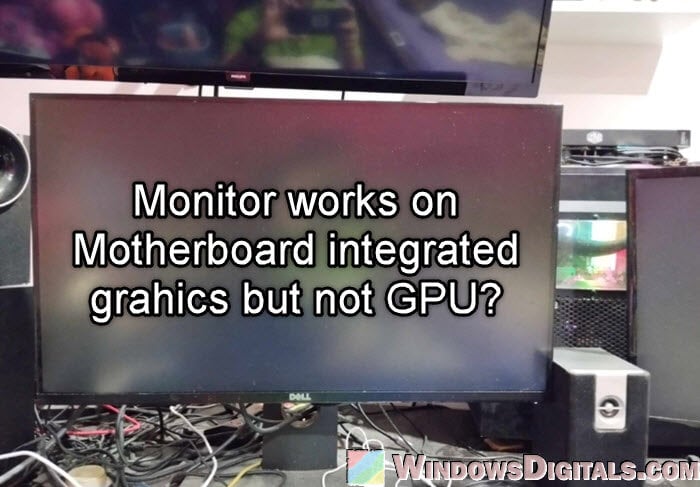
If you’re having a strange issue where, when you plug your monitor into your motherboard’s integrated graphics, it works, but when you plug it into your dedicated GPU like an NVIDIA or AMD card, it doesn’t display at all, there may be several things that could cause this. This guide will show you what you can do to fix the issue and get your monitor to work properly with your dedicated GPU.
Also see: Force App or Game to Use Nvidia GPU or Integrated Graphics
Page Contents
Make sure the power connectors are properly connected to your GPU
When your monitor works with your motherboard onboard graphics but not when it’s connected to your GPU, first check the power connection to your GPU. This issue often happens and is usually why there’s a problem.
Your graphics card needs enough power to work right, and it gets this power through one or more connectors from your power supply. Double-check that your graphics card is hooked up properly with the right power connectors. Most new GPUs need one or two 8-pin connectors.
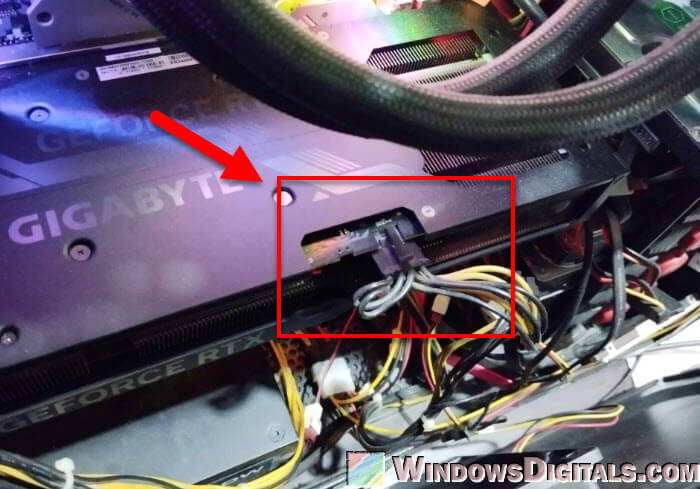
It’s also important to use separate cables for each connector if your GPU supports that. If you use just one cable that splits to power both, it might not get enough power, which can make the GPU not work well even if its fans are spinning.
Make sure these connectors are all the way in and secure. A loose connection can stop the GPU from getting all the power it needs. This is a simple, very common mistake that many people, especially those who have built their own PC or installed their own GPU, often make.
Pro tip: Using Onboard Graphics And Graphics Card Simultaneously
Check if your GPU is seated properly
Another important thing is to make sure your graphics card is in the PCI Express (PCIe) slot on your motherboard the right way. If it’s not seated properly (not all the way into the slot), your display might not work through the GPU, even if everything else looks fine.
First, turn off your computer and unplug it. Open the case and carefully take out the graphics card from its slot. Look at both the card and the slot for any dust, debris, or damage. Clean them carefully if needed. Then, put the card back in the PCIe slot firmly, making sure it’s even and secure. Sometimes, you might hear a click sound that tells you the card is locked in place.
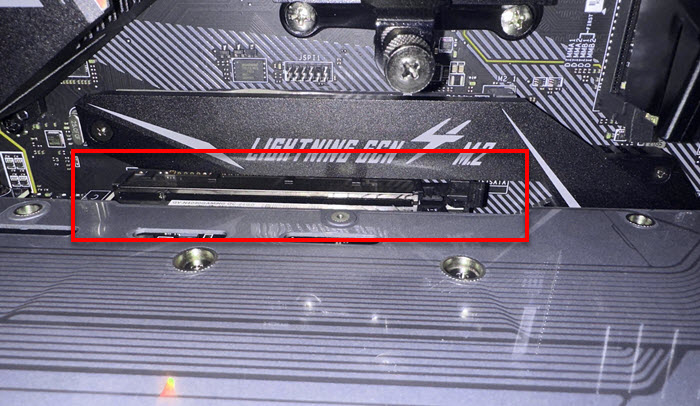
Also, make sure you’re using the main PCIe slot, usually the topmost one near the CPU, for the best performance. Some motherboards might not work correctly with the GPU if it’s in a different, slower slot.
After you’ve put the card back in, screw it into the case tightly, reconnect the power cables, and turn your computer on to see if the problem is fixed.
Might be useful: How to tell if it’s your Monitor or GPU that is dying?
Check BIOS settings for GPU display output
If putting the graphics card back and making sure it has enough power didn’t fix the issue, the next thing to do is to check your BIOS settings. Sometimes, the motherboard needs to be set to use the dedicated GPU instead of the built-in graphics.
Restart your computer and go into the BIOS setup by pressing a key during the boot-up. Common keys are Del, F2, or F10. Look for settings about display output or graphics in sections like “Advanced“, “Graphics Configuration” or “Chipset Configuration.”
Find an option that lets you choose the main (primary) display or graphics adapter. You should set this to your dedicated GPU or something like “PCIe” or “PEG” (PCI Express Graphics), and not “IGD” (Integrated Graphics Device) or similar. This tells the computer to use the dedicated graphics card for displaying.
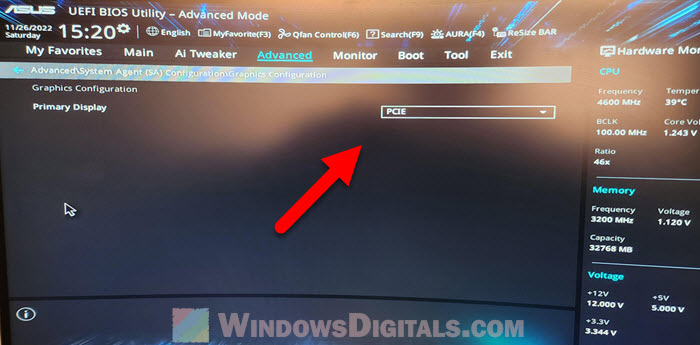
After you change this, save your settings and exit the BIOS. Your computer will restart, and you should check if the monitor now works through the dedicated GPU.
Related problem: Nvidia RTX 4000 Series can’t detect HDMI, But DP OK
Install the correct graphics drivers
Although extremely rare, your GPU should at least show POST and boot into the OS even without a driver. But sometimes, drivers are needed before it can work properly.
First, connect your monitor back to the integrated graphics output on your motherboard. This lets you see your desktop and get online even if the dedicated GPU isn’t working yet. Once you’re logged in, go to your graphics card manufacturer’s website, like NVIDIA or AMD.
Look for the support or download section and search for your graphics card model. Download the latest drivers for your system. After the download, run the installer and follow the steps on your screen to install or update the drivers. You might need to restart your computer during this process.
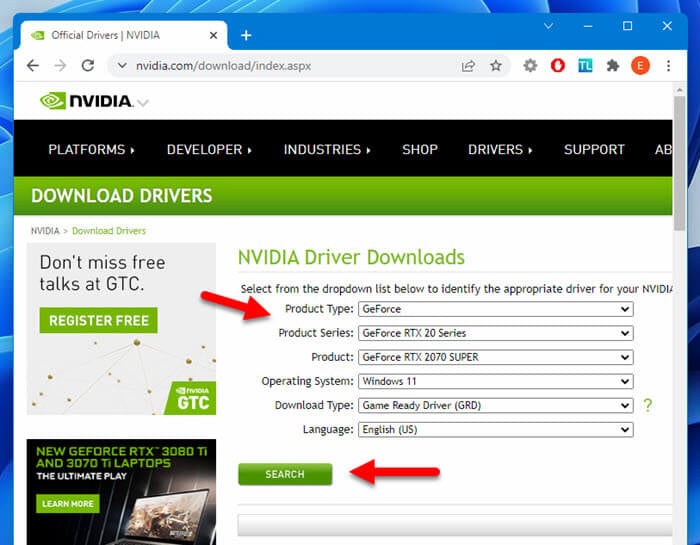
After the drivers are installed, shut down your computer, switch the monitor connection to your dedicated GPU, and start the computer again. Check if the display issues are fixed and if your monitor now works through the dedicated graphics card.
Suggested read: GPU Artifacting Examples, How to Test, and Fixes
Test the graphics card on another computer
If you’ve tried everything and still have issues, try testing if the problem is with the graphics card itself. Testing it on another computer can tell you if it’s working as it should.
If you can, put the card in another compatible computer, following the same steps to make sure it’s seated correctly and connected properly. Handle the card very carefully by its edges and avoid touching the electronic parts. If you’re not sure how to do this, it’s better not to do it at all, or get someone who knows to help.
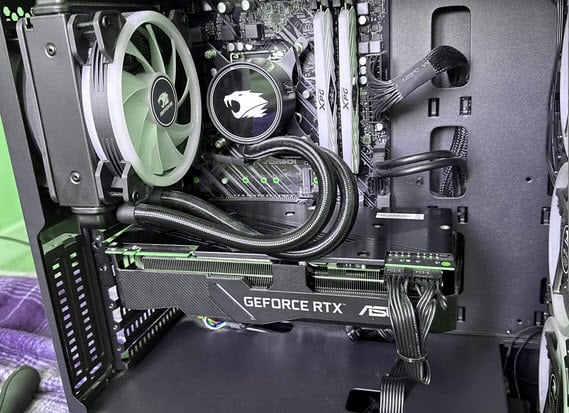
Turn on the second computer and see if the monitor displays correctly when connected to the graphics card. If it works fine, the problem might be with your original computer’s motherboard, BIOS settings, or power supply. If the card doesn’t work in the second computer, it’s likely that the graphics card itself is broken.
