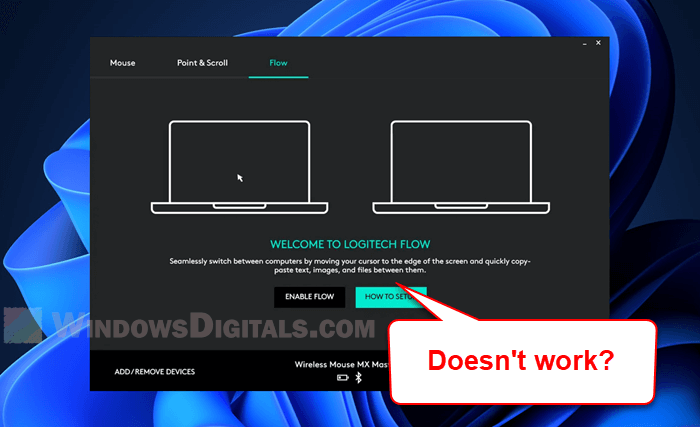
If you have multiple peripherals, like keyboards and mice, made by Logitech, you might be using one of its companion software called Logitech Options. One of its many features, called Logitech Flow, is particularly useful for controlling your mouse and keyboard on multiple computers (like using the same keyboard and mouse for two computers at the same time without unplugging them).
However, if you’re on Windows 11, you might sometimes run into some issues where Logitech Flow, a part of Logitech Options and the newer Logi Options+ (Plus), would stop working. This guide will talk about why this happens and how you can fix it.
Page Contents
What actually is Logitech Flow?
Logitech Flow is an amazing feature of Logitech Options (and its newer version, Logi Options+ Plus) that lets you control up to three computers with one mouse and keyboard. It also lets you transfer text, images, and files between computers by copying on one and pasting on the other, as long as they’re on the same network.
The correct steps to set up Logitech Flow
- Make sure you have the latest version of Logitech Options installed on all the computers you want to use with Flow.
- Connect your Flow-compatible Logitech mouse and, if applicable, keyboard to the computers.
- Open Logitech Options, go to the Flow section, and follow the instructions on the screen to turn on Flow. Make sure each computer is on the same network and that you’re logged into a Logitech account.
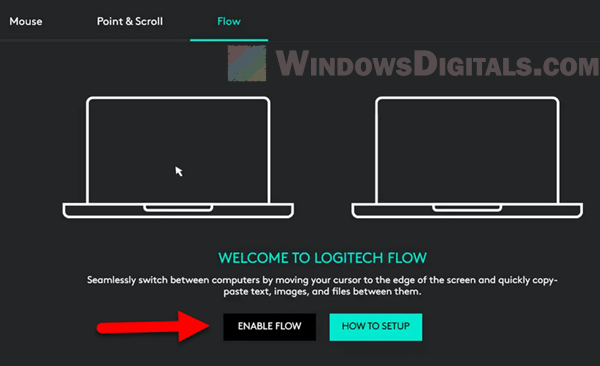
- Adjust the Flow settings as you like, such as where the cursor should move to the next computer and any specific settings for copying and pasting.
Once you’ve set up Logitech Flow, it should normally work fine without too much problem. But if you do run into any problems on Windows 11, below are some solutions that might help.
Related issue: Logitech Mouse Double Clicking on Single Click
Allow LogiOptionsMgr.Exe through the Windows Firewall
A common reason Logitech Flow doesn’t work as expected is that it might be blocked by the Windows Defender Firewall. You have to make sure that LogiOptionsMgr.Exe, an important part of both Logitech Options and Logi Options+, is allowed through the firewall.
- Go to the Start Menu, type “Allow an app through Windows Firewall” and click on the matching Control Panel result.
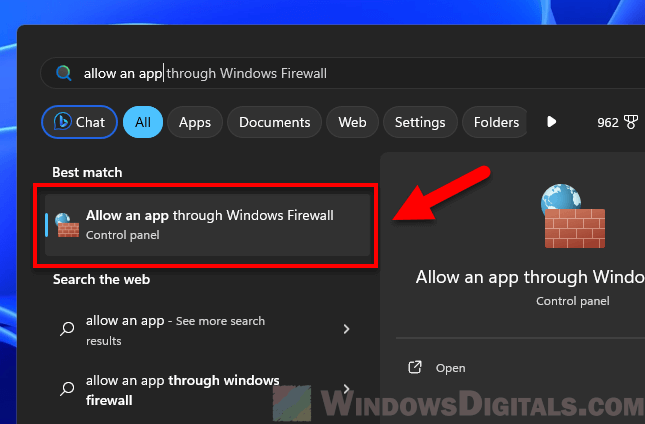
- Click on the “Change settings” button. You might need admin rights for this.
- Look for Logitech Options and LogiOptionsMgr.Exe in the list of allowed apps and features. If they’re not there, click “Allow another app…” to add them. Make sure both the “Private” and “Public” boxes are ticked for these entries.
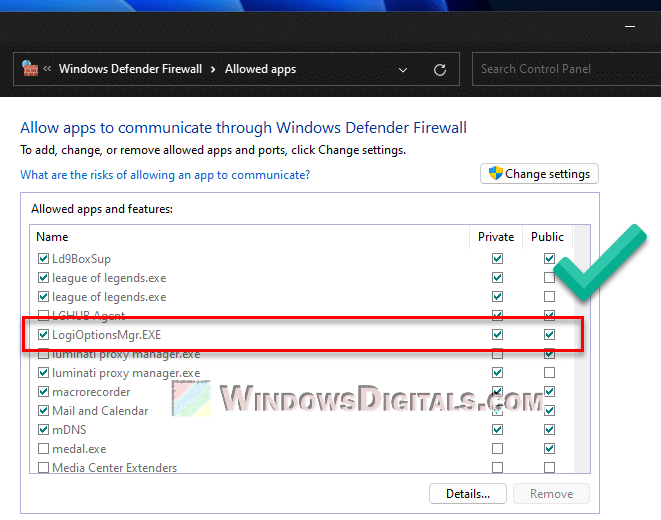
- After adding Logitech Options and LogiOptionsMgr.Exe to the allowed list and checking the right boxes, click “OK” to save the changes.
- Restart your computer to make sure the new settings are applied, then try using Logitech Flow again.
If these steps don’t fix the issue, it might be your antivirus software getting in the way.
Also see: What is LogiOverlay.exe and How to Fix Its Errors
Temporarily disable antivirus software
Antivirus software can sometimes block programs like Logitech Options by mistake. If Logitech Flow still isn’t working after you’ve adjusted your firewall settings, your antivirus might be the problem.
- Find your antivirus icon on the taskbar or in the system tray. Right-click it and select the option to turn off protection temporarily. If asked, choose the shortest time to turn it off.
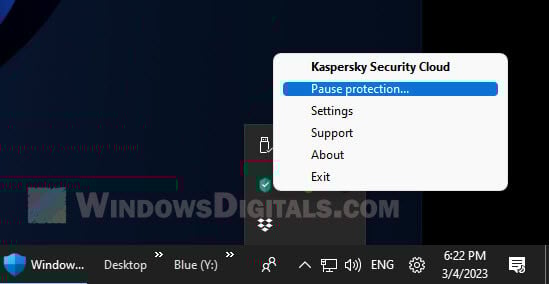
- With the antivirus off, try using Logitech Flow again. If it works, then your antivirus was blocking it.
- Turn your antivirus back on and go to its settings. Look for a part about exceptions, whitelisting, or allowed applications. Add Logitech Options and LogiOptionsMgr.Exe to this list so they won’t get blocked again.
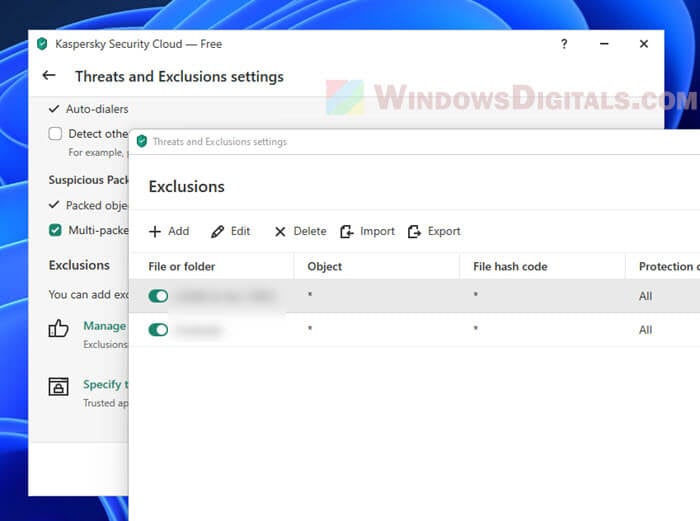
- If whitelisting doesn’t fix the issue or you’re not happy with your current antivirus, think about switching to a different one that might work better with Logitech Options.
- Make sure your antivirus is up to date. Sometimes, problems with legit software get fixed in the updates.
Your computer’s security is important, so don’t leave your antivirus off for long. If turning it off fixes the Flow problem, be sure to turn it back on and set up the right exceptions as soon as you can.
Other solutions for Logitech Flow issues in Windows 11
Apart from the solutions above, the following are some other ways people have tried that have fixed the Logitech Flow issues on Windows 11.
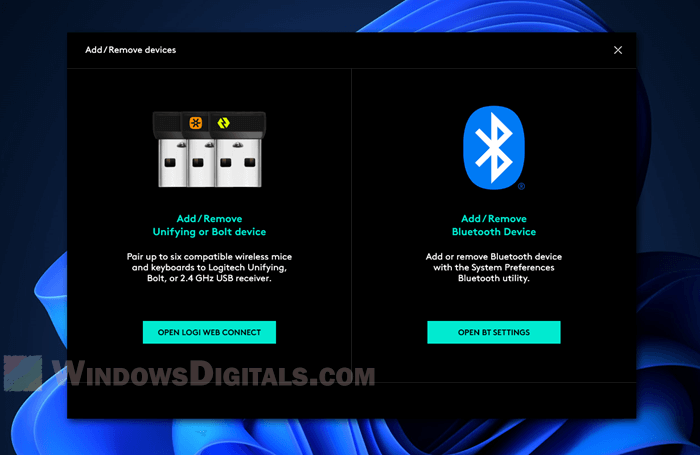
- With new updates, especially with Logi Options+ Plus, some users have noticed changes in how devices are added or removed from Logitech Options. This is now done through a new webpage called “Logi Web Connect.” This needs an internet connection even for simple things like pairing or unpairing a device, which can affect how Logitech Flow works.
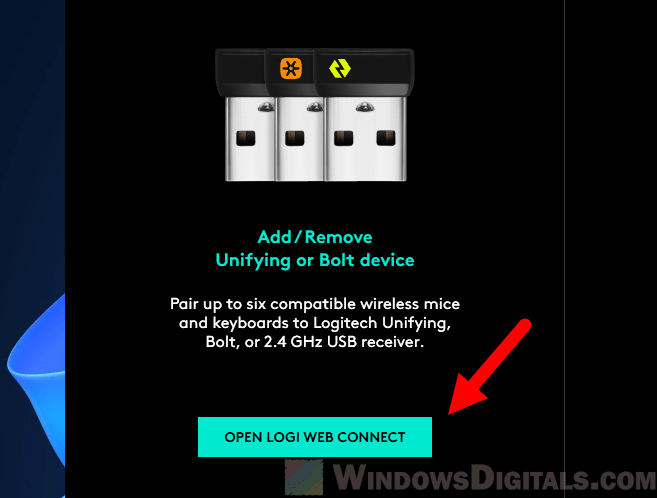
- Logitech Flow needs a stable network connection between the computers it’s set up on. Make sure your network settings let the devices talk to each other properly.
- Check your “Windows Defender Firewall with Advanced Security” inbound rules for LogiOptionsMgr.Exe to make sure the right ports are allowed.
- Logitech often updates their software, which can solve known bugs or issues. If your Logitech Flow keeps having problems, make sure you have the latest version of Logitech Options installed.
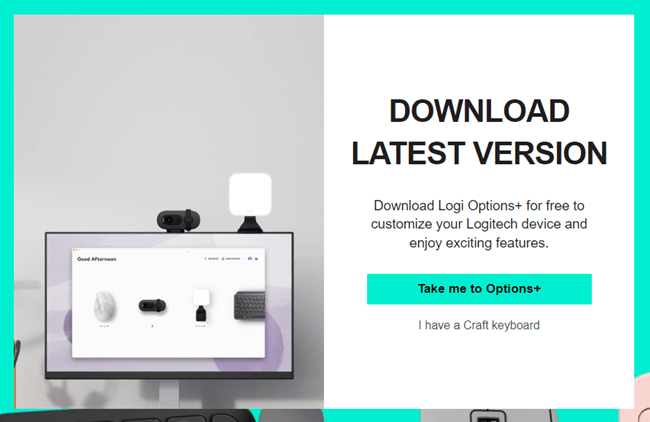
- To check for updates, visit the Logitech Options website and go to the download section. If there’s an update, download and install it.
- If Logitech Options is causing trouble, uninstalling and then reinstalling it might help. To uninstall, press the Windows logo key and R, type
control appwiz.cpl, and press Enter. Find Logitech Options in the list of programs and double-click to uninstall it.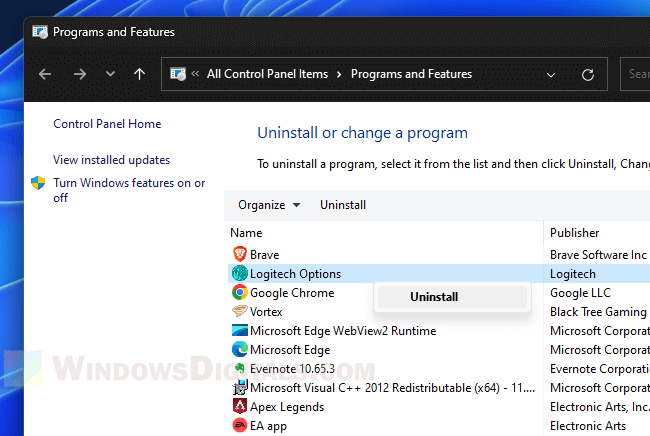
- After uninstalling, restart your computer and download the latest version of Logitech Options from their official website to reinstall it.
- Go to “Device Manager” and look for any warning signs next to your input devices. Driver conflicts can mess with Logitech Flow. Update or reinstall drivers for any device with a conflict.
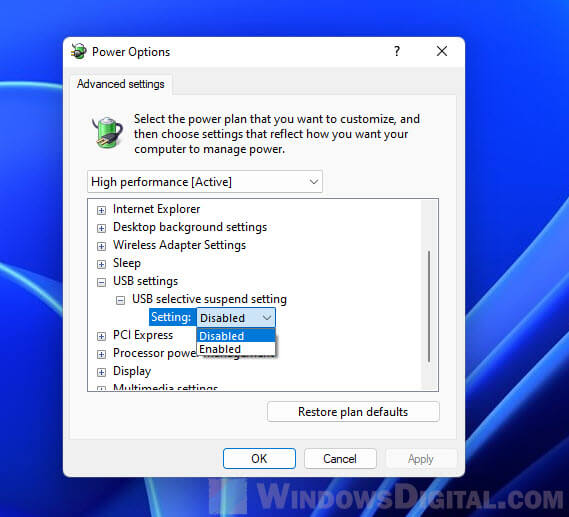
- Wrong power settings can make devices turn off to save power, which can stop Logitech Flow. In “Power Options”, go to “Change plan settings” -> “Change advanced power settings”. Make sure USB settings let devices stay on and that “Selective suspend setting” is off.
