Shutdown Timer is one useful way to shut down your computer without your direct action. Setting a shutdown timer is often helpful when you need to need to leave your computer while it’s downloading or copying something huge, or performing a very time-consuming task such as defragmenting or scanning your drives, and want it to shut down automatically after a set time period.
With a set shutdown timer, you can leave your computer alone while it does its things and when the timer expires, it will automatically shut down itself. There are several ways to set a shutdown timer in Windows 11 without the need to install any app. However, if you are not very tech-savvy and have trouble understanding and using commands in Windows, you can use a third party shutdown app instead.
Also see: How to Turn Off Auto Shutdown in Windows 11
How to set a timer for shutdown in Windows 11
This guide will show you 4 different methods to set a shutdown timer, as well as apps you can use to schedule automatic shutdown in Windows 11.
Page Contents
Method 1: Command Prompt
The easiest way to quickly set a shutdown timer in Windows 11 is to execute a simple command in Command Prompt. You can use the same command lines in PowerShell or Windows Terminal as well.
- Search for “Command Prompt” or simply “cmd” via Start and open it. In most cases, you don’t need to run CMD as administrator for the command line to work.
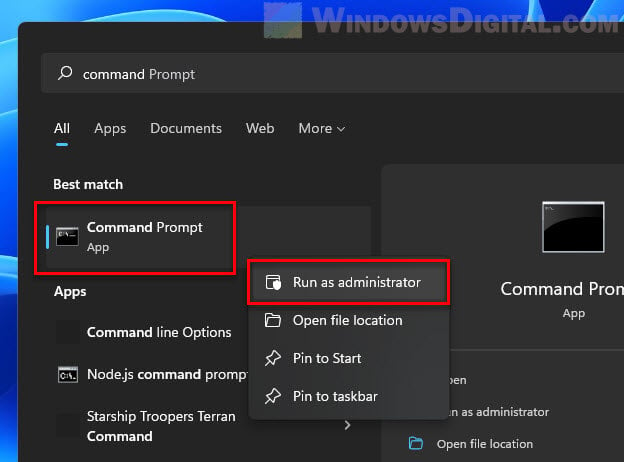
- In the Command Prompt window, execute the following command line.
shutdown /s /t xxx
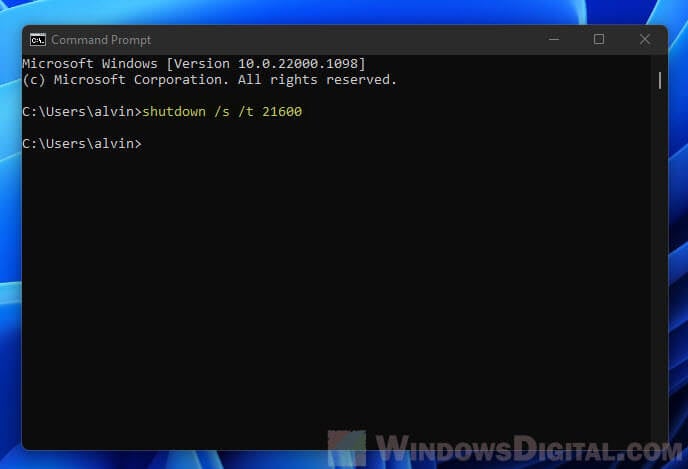
- Replace xxx with the number of seconds you want to set as the time-out period before your computer shut down on its own. For example,
shutdown /s /t 1800will schedule an auto shutdown after 1800 seconds, which is 30 mins.
If you would like to cancel an already scheduled shutdown timer, execute this command line: shutdown /a.
In addition, if you execute the shutdown timer command when there is already a pending scheduled shutdown, you will receive and error that reads “A system shutdown has already been scheduled (1190)“.
If you would like to set a timer to restart instead of shutdown, use the parameter “/r” instead of “/s“. The command to set a restart timer in Windows 11 would look like shutdown /r /t 1800. To hibernate your computer, use “/h” as the parameter. To log off Windows instead, use “/l” as the parameter.
Learn more: Sleep vs. Hibernate vs. Hybrid Sleep vs. Shutdown
You can view a list of arguments you can use with the shutdown command by executing shutdown /? in the command prompt.
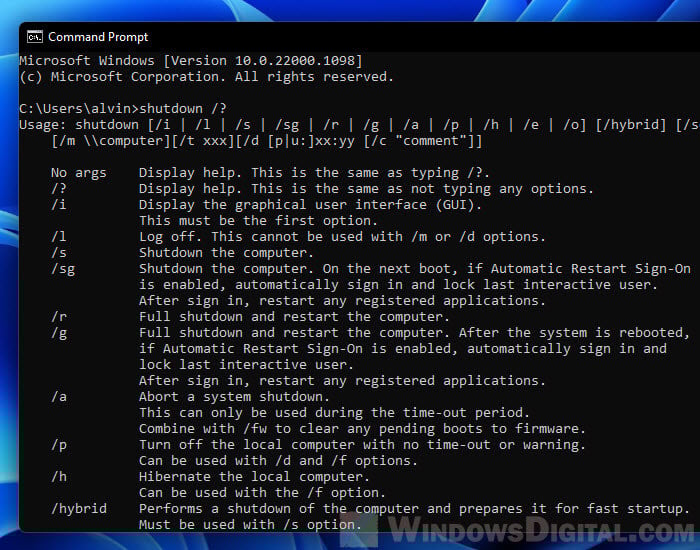
Unfortunately, there is no way to view the countdown timer (to know how much seconds left until next shutdown) after an automatic shutdown is scheduled this way. The best you can do is to determine if there is a pending scheduled shutdown. You can do so by executing the shutdown timer command line again and see if it will show the (1190) error.
Method 2: Run dialog box
Another simple way to set a timer to shut down Windows 11 is to enter a run command in the Run dialog box. The command line you will use in the Run dialog box will be the same as the one you use in Command Prompt.
First, open the Run dialog box by either pressing Win + R keys or by search “Run” via the Start menu.
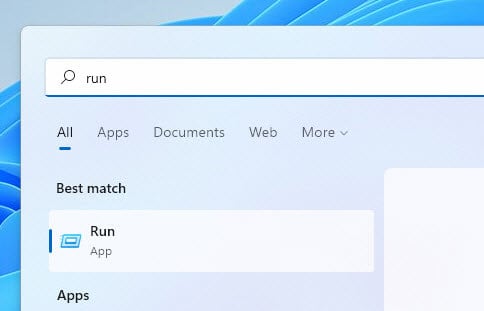
Next, type the following line into the “Open” text field and then click OK to run it.
shutdown /s /t 10800
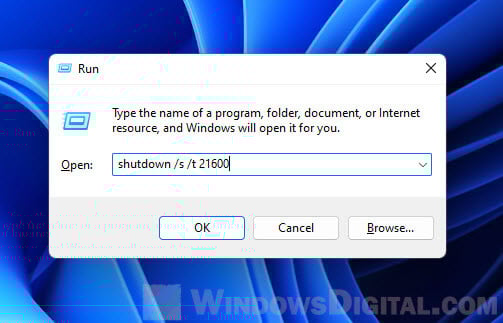
Replace xxx with the countdown duration in number of seconds you want to set as the shutdown timer. When the timer expires, your computer will shutdown automatically. For example, setting a timer of 10800 would tell your computer to shut down after 3 hours.
To cancel a scheduled shutdown, reopen the Run dialog box and enter shutdown /a.
Related issue: Can’t Shut Down Windows 11 (Goes back to login screen)
Method 3: Create a shortcut
If you often need to set a shutdown timer for your computer, it would be a great idea to create a shortcut to do so. This way you can save time from needing to open the command prompt or run dialog box and manually enter the command line.
With this shortcut, you can double-click it to directly execute the shutdown timer command line without the need to open anything else. Without further ado, here’s how to create a shortcut to set a shutdown timer in Windows 11.
- Right-click anywhere on the desktop and select New > Shortcut.
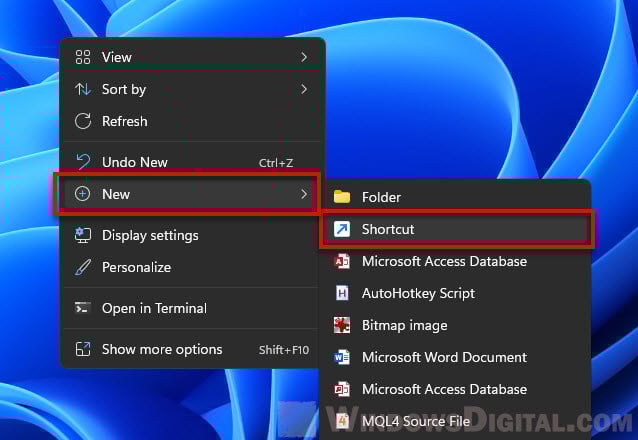
- In the “location of the item” field, type the following.
C:\Windows\System32\shutdown.exe /s /t xxx
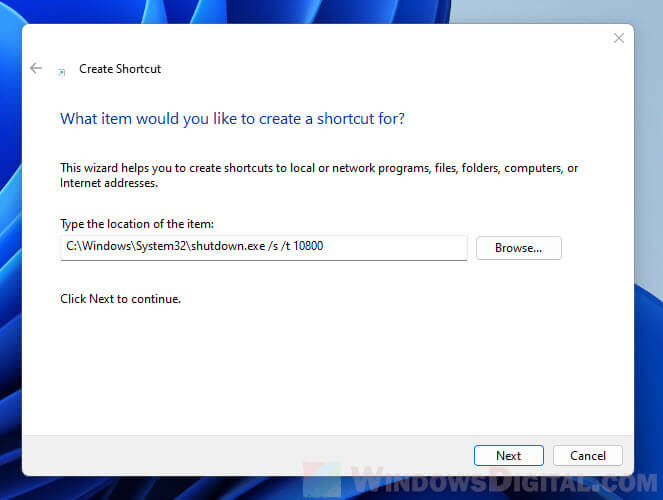
- Replace xxx with the number of seconds before Windows execute shutdown itself automatically. Replace C:\ if your Windows was installed on another drive. Click Next to continue.
- Next, type a name for the shortcut. You can name it anything you want. Click Finish to complete the wizard.
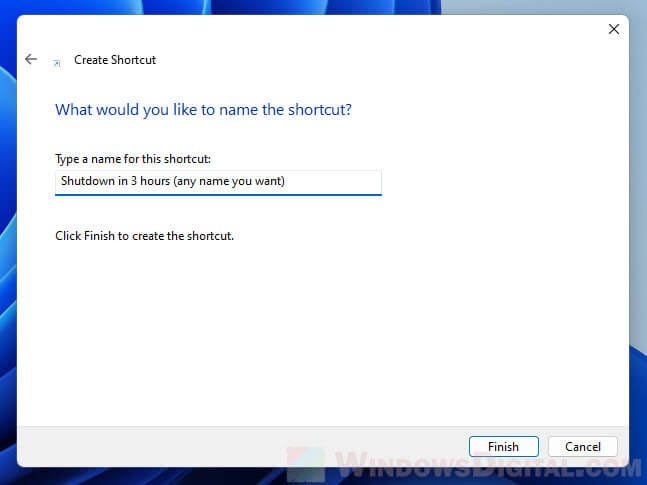
- Every time you want to set a shutdown timer for your PC, just double-click the shortcut to instantly schedule the automatic shutdown.
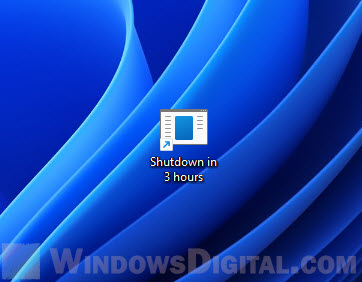
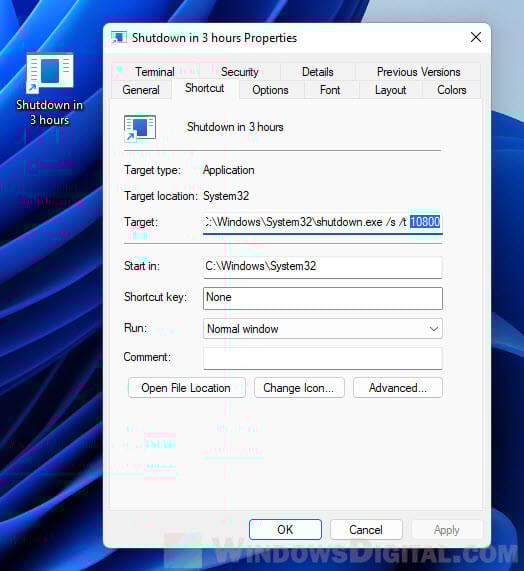
You can change the timer by right-clicking the created shortcut and select Properties. In the Target text field, replace the existing time-out period (number of seconds) with the new timer you want to set.
Method 4: Use a shutdown app
There are plenty of third-party apps that allow you to flexibly schedule an automatic shutdown for Windows 11. These apps also provide graphical-user interface so it’s much more easier to use. You will also be able to see more info about the shutdown timer such as how much time left until next scheduled shutdown, etc.
You can find these apps directly from the Microsoft Store. Go to Microsoft Store and search for “shutdown“. Most of these simple apps are free to use. You can try each one of them until you find one that satisfies your needs.
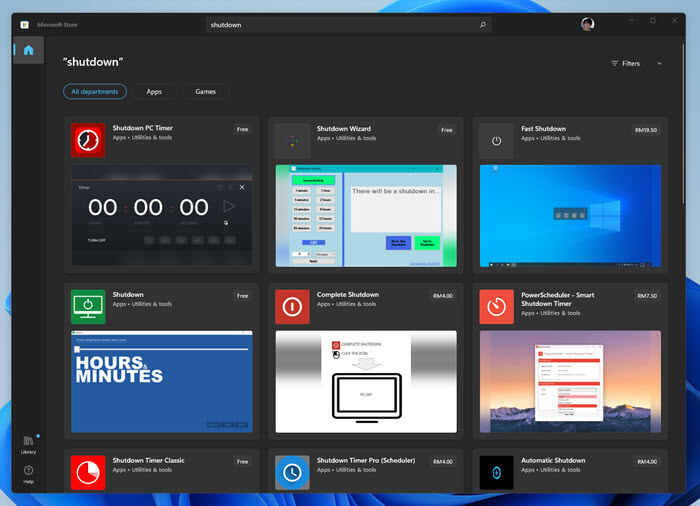
To install an app, select the app and then click the “Get” button to install it.
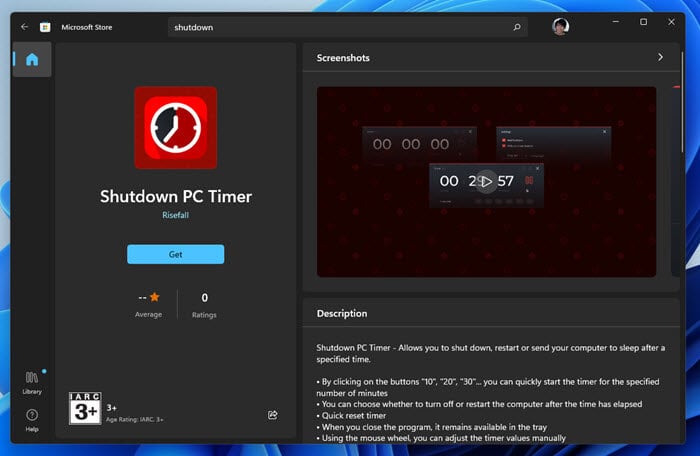
After you’ve installed the shutdown timer app, you can find the app from the Start menu “All apps” section or manually search for it. You can then pin the app to your taskbar for quick access.


