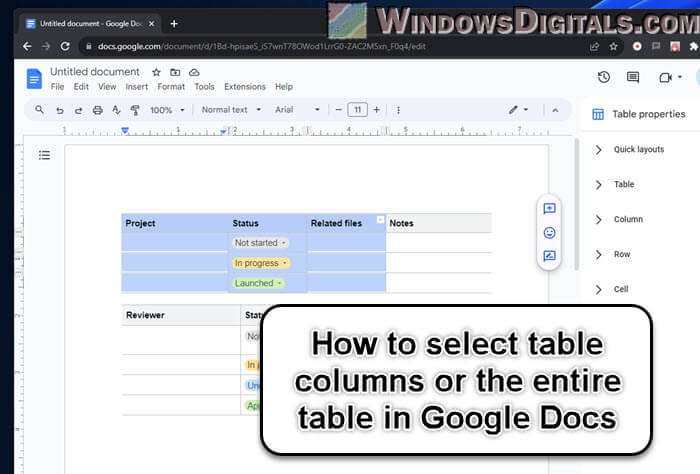
Google Docs has the ability to let you create and work with tables in your documents. But it might not be so obvious how to select entire tables or individual columns. This guide will help you learn how to select a table column or the whole table easily in Google Docs.
Also see: How to Move an Image to the Front or Back in Google Docs
Page Contents
How table actually works in Google Docs
Tables are made up of rows and columns, like a grid. Each part of this grid, called a cell, can contain text, images, or other items. Tables are great for laying out information neatly, like when you’re making schedules, comparing data, or setting up simple designs.
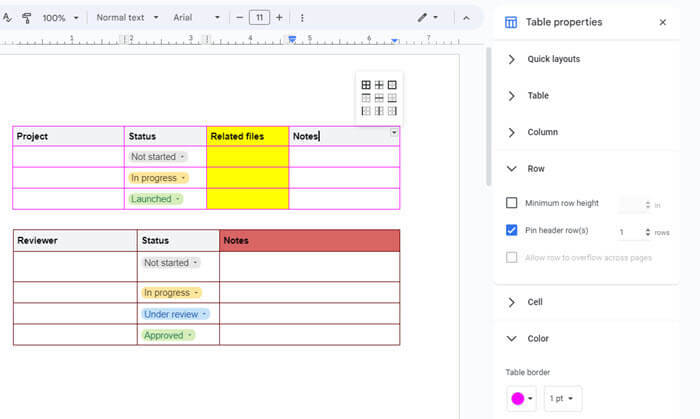
Besides the basic structure, you can customize your tables in Google Docs a lot. You can change borders, the background color, and even the size of cells, rows, or columns. This makes your data not just organized but also nice to look at. And since Google Docs lets multiple people work on the same document at once, updating tables is very easy and can be done together.
Related resource: How to Print Front and Back on Google Docs (Double-Sided)
Selecting one or multiple table columns in Google Docs
Although many word processors allow you to easily click and select tables and columns, Google Docs doesn’t have such a direct method. Below is a good way to select one or more table columns in Google Docs.
- Hover your cursor over the top cell of the column you want to select. The cursor will change to an “I” icon, showing you’re in text selection mode.
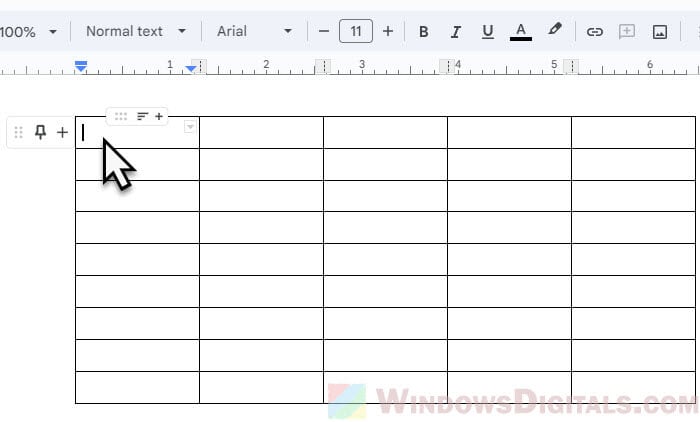
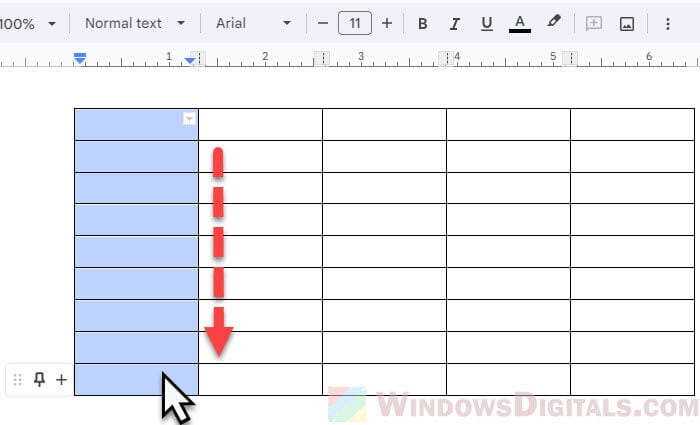
- With the “I” icon showing, press and hold down the left mouse button and drag your mouse down the column. As you move, the whole column will become highlighted.
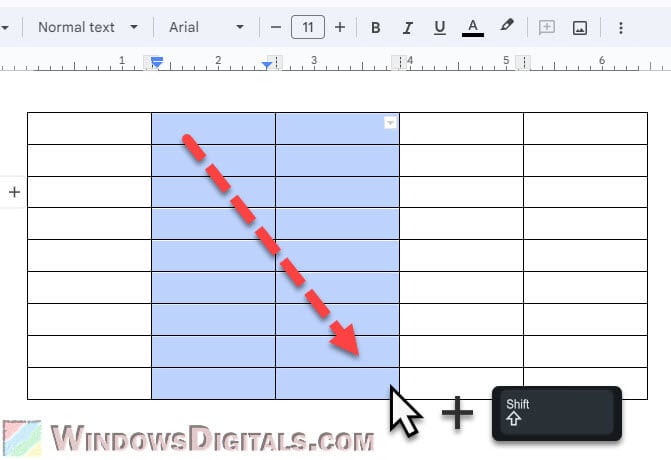
- To select multiple columns, move your cursor to the next column and repeat the process while holding down the Shift key.
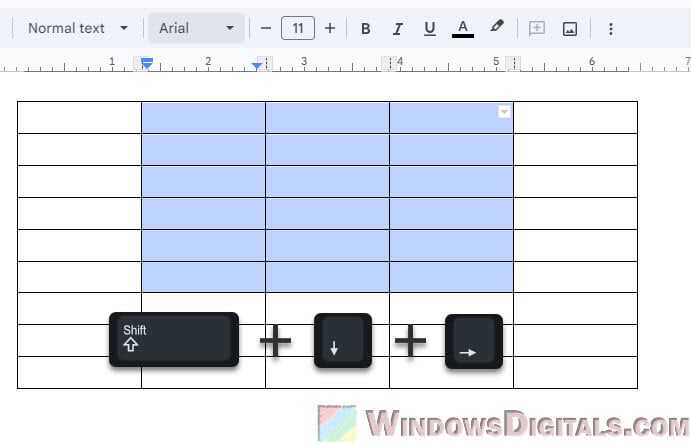
Another way, especially for bigger tables, is to use keyboard shortcuts:
- Put your cursor at the start of the first cell in the table.
- Hold down the Shift key and press the Right Arrow key to start selecting the first cell.
- Keep holding the Shift key and use the Down Arrow key to select more rows down. Keep pressing the arrow key until you’ve selected the cells, rows, or columns you want.
Tip: If you find dragging to select columns a bit hard, you can click on the top cell of the column you want, hold down the Shift key, and click on the last cell at the bottom. This will highlight the entire column.
Selecting an entire table in Google Docs
Unlike other word processors that might have a simple handle or dropdown to select the whole table, Google Docs doesn’t really have such direct options. The following is how you can select an entire table effectively in Google Docs.
- Place your cursor at the start of the table, ideally at the start of the content in the first cell.
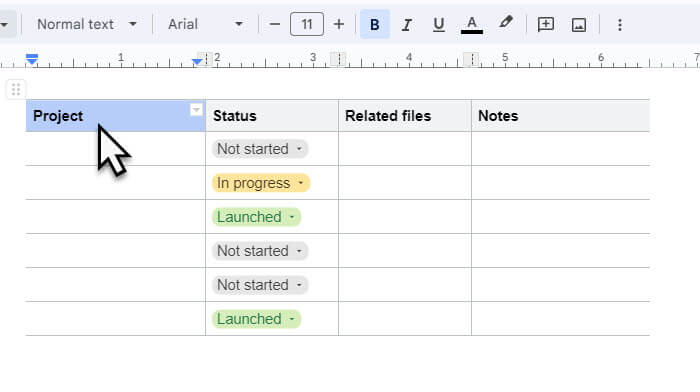
- Press and hold down the left mouse button.
- Drag your cursor diagonally across the table, aiming for the end of the last cell’s content. Release the mouse button once the whole table is highlighted.
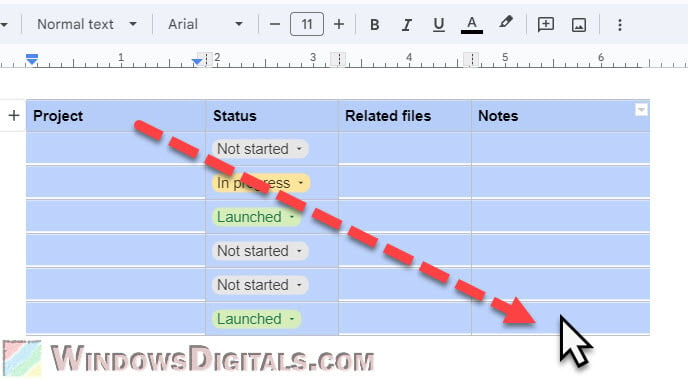
For a large or complex table, a quicker way to select it all is by using a few clicks with the Shift key:
- Click on the top-left cell of your table to place your cursor there.
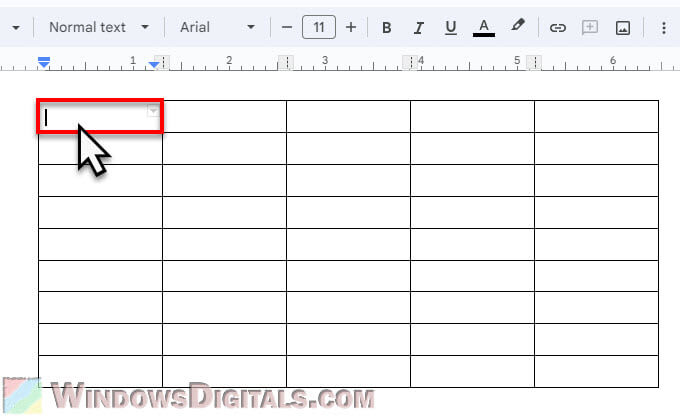
- While holding down the Shift key, click on the bottom-right cell. This will select the whole table.
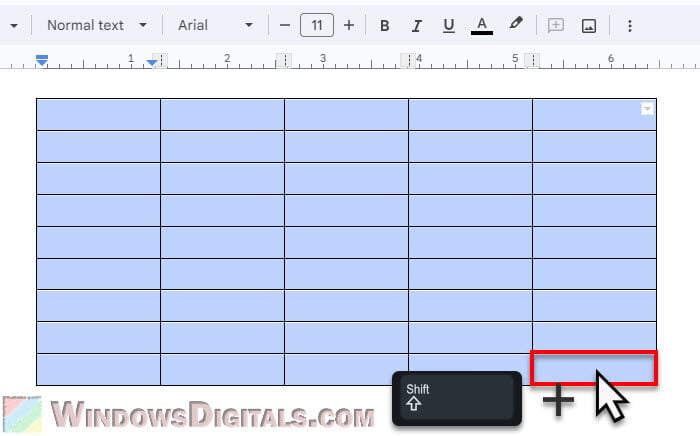
This method lets you select exactly what you need without having to drag the cursor over many cells, which can be tough in big tables.
One last thing
Google Docs keeps getting better as they listen to what users need, so we might see new features or shortcuts that will allow you to handle tables much better in future updates. But for now, these tips to select table columns and whole tables should help you until then.
