Taking screenshots on Windows 11 is as easy as pressing just 2 keys, but cropping or editing them is a different story. While you can easily take a screenshot of the whole screen by simply pressing Win + PrtScn, using other screenshot taking tools such as Snipping Tool would also allow you to crop and edit the screenshots after taking them.
This guide will show you how to take a screenshot and crop it on Windows 11 using Snipping Tool or Photos app. These tools are all built-in and pre-installed in Windows 11. You don’t need to manually install any of them.
Also see: How to Record Screen on Windows 11/10 With Nvidia Share
Page Contents
How to screenshot and crop on Windows 11 using Snipping Tool
The easiest way to quickly take a screenshot of any part of your screen and crop it at the same time is to use the Snipping Tool to take the screenshot. Snipping tool is a modern screenshot utility included in Windows 11. It allows you to quickly take a snapshot of any part of your monitor screen on Windows 11 while also lets you edit it after taking the screenshot.
The instructions below will show you how to take a screenshot and crop it using Snipping Tool in Windows 11.
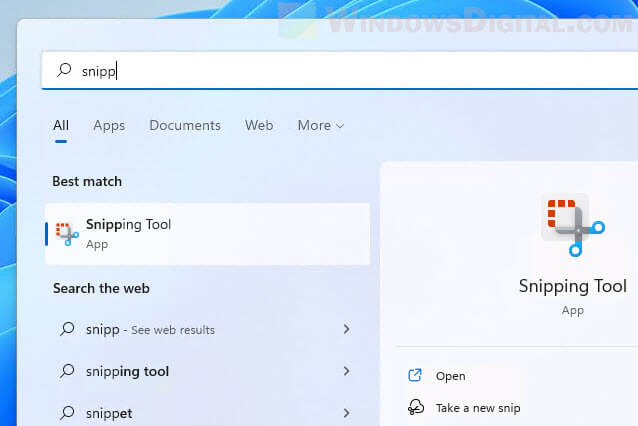
1. Go to Start and search for “Snipping Tool“. Select the first result to open it.
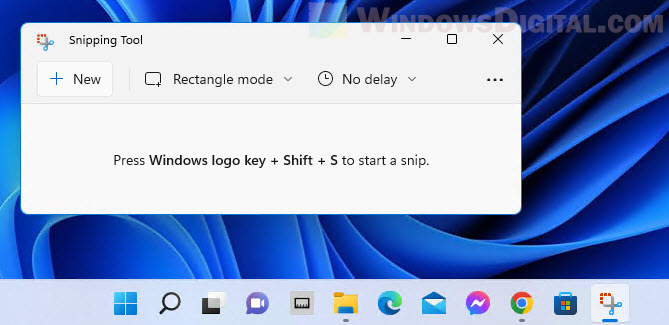
2. In Snipping tool window, click New to start taking a new screenshot.
3. Next, click and drag over the portion of the screen you want to screenshot. This is similar to cropping part of the screen and capture it as a screenshot.
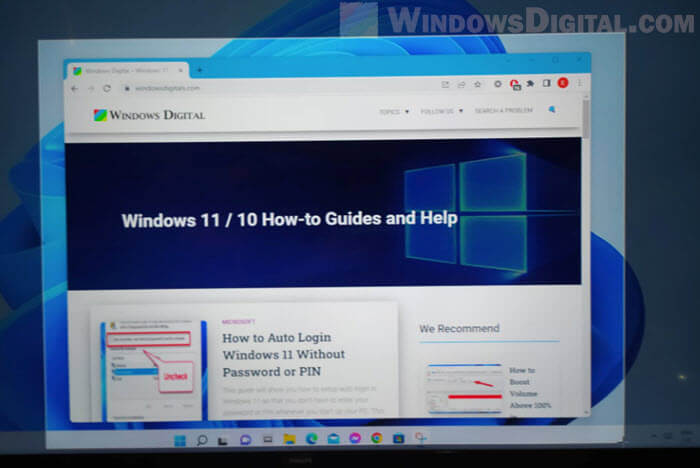
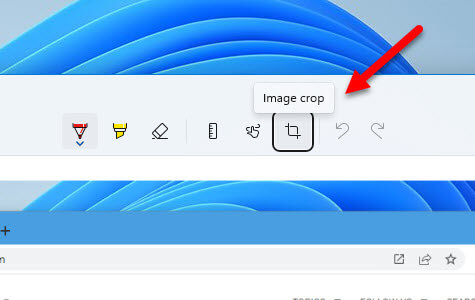
4. Upon releasing left-click, the screenshot will be taken. You can then further crop the screenshot by selecting “Image Crop” from the toolbar in Snipping Tool.
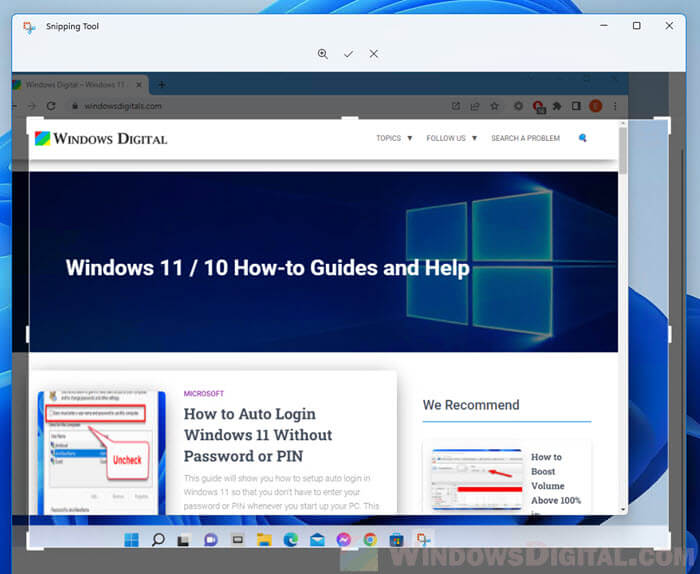
5. Drag the corner of the crop borders to crop the screenshot to your preference. Click the Apply (tick icon) to apply the crop.
6. To save the cropped screenshot, click the Save button or press Ctrl + S to save it as a picture file.
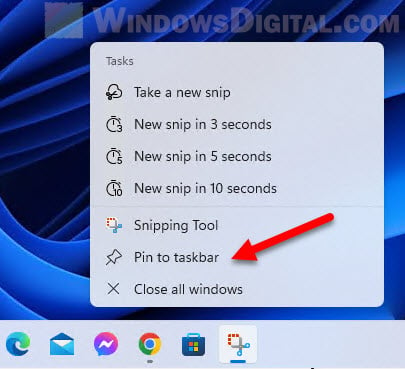
Tip: For quicker access to Snipping Tool next time you want to use it, pin Snipping Tool to taskbar by right-clicking it on the taskbar (while it is opened) and select “Pin to taskbar“.
Additionally, you can also apply other editing options such as free drawing using the pen tool, highlighting, erasing or touch writing to the screenshot. You can access these editing options from the toolbar in Snipping Tool after taking a screenshot.
Related: How to Reduce Photo File Size in Windows 11
How to crop a taken screenshot using Photos app
If you have already taken a screenshot with a different method such as the Win + PrtScn shortcut or the legacy “Print screen and save to Paint” method, or in other words, if you have already saved the screenshot as a picture file, you can crop the picture or photo using the Photos app in Windows 11.
The Windows 11 built-in Photos app not only allows you to view photos and pictures, but also lets you to edit them. In addition, Photos app is also able to play and edit video in Windows 11.
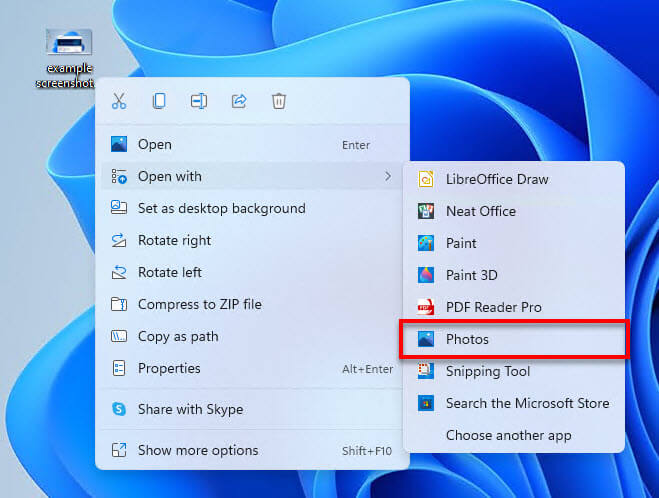
First, open the screenshot in Photos app by right-clicking the picture and select Open With > Photos.
While the screenshot is opened in Photos app, click the “Edit image” option from the toolbar (or press Ctrl + E) to open the edit mode.
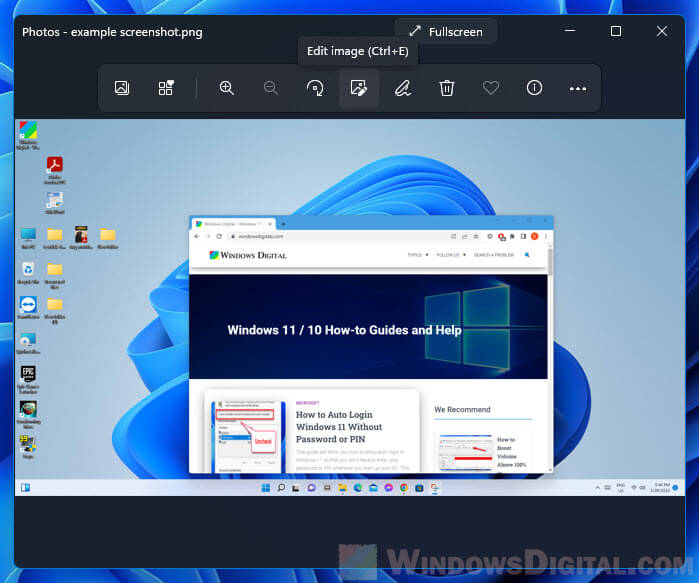
Next, select the Crop option and then drag the crop borders to crop the screenshot as you wish.
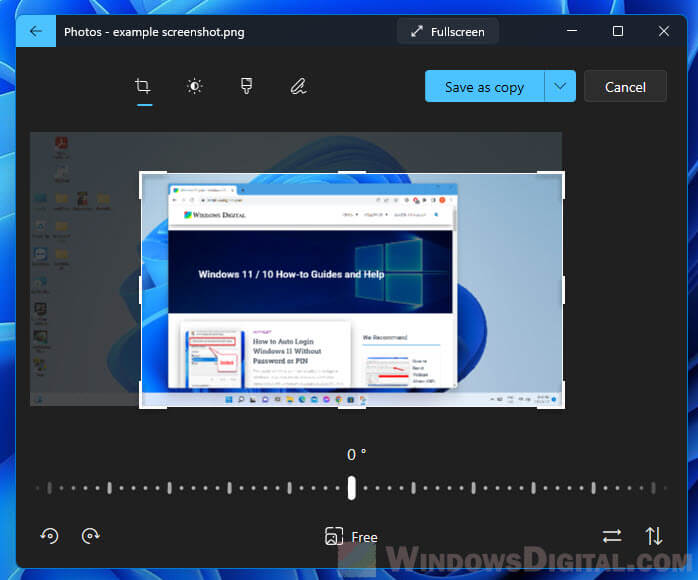
Finally, click Save as copy to save the cropped screenshot as a new picture file.
Other screenshot taking and cropping tools
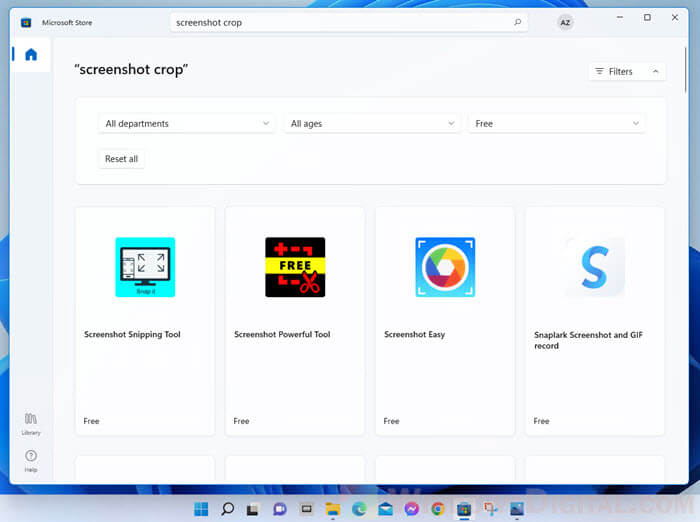
If these Windows built-in tools do not satisfy your need, you can look for other third-party screenshot taking or image cropping apps through the Microsoft Store. There are plenty of free screenshot tools you can install from the Microsoft Store.
If you are looking for a more advanced and professional snapshot taking and image editing tool, you may want to try Snagit. It is not a free software but it does an amazing job when it comes to taking and editing screenshot professionally.
