While Windows 11 and Windows 10 have many tools to help you check how your system is doing, it’s tough to find out the wattage of your power supply unit (PSU). This info is part of the hardware and software can’t directly read it, leaving many users scratching their heads about their computer’s power capacity. In this guide, we’ll show you some workarounds to get a rough idea of your PC’s power usage without having to open up your computer.
Also see: How to Check RAM Type DDR3, DDR4 or DDR5 in Windows 11/10
Page Contents
Why can’t software tell me my PSU’s wattage?
Software tools are great for keeping tabs on many parts of your PC like the CPU and GPU temperatures or how well your storage is doing. But when it comes to the power supply unit’s wattage, it remains a bit of a secret. Why is that?
- The wattage rating of a PSU is not something that changes. It’s a fixed feature, just like your hard drive size or your processor speed. It tells you the most power the PSU can give to your computer’s parts. Since it doesn’t change, there’s no need to keep checking it, and so, manufacturers usually don’t add sensors to send this info back to your computer.
- Most parts in a PC like CPUs and GPUs have sensors that send data to the motherboard, which software can then show. PSUs don’t usually have these sensors. They just give out power as needed, focusing more on keeping the power stable and safe, rather than sending out any data at all.
- Adding features to report PSU wattage might seem like something they should do, but it’s complicated. It could make PSUs more expensive and can cause more things to go wrong. Since you can just look at the PSU label to find out the wattage, the costs of adding these features usually don’t seem worth it to manufacturers or us, the consumers.
Useful tip: Check PC Hardware Manufacturer & Model via WMIC in CMD
Can you access the case to check the Power Supply Unit label?
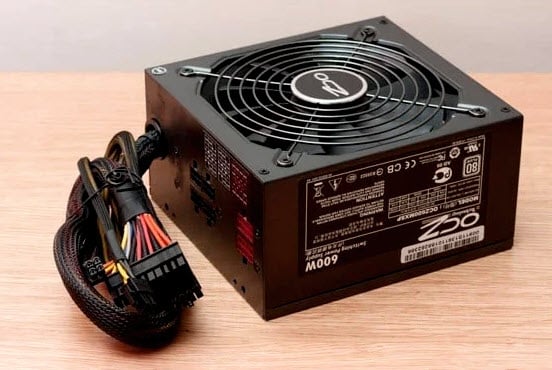
If you want to know your computer’s PSU wattage, the PSU label is your best bet.
- Most desktop PCs are built with a special place for the PSU, usually at the bottom or back top of the case. The PSU is the box where you plug in the power cord of your computer.
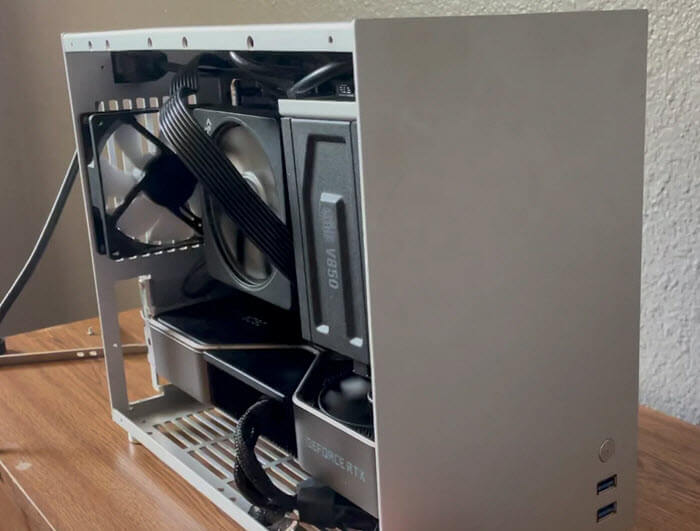
- You might need to take off the side panel or look through the vents to see the label, depending on where the PSU is and how the case is made.
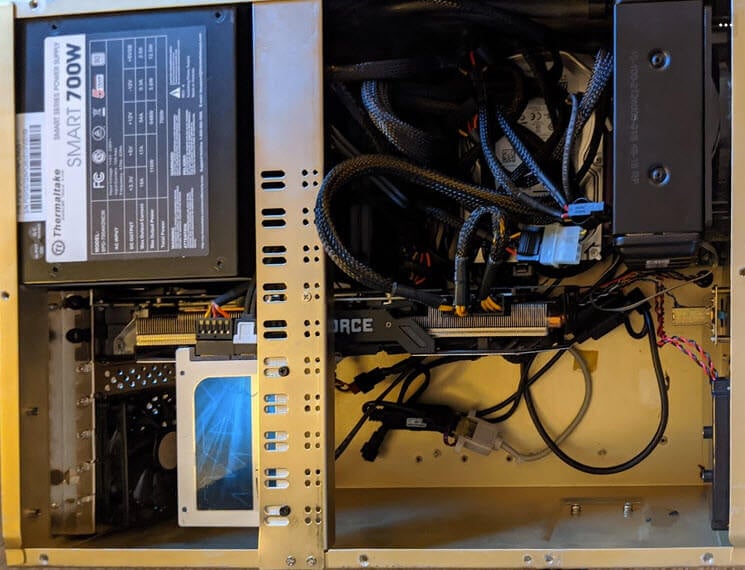
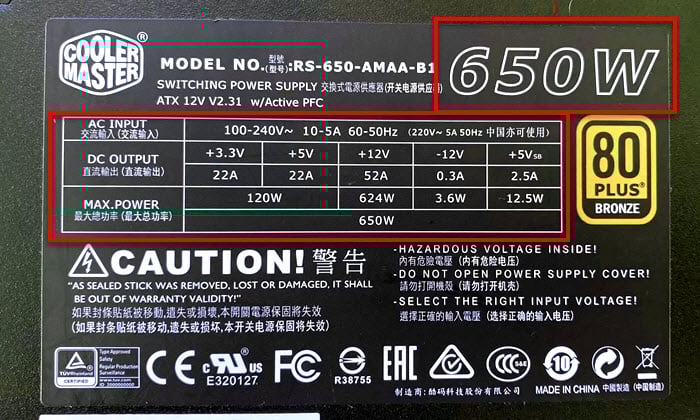
- The label on the PSU will tell you lots of things, not just the wattage. Look for the maximum power output in watts, which will tell you the PSU’s wattage.
- If you decide to check the PSU label yourself, below are some safety tips:
- Make sure the computer is turned off and unplugged before you start.
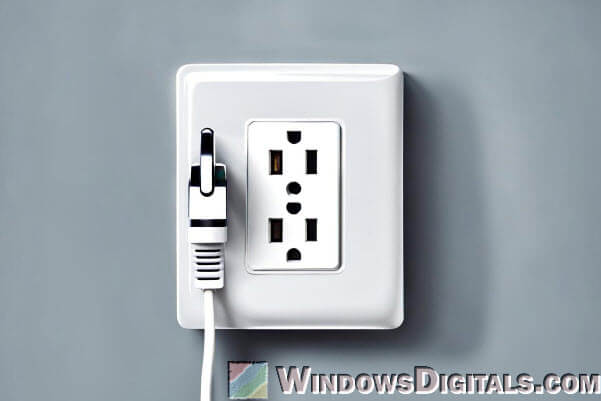
- Use an anti-static wrist strap or touch a metal part of the case often to avoid static damage to your PC.
- If you’re not sure about opening your PC, it might be better to get help from a pro.
- Make sure the computer is turned off and unplugged before you start.
- While software and online tools can guess and give you some numbers, the PSU label gives you the exact info. This helps you make better choices about upgrading or managing your PC’s power use.
Even though checking the PSU label is the surest way to know its wattage, always prioritize safety and comfort when doing so. Only go inside your PC if you’re sure you know what you’re doing and can do it safely.
Linked issue: Why Are My PC Case Fans Not Spinning?
Check the power consumption of main components
It’s good to know how much power your main PC parts like the CPU and GPU are using. This can give you a rough idea of how much power your PC might be using at any time.
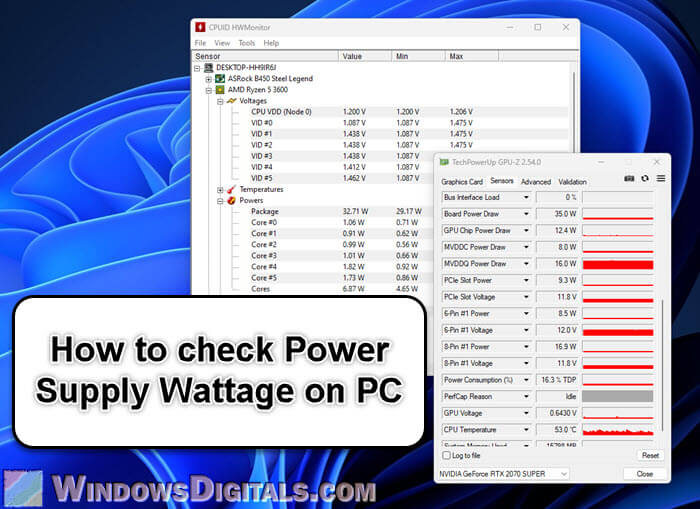
- There are tools to help you watch how much power your CPU and GPU use:
- HWMonitor: This tool shows you how much power, heat, and other stats your parts are using.
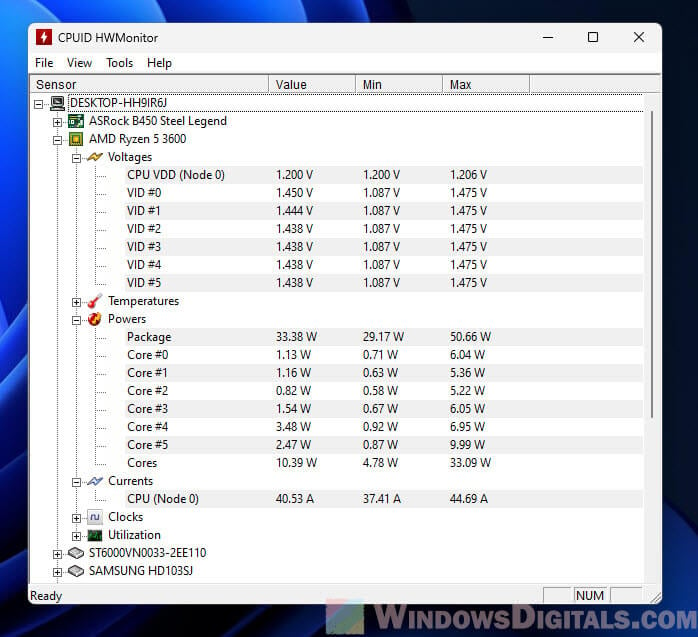
- GPU-Z: This tool is all about your graphics card, telling you lots of details including how much power it’s using.
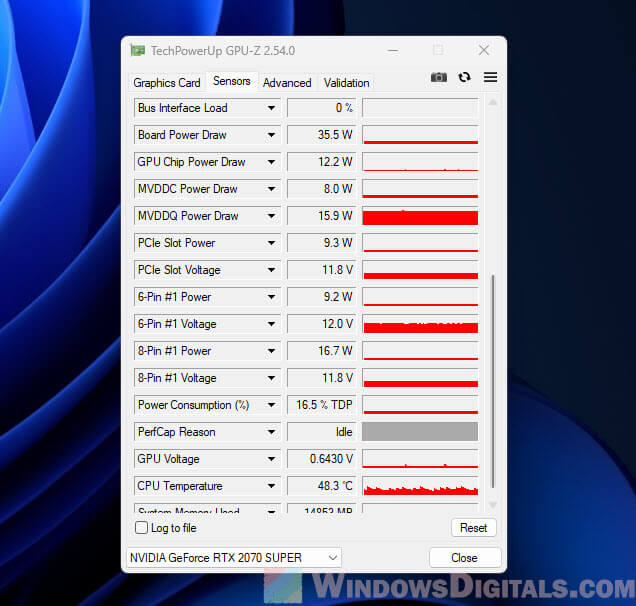
- HWMonitor: This tool shows you how much power, heat, and other stats your parts are using.
- Remember, the numbers you see in these tools can change depending on how much your PC is doing right now.
- Don’t forget other parts like RAM, storage, fans, and connected devices also use power.
Related resources:
Estimate the total power requirements
While checking each part might sometimes help, to really understand your PC’s power needs, try to also figure out the total power usage of all your parts.
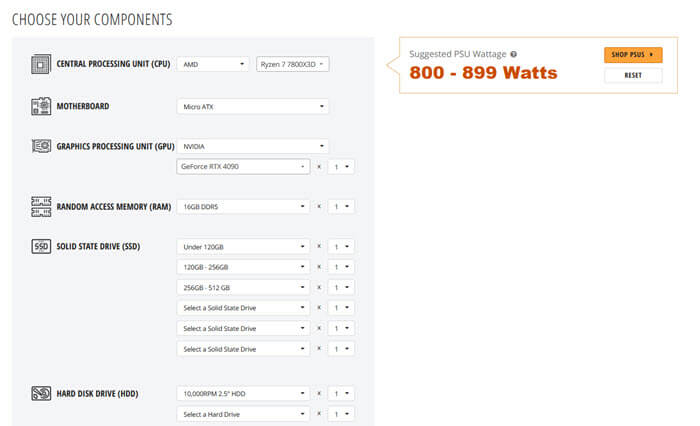
- There are online tools like the “be quiet! PSU Calculator”, “Newegg Power Supply Calculator”, and “PCPartPicker” that can estimate how much power your setup needs if you tell them what parts you have.
- It’s good to add a 20% extra buffer to the estimated wattage so your PSU isn’t always running at full blast.
- If your estimated total power is close to or more than what your PSU can handle, you might need to think about getting a stronger one.
Related concern: Why is My Memory Usage So High When Nothing is Running?
External power meters to directly measure power draw
Sometimes, the best way to find out your computer’s power use isn’t through guessing or software, but by directly measuring it at your wall socket.
- An external power meter is a gadget, like the well-known “Kill A Watt”, that you can plug in to see how much power something uses.
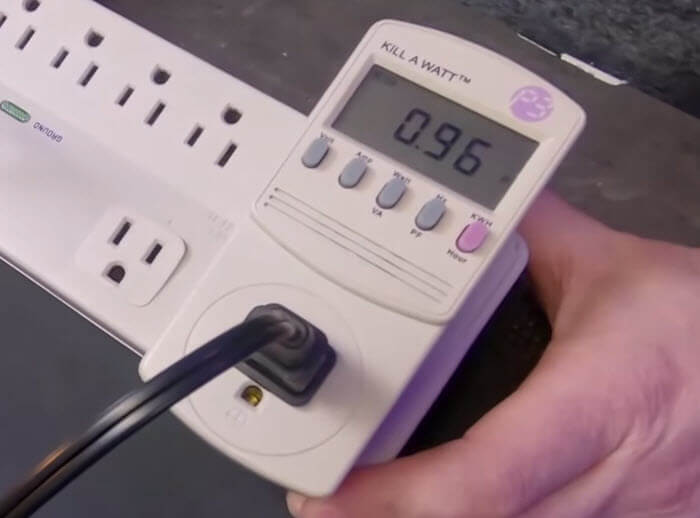
- To use it, just plug the meter into your wall, connect your PC’s power cable to the meter, and turn on your computer.
- This gadget shows you exactly how much power your system is using right now.
- The number you see will be for everything in your computer, so make sure it’s the only thing plugged into the meter.

