Although Windows 11 introduces a new widget feature, the widgets offered cannot be attached to the desktop. You can open the Windows 11 built-in widget board by pressing the Win + W keys, or learn more from this article: How to add or remove Windows 11 widgets. However, as mentioned, these widgets cannot be placed on the desktop. If you need widgets that can stick to the desktop in Windows 11, you need to use a different widget app.
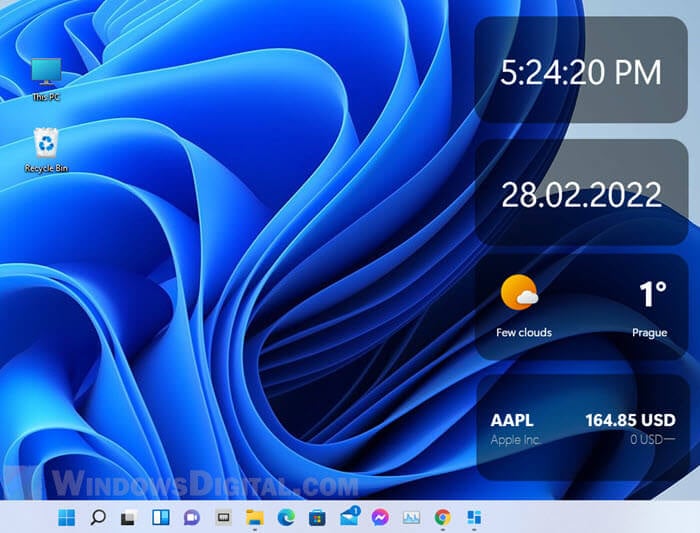
This guide will show you how to add widgets to desktop in Windows 11 using a custom widget app called BeWidgets which can be installed via Microsoft Store.
Page Contents
How to put widgets on desktop in Windows 11
1. Open Microsoft Store from the taskbar and search for BeWidgets.
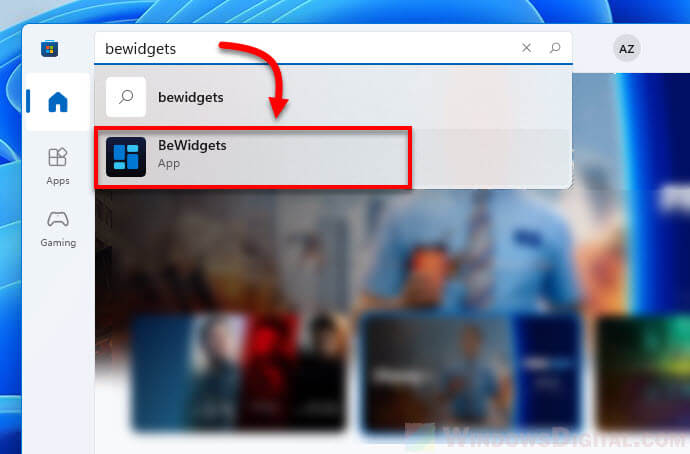
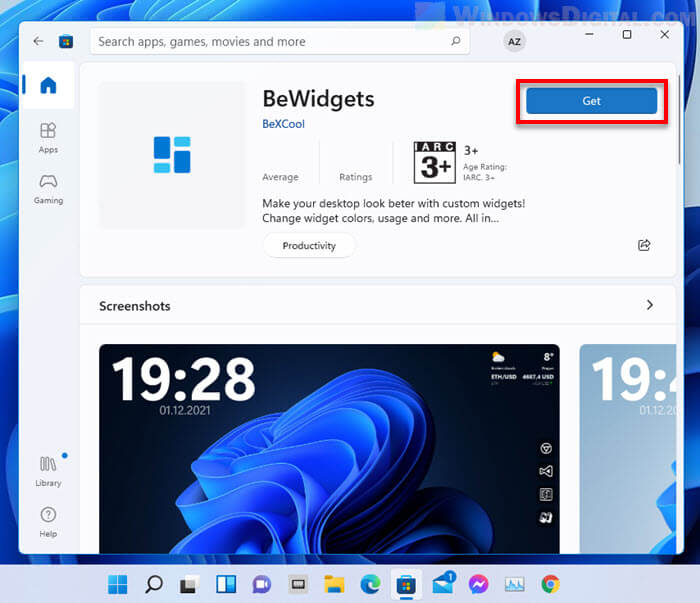
2. Select BeWidgets to open its store page. Then, click the Get button to install the app.
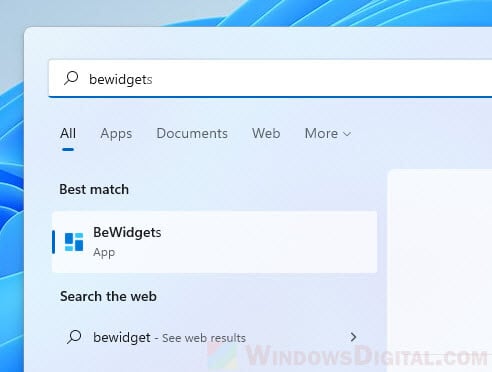
3. Once installed, you can launch the app directly from Microsoft Store by simply clicking the Open button. To open the app again next time, you can search for the app via Start and alternatively pin it to Start or taskbar for quick access.
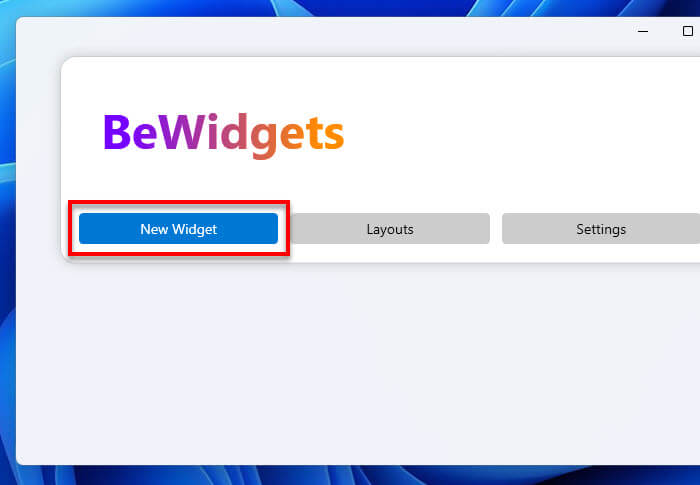
4. In the BeWidgets app’s window, click New Widget to create a new widget.
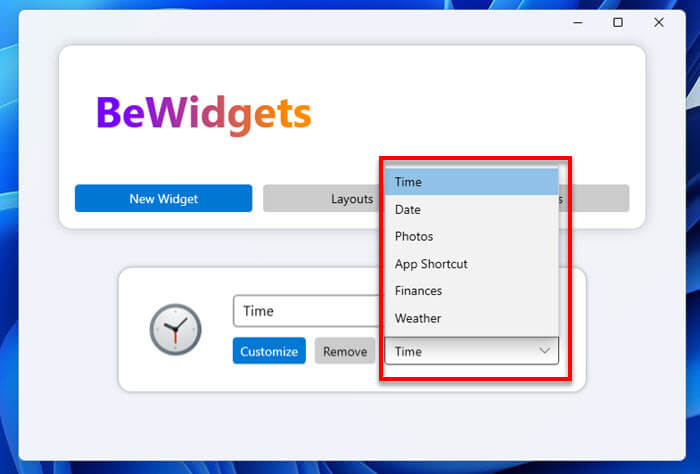
5. The default widget will always be the Time widget. To change this widget to another different widget, click the drop-down menu of the widget and select a different widget. The available widgets for now are: Time, Date, Photos, App Shortcut, Finances and Weather. The developer of this app may add more widgets in the future.
6. To customize a widget, for example, the Time widget, click Customize. In the Customize window, you can configure various options and preferences such as whether or not to show seconds in the widgets, changing to 12 hour format, making the widget unclickable, etc.
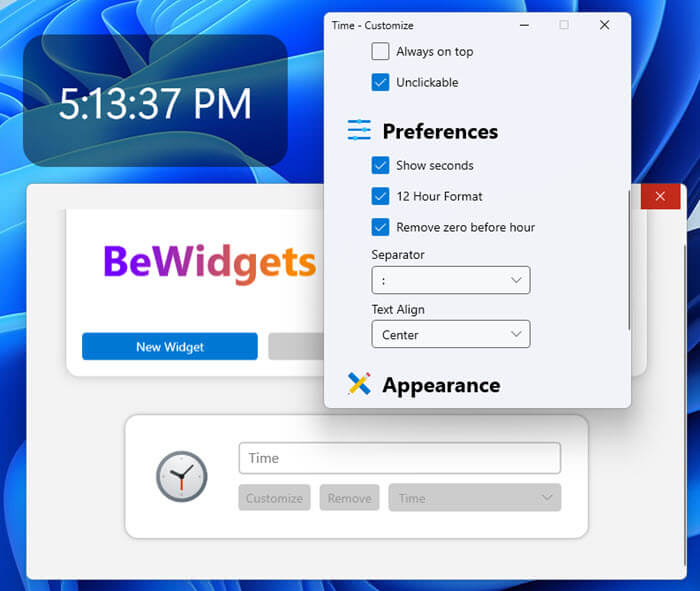
7. You can freely move the added widget on the desktop by clicking and dragging it to anywhere you want to place it on the desktop. However, if the unclickable option is enabled via Customize, the widget will no longer be clickable or moved. The unclickable option is recommended after you’ve placed your widget to prevent accidental clicking or moving of the widget.
Add a date widget to desktop in Windows 11
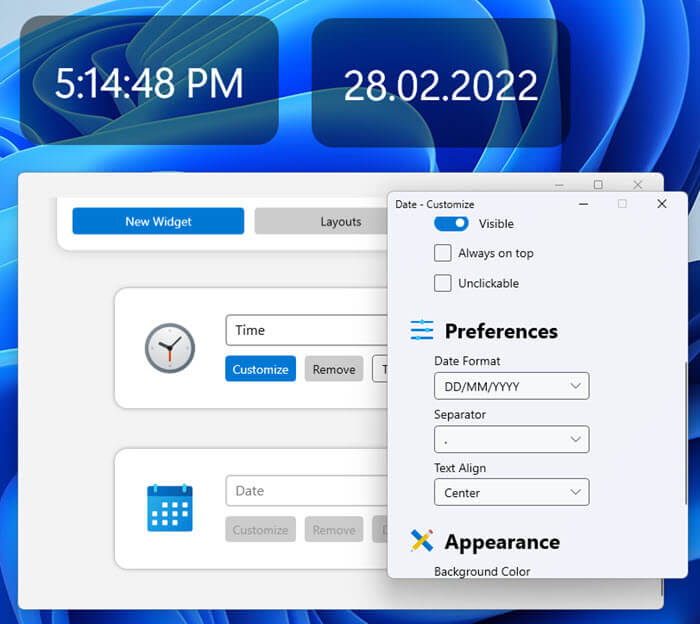
To add a widget that shows the date, click New Widget and change the default widget to Date via the drop-down menu. To customize how the date is displayed, click Customize in the Date widget. From there you can configure preferences such as Date Format (e.g. DD/MM/YYYY), separator used, text alignment, and appearance settings such as background color, etc.
Add a weather widget to desktop
To add a weather widget, click New Widget, then select Weather from the drop-down menu. To change the location the weather widget shows and to configure other settings for the weather widget, click Customize.
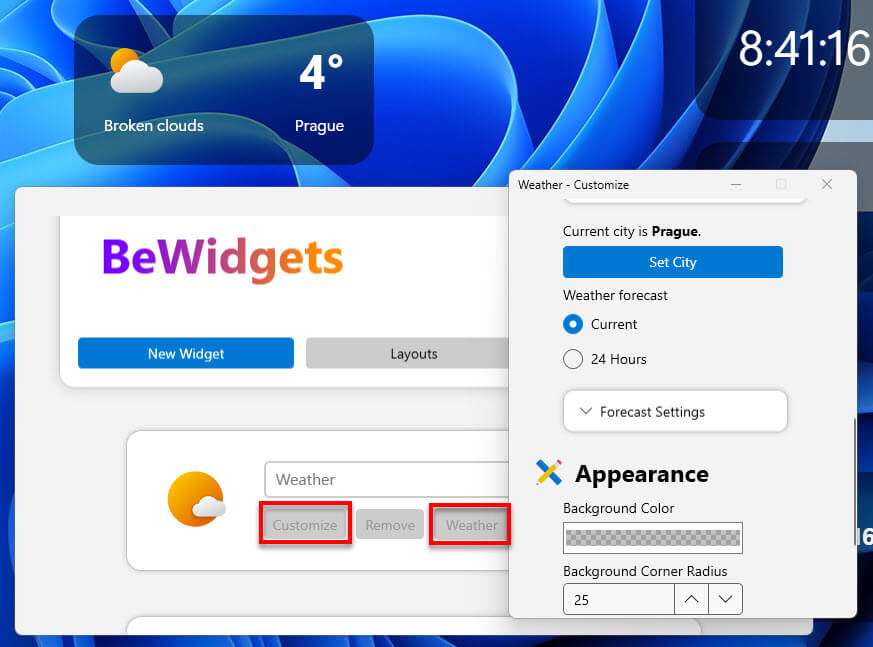
From there you can change the weather location by clicking the Set City button under “Current city is” setting. You can also configure other settings such as “Weather forecast” to choose if the widget should show only current weather or weather in 24 hours, as well as appearance settings such as background color of the weather widget.
Add a rotating photo display widget in Windows 11
BeWidgets Photo widget is a widget that can display photos from a photo folder. When there are multiple photos in the selected folder and its subfolders, the widget will use the photos and display them as a slideshow.
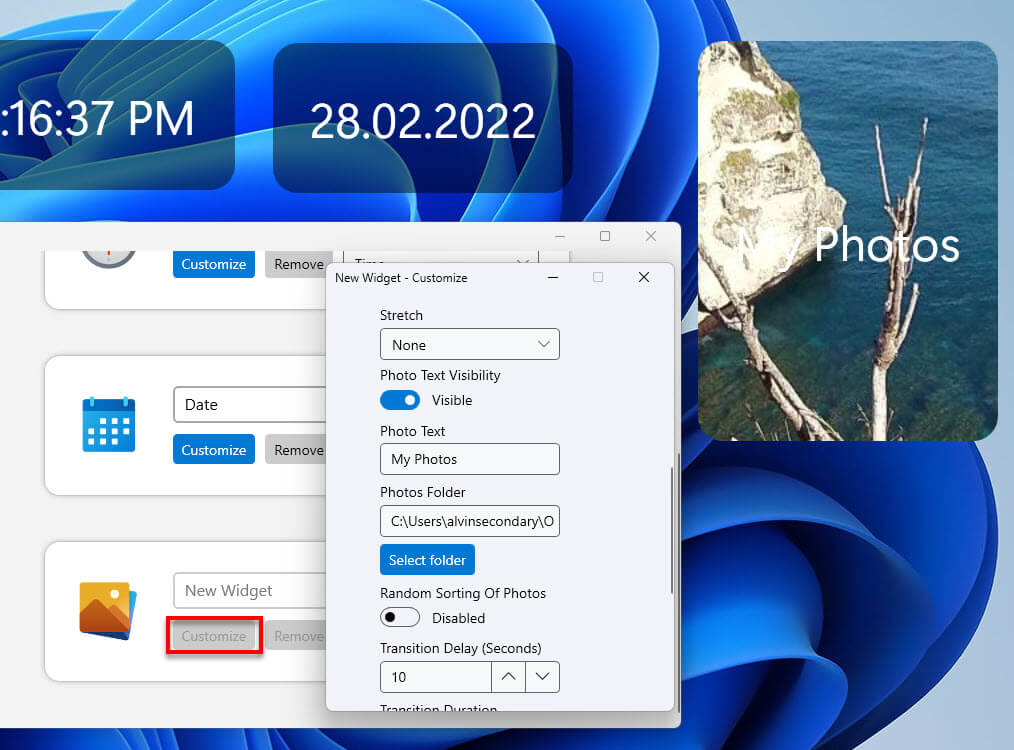
You can configure from which folder should the widget use photos from, the photos’ transition delay in seconds, the text on the photo widget, and other settings, via Customize.
Create layout to backup and restore widgets
BeWidgets also allows you to save your widget layout with all their settings and positions. You can create a layout of your current widgets by first clicking the Layouts button in the app, then select Create Layout From Current Widgets.
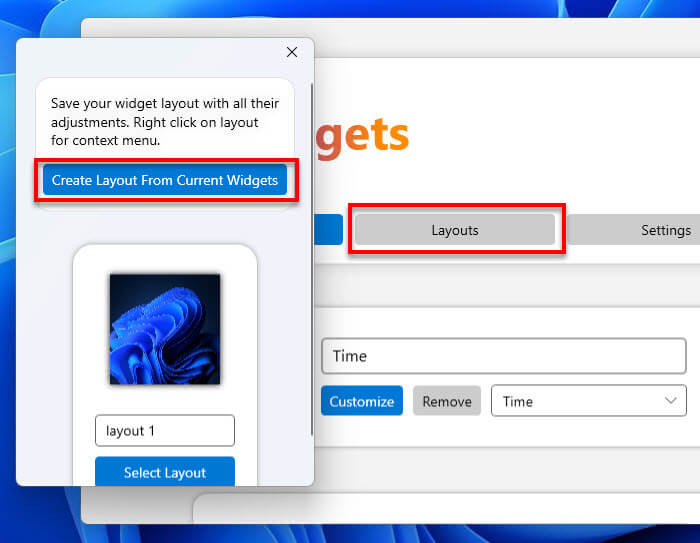
To restore a widget layout, click the Select Layout button on a saved layout.
Enable automatic launching of BeWidgets on startup
The widgets will only show up on the desktop if BeWidgets is running. Thus, it is recommended to allow BeWidgets to run on startup automatically so that you don’t have to open it every time you start up computer.
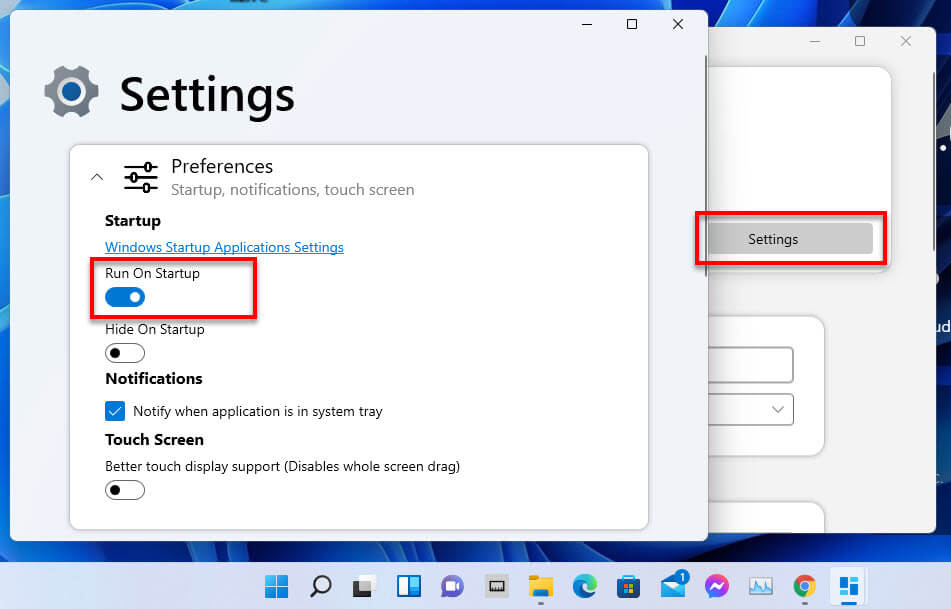
To enable BeWidgets to run on startup, click Settings in the app, and make sure the “Run On Startup” option is enabled. The “Hide On Startup” option tells BeWidgets to hide the app’s window (while showing only widgets) when it runs on startup.
