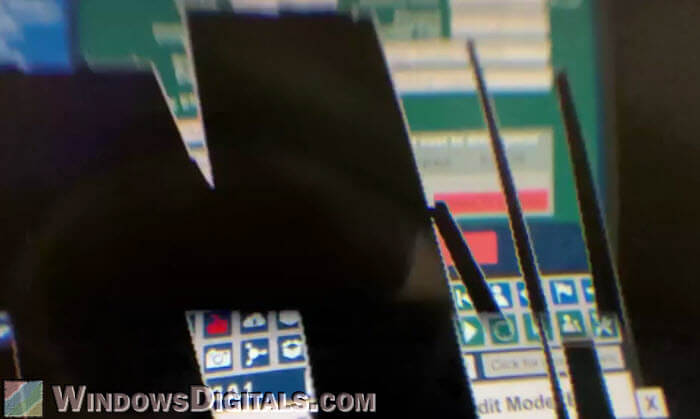
If you use Oculus VR devices and notice sometimes there are some random graphics glitches during your game, like some black stripes, lines, curves, boxes and other visual defects that suddenly pop up as you move your headset, it might be because of your GPU. We have noticed that this issue often happens with the latest NVIDIA RTX 4000 Series graphics cards, especially the RTX 4070, 4080 and 4090 models. In this guide, we’ll talk about some unique workarounds that might help you fix these glitches in your VR games or apps. But please note that these solutions might not work for everyone.
Also see: Oculus Rift S or Quest 2 No Headset Audio on Windows 11/10 PC
Page Contents
Fix graphics problems in VR game with Oculus Tray Tool
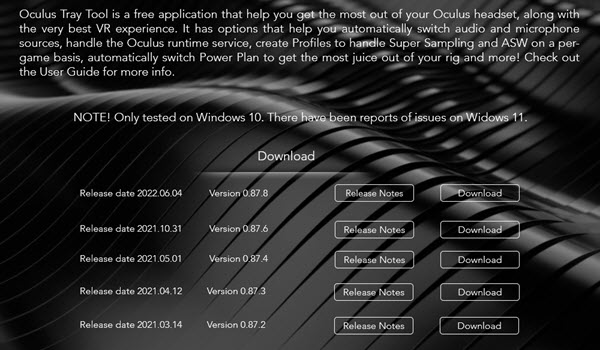
A good fix I found is to use an amazing tool called Oculus Tray Tool. This solved the issue for me that happened right after I upgraded from an RTX 2070 to a 4070. The Oculus Tray Tool is an app made to allow you to adjust how Oculus VR headsets work. It lets you change various settings that affect your VR experience, like supersampling, power management, and audio settings.
- Download and install the Oculus Tray Tool.
- Start the VR game where you’re seeing graphics problems.
- Press Alt + Tab to switch to your desktop without closing the game.
- Open the Oculus Tray Tool.
- Go to the settings and find the Default ASW Mode (Asynchronous Spacewarp) option.
- Change the Default ASW mode to “Off” instead of leaving it on Auto or any other option.
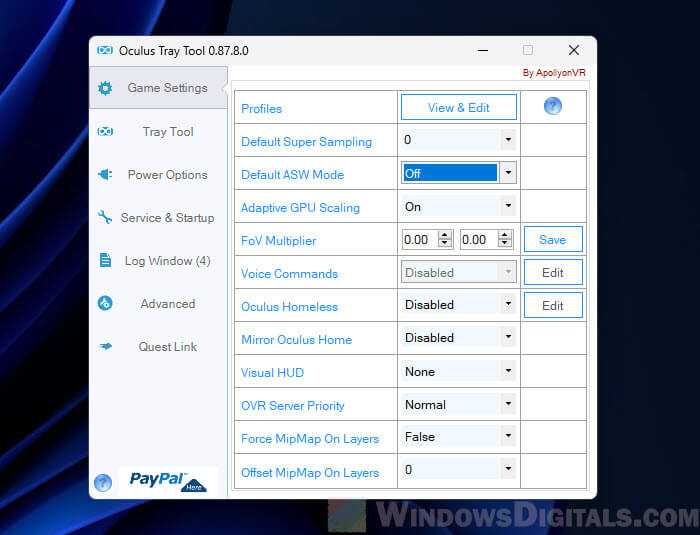
Turning off ASW can cut down or even get rid of graphics problems in some games. This method worked for me, and I hope it works for you too.
Suggested read: GPU Artifacting Examples, How to Test, and Fixes
Try out other settings in Oculus Tray Tool
If changing the ASW settings doesn’t really fix the issue for you, know that the Oculus Tray Tool has lots of other settings and options that you can adjust to maybe lessen the graphics problem. Take your time to try out these different settings. Each VR setup is different, and what works for one might not work for another.
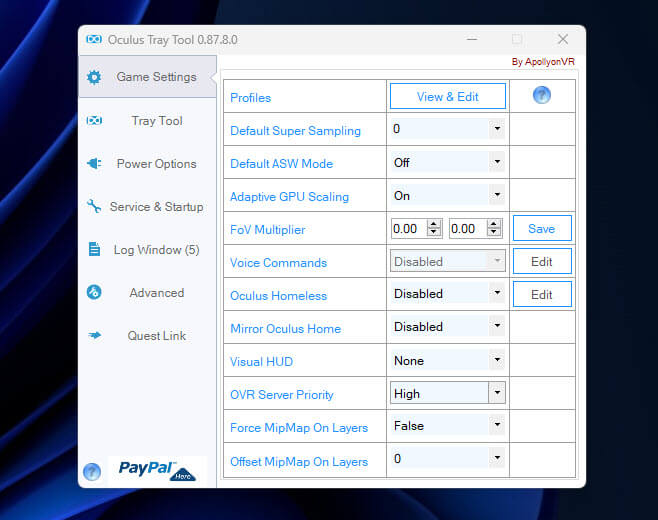
Below are some settings you might want to check out.
- Super Sampling – Try lowering the super sampling rate a bit to see if it helps with the visuals.
- Adaptive GPU Scaling – This setting can boost performance by changing the resolution based on how much the GPU is working. Turning on Adaptive GPU Scaling might lower graphics problems by making sure the GPU isn’t overloaded.
- Visual HUD (Heads-Up Display) – You can also turn on the the Visual HUD to watch performance stats live. This can help you spot if and when performance drops are linked to graphics problems.
- OVR Server Priority – Setting the OVR Server Priority to “High” makes sure the Oculus software gets more CPU resources, which might help lower graphics problems.
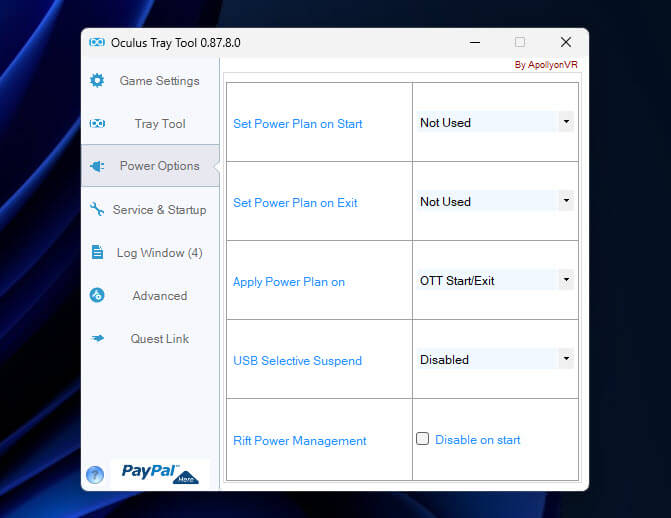
- Power Options – Make sure the power management settings are set for the best performance. This can stop any slowing down that might be causing unwanted problems.
Related resource: How to Take a Screenshot on Oculus Quest 2 or Rift S
Update graphics card drivers
I’m sure you have heard this a lot, but making sure your graphics driver is up to date should be the very first thing you should do. Outdated or messed up drivers can cause all sorts of issues including glitches that you see in your VR.
- Go to the NVIDIA Driver Downloads page.
- Pick your specific graphics card model and operating system, then click ‘Search’.
- If a new driver is available, download it.
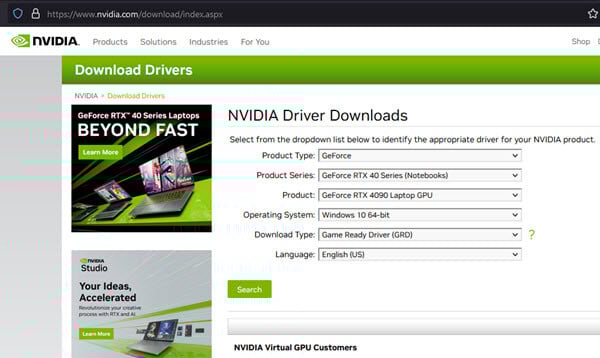
- Run the downloaded installer and follow the on-screen instructions to complete the installation.
Alternatively, you can also download and install NVIDIA GeForce Experience, and let it automatically look for and install the latest driver for your graphics card. After updating your drivers, restart your computer and check if the graphics problems are gone.
Lower graphics settings in games
Sometimes, graphics problems can come from the VR game’s graphics settings being too high for your computer to handle properly. Try to lower some settings to see if it can ease the load on your graphics card and maybe get rid of the glitches.
- Lower the texture quality. High-quality textures can be tough to handle, so reducing this setting might help.
- Shadow quality needs a lot of resources. Try lowering the shadow quality or turning off shadows completely.
- Anti-aliasing makes jagged edges smooth but can be tough on your GPU. Think about lowering the anti-aliasing level or turning it off.
- Lower the game’s resolution. Running the game at a lower resolution can directly ease the load on your GPU.
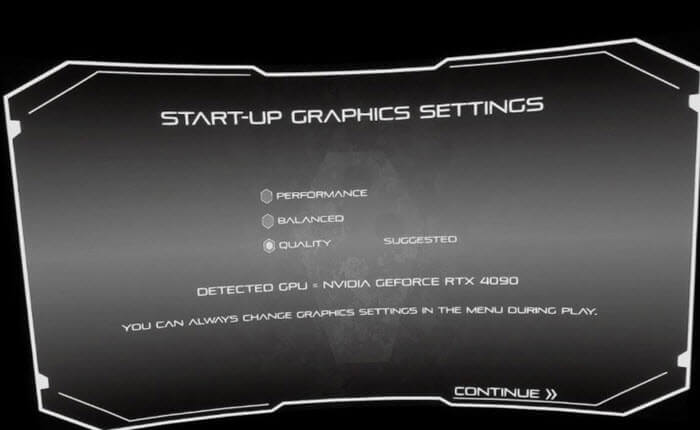
After adjusting these settings, restart the VR game and Oculus app (Meta Quest Link) and check if the graphics glitches have gotten better. It might take some trying out to find the right mix of visual quality and performance for your setup.
Useful guide: How to Allocate More RAM to a Game in Windows 11 or 10
Other solutions you can try
Reseat the headset cable
Sometimes, a loose connection can cause tracking and visual problems. Make sure the cable connecting your headset to your PC is securely plugged in.
Use Virtual Desktop
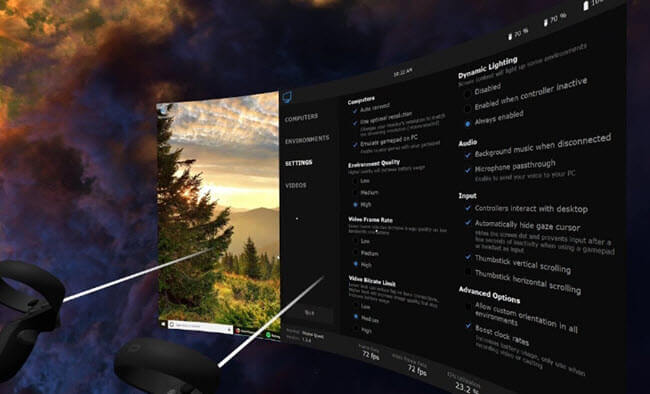
Some users have found that starting the game with Virtual Desktop can help reduce rendering problems in VR, especially with the Oculus Quest 2 and RTX 4000 series graphics card. But this might not be the best solution for everyone.
Check for overheating
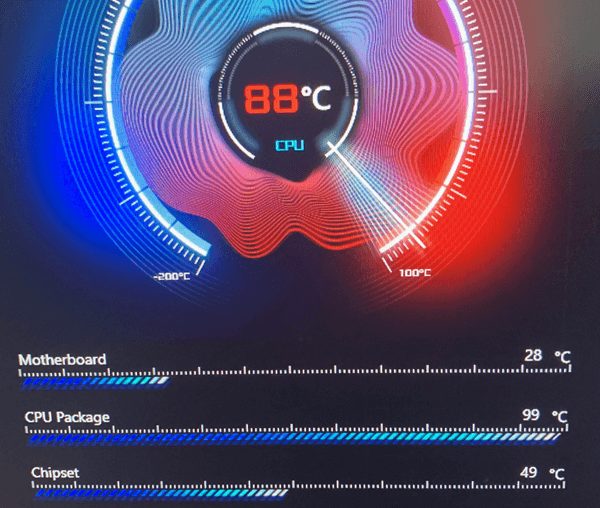
Make sure your PC and graphics card are not getting too hot. Overheating can cause many performance problems, including graphics glitches. Make sure your cooling system is working well and that there’s good airflow in your PC case.
Pro tip: Why is my CPU Overheating and How to Fix it
Check for graphics card overclocking
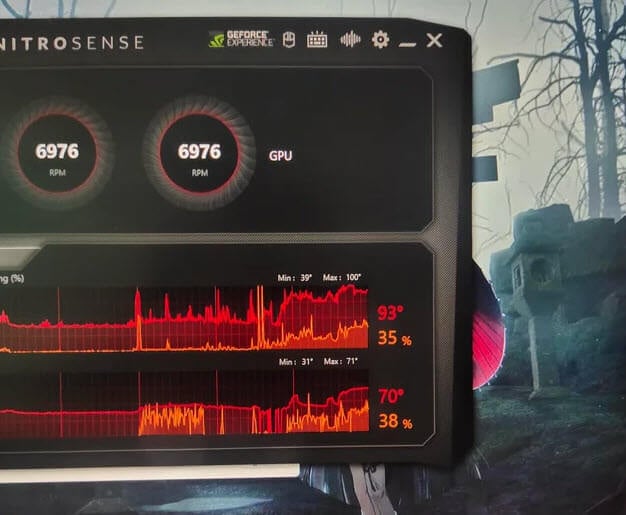
Uninstall any third-party software that might be messing with your GPU’s performance. This includes overclocking tools, GPU tweaking software, and any other apps that directly work with your graphics card.
Linked issue: Computer Fans Randomly Speed Up, Why?
Check lighting conditions
Poor lighting conditions can mess with how well your VR headset tracks. Make sure your play area is well-lit and free from anything that might block the sensors.
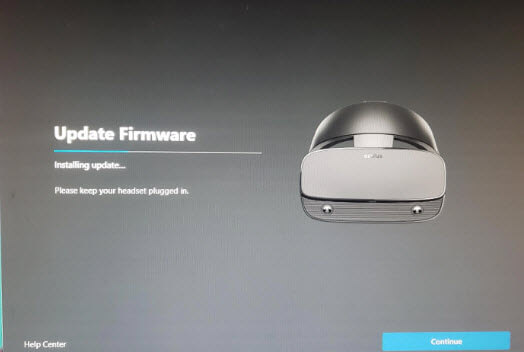
Update firmware
Make sure your VR headset and controllers are up to date with the latest firmware.
Try a different VR headset
If possible, test your system with a different VR headset to see if the problem is just with your current one.
Check for hardware issues
There might be a problem with your graphics card or other hardware parts. If you have spare parts or can borrow from a friend, try swapping out parts to see if the problem still happens.
