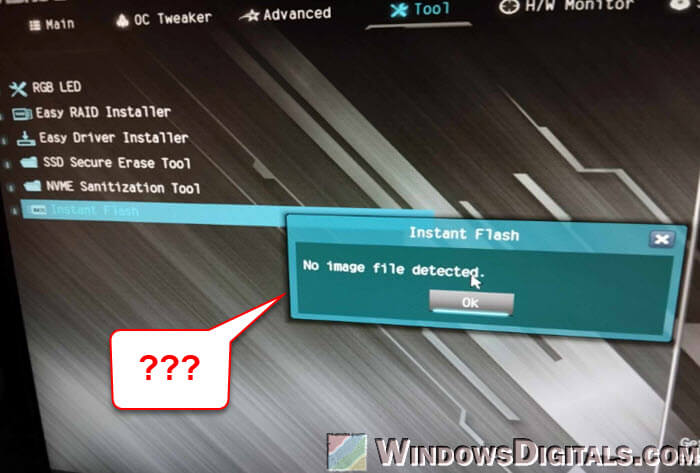
We recently tried to update our computer’s BIOS with the latest firmware to fix some problems. Thus, we put the new firmware file on a USB drive, started the PC, and tried to use the Instant Flash feature. But instead we got a message that says “No image file detected” (you can see this in the screenshot below), even though we made sure the USB drive was plugged in correctly and had the firmware file. In this guide, we’ll show you how we figured out this problem and fixed it.
Related resource: How to Enable TPM 2.0 and Secure Boot on ASRock
Page Contents
Things we tried first to fix the “No image file detected” error
Check the USB drive
To make sure the USB drive was working as it should, we plugged it into another computer. We checked if it showed up in the File Explorer and if we could move a small file to and from the drive. This helped us make sure there were no issues with the USB drive itself.
Format the USB drive to FAT32
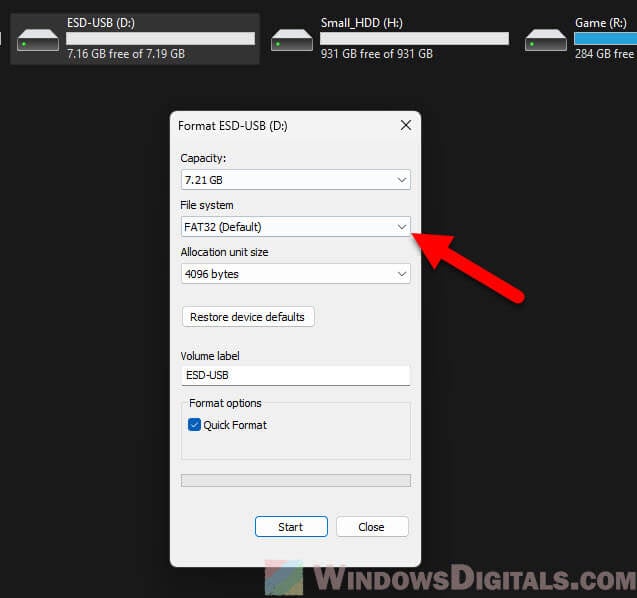
The USB drive’s format is important for the BIOS/UEFI to recognize it. We looked at the drive’s format by right-clicking on it and choosing “Properties“. When we saw it wasn’t FAT32, we back up the files and then changed the format to FAT32.
This was done by right-clicking on the drive, picking “Format“, selecting “FAT32” from the file system options, and then hitting “Start“. We chose a quick format to save time.
Clear the USB drive
We cleaned up the USB drive by removing all files and folders except the firmware file. This helped make sure the BIOS/UEFI wouldn’t get confused by too many files. This step was key because some BIOS/UEFI systems might not spot the right firmware file if it’s hidden among other files.
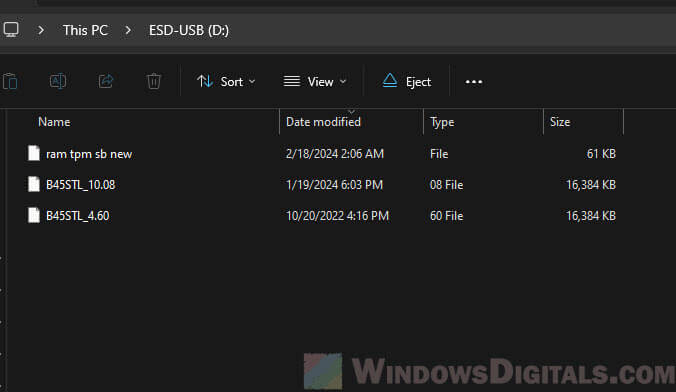
Even after all this, the problem was still there. It turned out it wasn’t the USB drive or how it was formatted, but the firmware file itself that was the issue.
Linked issue: Can’t find TPM 2.0 and Secure Boot options in BIOS
What actually caused the “No image file detected” issue and how we fixed it
Firmware mismatch…
At first, we didn’t think the firmware file was the problem. But after making sure the USB drive was working and correctly formatted, we looked at the firmware file again. We compared its name and version number with what was listed on the ASRock website for our motherboard model.
We then realized the problem: the firmware we downloaded was for the “ASRock B450M Steel Legend,” not our “ASRock B450 Steel Legend.” This small difference in the model name was critical because firmware is designed for specific motherboard models.
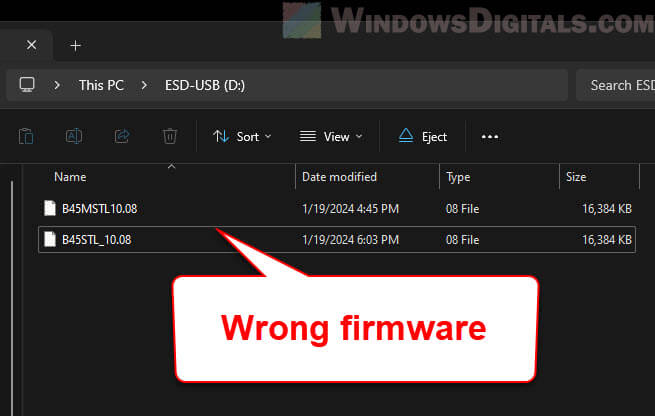
Why the correct firmware version matters
The BIOS Instant Flash feature helps prevent installing the wrong firmware, which could cause lots of problems, from small bugs to completely breaking the motherboard.
If we had installed the wrong firmware, it could have permanently damaged our motherboard. This safety feature stops that from happening by only allowing firmware that fits the specific motherboard model to be installed.
Get the right firmware
After finding our mistake, we were careful to get the correct firmware from the official ASRock website. We made sure to double-check the model name and version number to make sure we got the right file.
You should be very careful when using search engines like Google or Bing to find firmware, as they might show similar but incorrect models. Always check the details on the manufacturer’s website first.
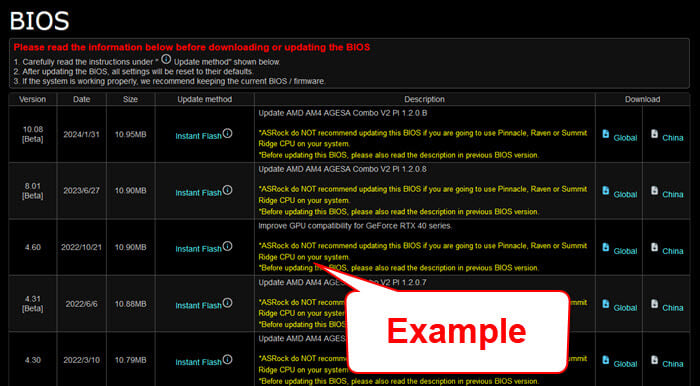
Update the firmware successfully
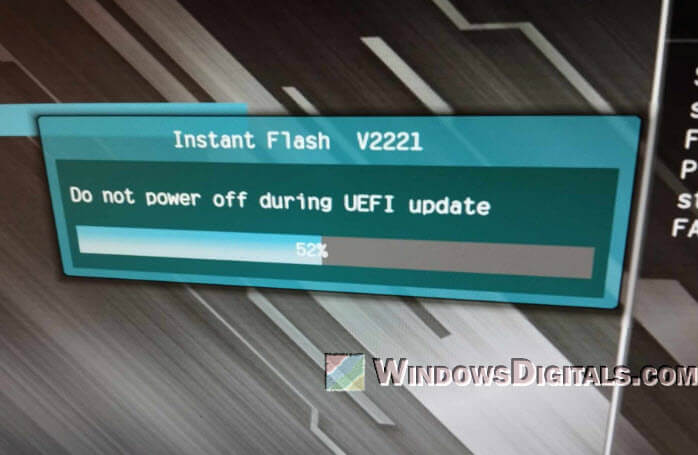
With the right firmware file, we updated the BIOS. We put the file on the USB drive, restarted the computer into the BIOS setup, and this time, Instant Flash found the firmware file, showing it was the right one for our motherboard.
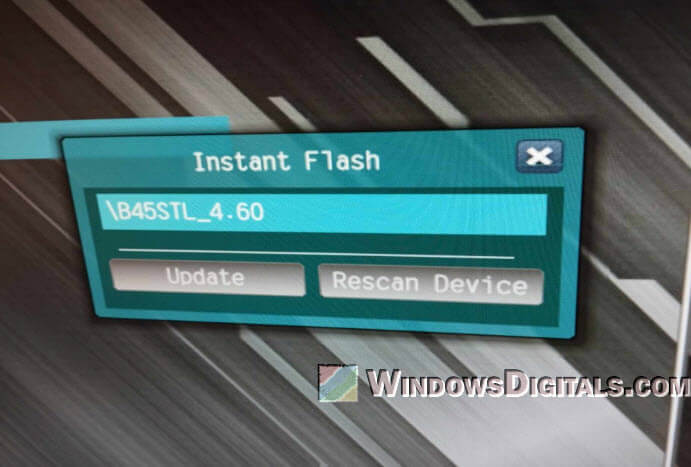
We picked the file and started the update. After the process was completed, the PC was restarted and was now with the latest BIOS firmware version.
It’s utterly important to keep the computer on and not let anything interrupt it during this process. Any interruption can really mess up the firmware and might even break the motherboard entirely.
