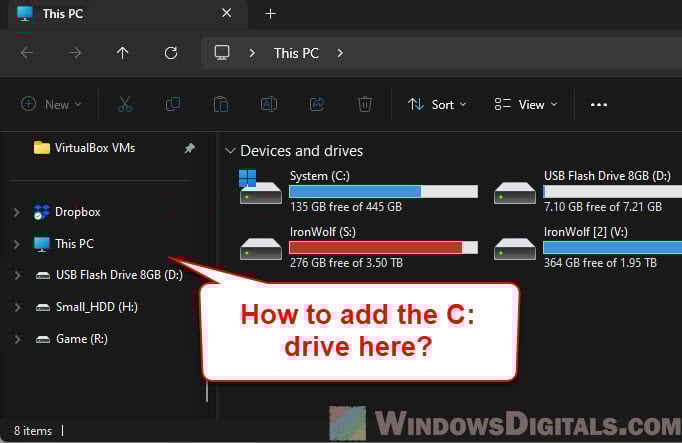
Normally, drives will not show up in the navigation pane (the left pane) in File Explorer if they’re not pinned to it. There are times when you might see some drives like D: or E: listed under “This PC”, but not your C: drive. If you’re wondering if you can add the C: drive to the navigation pane like how the other drives show up there, this guide will show you how to do that on Windows 11.
Also see: How to Make File Explorer Open to This PC on Windows 11
Page Contents
Why is C: drive not showing up in the navigation pane?
The C: drive isn’t showing up in the left pane on File Explorer by default because of how Windows 11 organizes internal and external drives. Normally, File Explorer sees the C: drive as part of “This PC” instead of showing it as a separate item (which you can access by simply clicking the “>” icon next to “This PC” to expand it), unlike removable drives that are listed individually under “This PC”. The navigation pane may only show D:, E:, or other drives if they are recognized as removable. The C: drive, however, might need to be added manually.
This default setup can sometimes seem unusual, but there are several ways to make the C: drive appear in the left navigation pane in File Explorer. We’ll look at these solutions below.
Pro tip: How to Show Folder Size in Windows 11/10 File Explorer
How to add C: drive to File Explorer’s left navigation pane
Just pin C: drive to quick access
The easiest and quickest way to add the C: drive to the left pane is to pin it to Quick Access. This won’t put the C: drive under “This PC”, but it will still make it easier to find in the navigation pane.
- Open File Explorer.
- Go to “This PC“.
- Right-click on the C: drive and choose “Pin to Quick Access”.
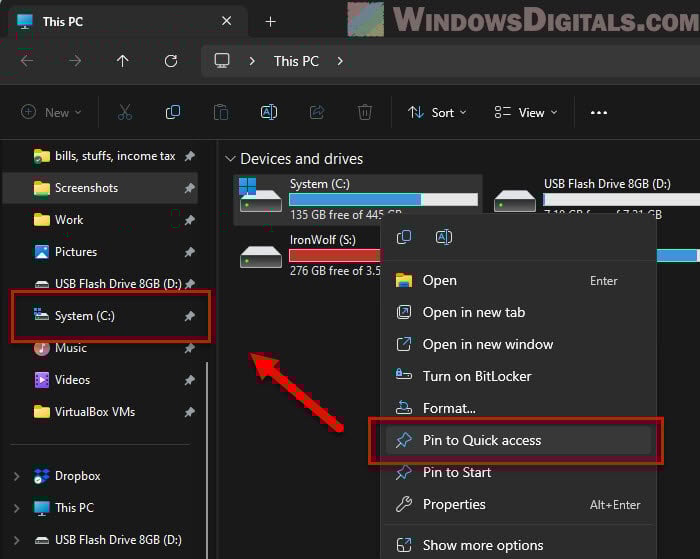
Now the C: drive will show up under Quick Access. Tip: You can move the C: drive anywhere you like in the Quick Access area by simply dragging it up or down.
Add C: drive to navigation pane using Winaero Tweaker
If you want to add the C: drive below “This PC”, you can use a tool called Winaero Tweaker. This tool lets you change Windows in ways you can’t do normally. It works well for adding special folders or drives to the File Explorer side panel.
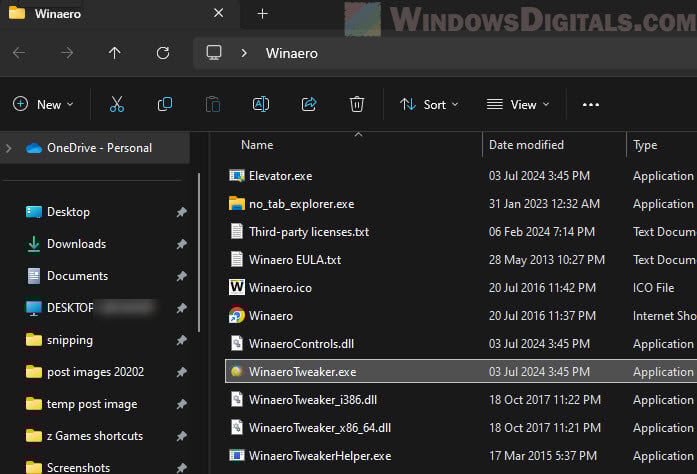
- Download Winaero Tweaker from its official website and install it.
- Open Winaero Tweaker once it’s installed.
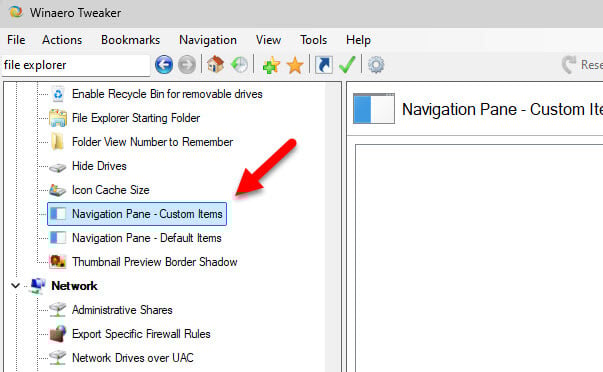
- Go to the “File Explorer” section in the left panel and click on “Navigation Pane – Custom Items”.
- Click “Add custom folder” and follow the prompts.
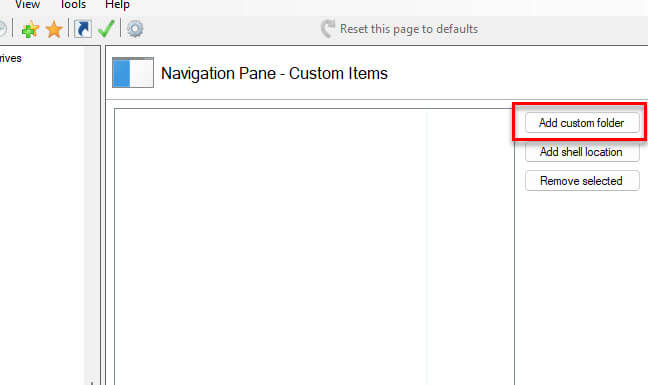
- Name the folder “Local Disk (C:)” (or anything you like) and select the C: drive as the location.
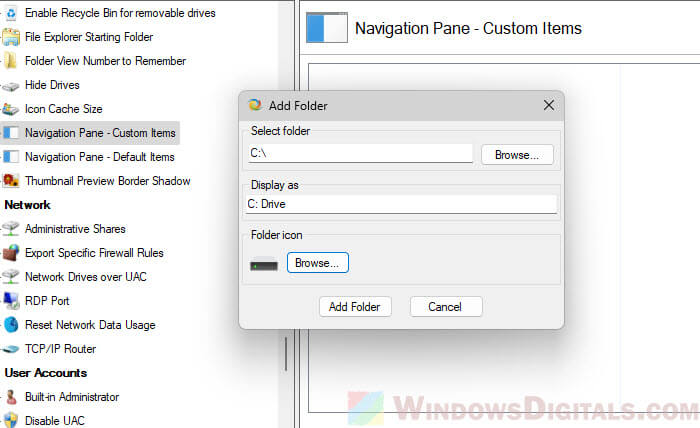
- Optionally, you can select a “drive” icon instead of using the default folder icon.
- Click “OK” to save the changes.

After doing this, the C: drive should show up in the left side panel below “This PC”. Feel free to add any other folder you like to the navigation pane using the same steps.
Might be useful: How to Create “This PC” Shortcut on Desktop in Windows 11
Why do D:, E: or other drives show up but not C:?
The reason why your other drives like D: and E: actually show up in the navigation pane, but just not C:, might be that Windows sees certain drives as removable. When Windows detects drives as removable, it automatically places them in the left pane below “This PC”. On the other hand, the C: drive is treated as part of the computer’s system, which means it is included within “This PC.”
If you see D:, E:, and other drives below “This PC, but not C:, it’s probably because those drives are recognized as removable or external. This can happen if your computer’s SATA controller has hot-swap enabled, or if the drives are connected in a way that Windows recognizes as removable.
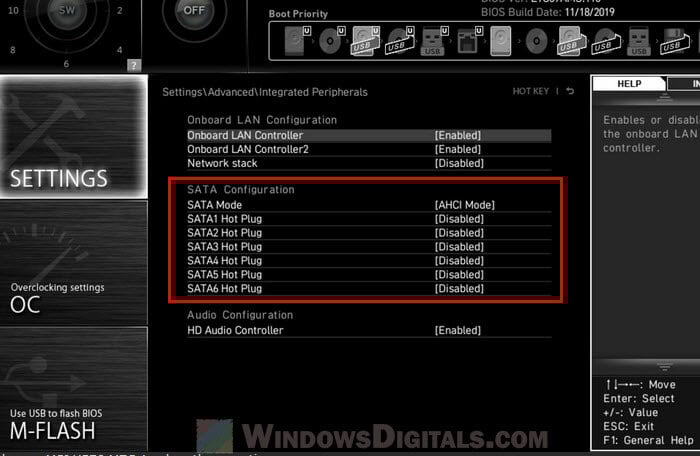
Check the BIOS settings
Sometimes, Windows treats certain internal drives as removable. If you don’t want any drive to be seen as removable, you can check the settings in your BIOS.
- Restart your computer and enter the BIOS by pressing the key shown on your startup screen (usually F2, F10 or DEL).
- Look for any options related to SATA configuration or hot-swapping.
- If there’s an option for treating drives as removable, disable it for any drive that you don’t want to appear in the left pane, or enable it for any drive that you want Windows to treat as removable, thus making it show up under “This PC”.
Create a desktop shortcut for C: drive
If you’re running out of options, I would suggest you make a shortcut on your desktop for the C: drive. This won’t add it to the left panel in File Explorer, but it will still make things easier.
- Go to “This PC” in File Explorer.
- Right-click on the C: drive, select “Show more options”, and then “Create Shortcut“.
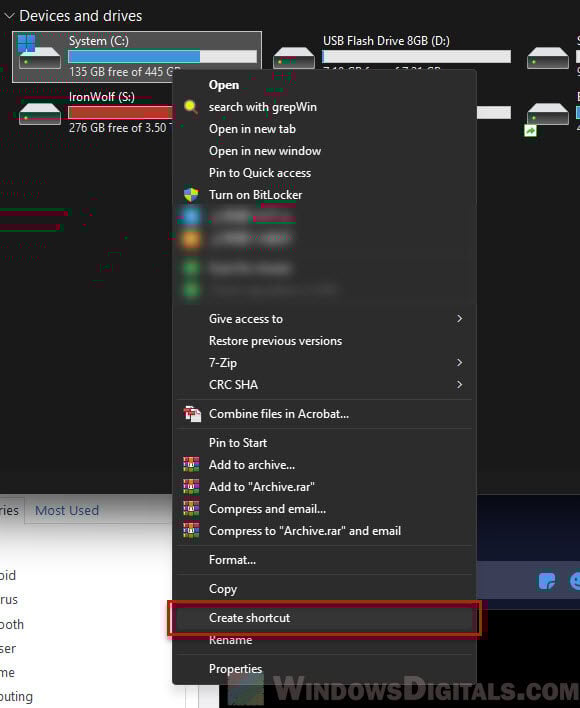
- The shortcut will be placed on your desktop.