To project your Windows 11 or Windows 10 PC to another device or vice versa, you need to first add and install the wireless display optional feature in Windows 10. Without it, the PC will not be able to use the wireless display feature and cannot be detected as a wireless display capable device.
In this guide, you will learn how to add and install the wireless display feature in Windows 10 or 11, if it’s not already installed.
Also see: Sharing Windows 11 or 10 Screen to Chromecast
How to Install Wireless Display Feature in Windows 10 or 11
To mirror another screen or project to your PC, you need to install the Wireless Display feature on the Windows 11/10 PC and make sure both the device and your PC support Miracast. To add wireless display feature in Windows 10, follow the steps below.
- Press Win + i keys to open Settings, or manually search for and open Settings from the start menu.
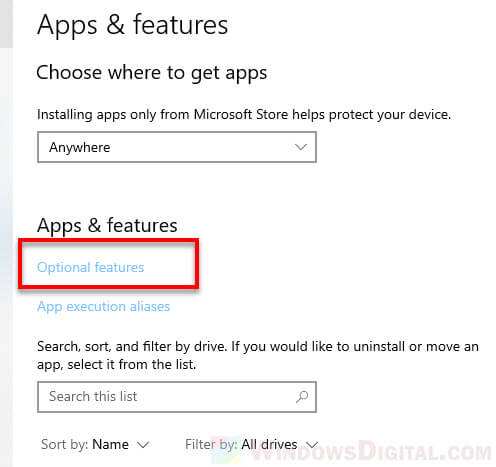
- In the Windows Settings window, select Apps. Under Apps & features, click on Optional features. In Windows 11, select Apps > Optional features.
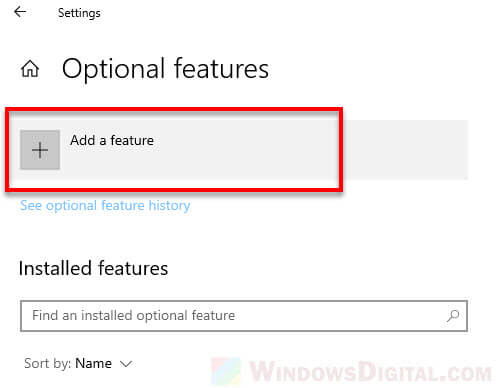
- On the next screen, click on Add a feature.
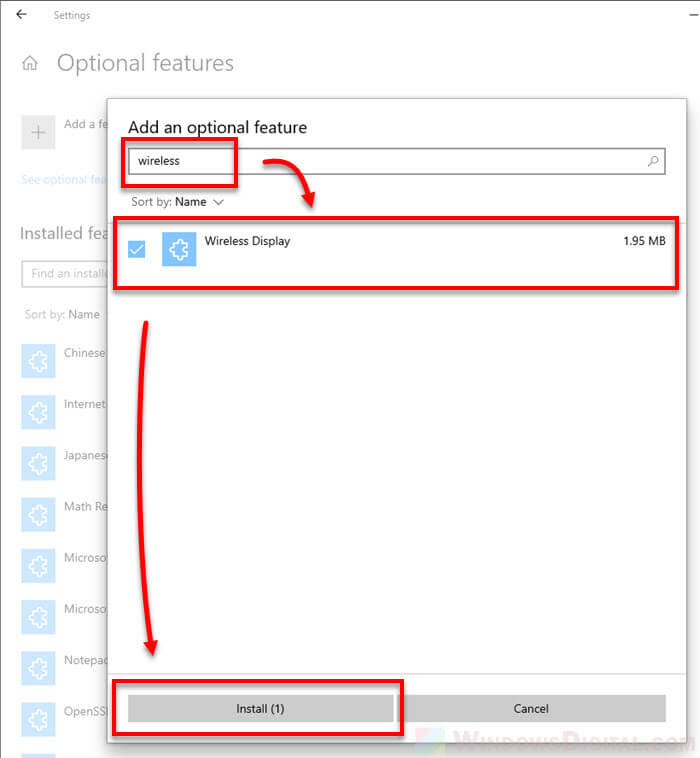
- Type “wireless” in the search box, select “Wireless Display” from the search result, and then click on Install to add the feature to your Windows PC.
- The window will show the progress of the installation. Once installed, you then start casting or mirroring screen to or from your PC wirelessly.
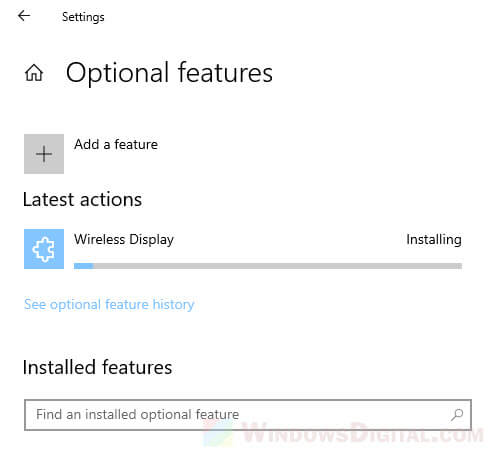
Wireless Display feature install failed due to error 0x8024402C
If the wireless display feature failed to install due to error during step 5, try to temporary switch off the WiFi on your PC and then try to install it again.
The installation could also fail if you have a metered connection. To turn off metered connection, go to Settings > Network & Internet. Under the network you have connected (WiFi, Ethernet, etc.), click on Properties.
Under Set as metered connection, click on the radio button to turn it off.
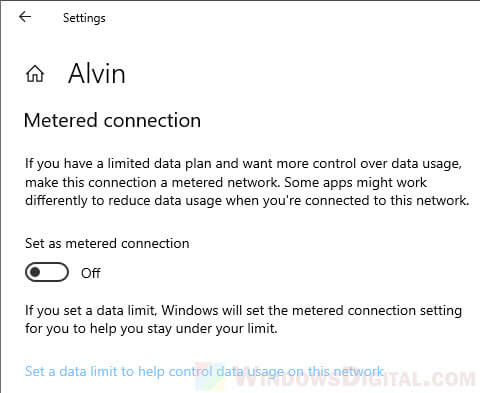
After turning off the metered connection, try to install the wireless display optional feature again.
How to tell if my PC supports Miracast
The screen mirroring and projecting only works if your PC and the other device you want to project to or from support Miracast.
You can check if your PC supports Miracast by going to Settings > System > Projecting to this PC. If your PC doesn’t support Miracast, it will show you an error message that says “This device doesn’t support receiving Miracast, so you can’t project to it wirelessly” on the setting page and every options will be greyed out.
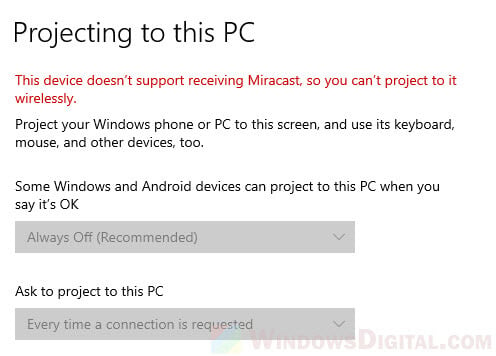
If the settings are available, it means that your PC does support Miracast and that you can project to and from another device (that also supports Miracast) wirelessly.
How to project or cast screen from or to Windows 11/10 PC
If you want to cast the screen from, for example, your android device to your Windows PC, you can use a built-in app called “Connect” on the PC.
You can search for and open the Connect app from the Windows search bar.
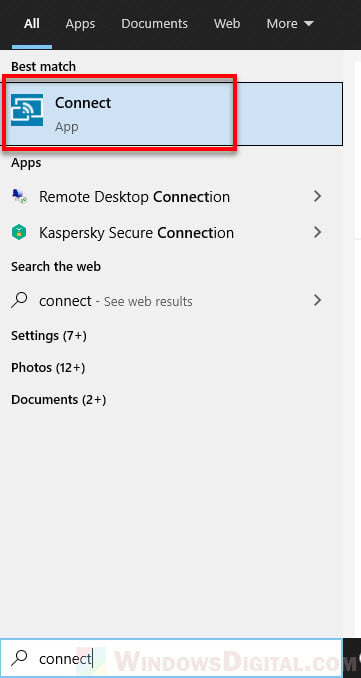
On the device you’re projecting from, look for “screen mirroring”, “cast settings” or similar settings from the settings app, and then select your PC to connect to it.
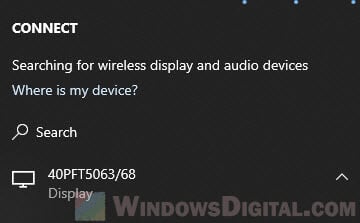
If you’re projecting from your PC, you can press Win + K keys to bring up the list of detectable wireless display and audio devices that you can connect to.


