Ever noticed your monitor is named “Generic PnP Monitor” in Windows instead of showing its real name? Or maybe there’s a yellow exclamation mark next to the monitor’s name in Device Manager or the Monitor tab from Advanced display settings? If that’s what you’re seeing, this guide will be of some help. We’ll explain why this happens and how to fix it on your Windows 10 or Windows 11 PC.
Also see: Monitor Not Working After Windows Update on Windows 11 or 10
Page Contents
Why do I see Generic PnP Monitor on Windows 11 or 10?
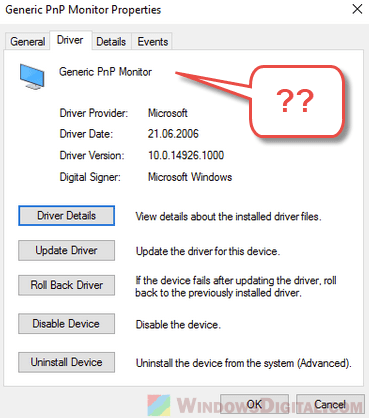
When Windows can’t find the right driver for your monitor, or the driver is missing or corrupted, your branded monitor is shown as “Generic PnP Monitor.” This can mess up some functions of your monitor, like not being able to set the screen refresh rate to 144Hz even though your monitor supports it.
Related issue: Second Monitor Not Detected in Windows 11/10
The issue is common, especially after applying a major Windows update or upgrading from one Windows version to another, such as from Windows 10 to Windows 11. Connecting your monitor via a converted cable, such as DVI to VGA or to HDMI, can also cause the problem as your PC may not recognize the monitor. In such cases, try using an alternative connector, such as HDMI to HDMI or display port, instead.
Similar issue: Second Monitor Keeps Flickering, Flashing or Going Black Randomly
Is it normal for my monitor to appear as “Generic PnP Monitor”?
In many cases, it’s perfectly normal for your monitor to appear as “Generic PnP Monitor” even if you have installed the right driver. This is because the monitor’s name may not be stored in the driver, or Windows may not be able to read the monitor’s name correctly.
In such cases, as long as your monitor is working properly and you’re able to use all its features, there’s usually no need to worry. But if you notice any issues with your monitor’s performance, such as a significantly lower refresh rate or obvious poor image quality, you might need to take a look at the issue and try to install the correct driver.
How to fix Generic PnP Monitor driver problem?
You can try the following solutions to fix the “Generic PnP Monitor” issue on your Windows PC:
- Fully unplug the monitor cable from your PC and plug it back in again. Make sure the cables and ports are properly connected.
- If you have the driver installation disc for your monitor, use it to install the monitor’s driver. Most modern monitors come with a driver CD upon purchase. Check your boxes to see if it’s still there.
- You can search for the driver for your monitor on the manufacturer’s website or on Google. For instance, if you have an HP monitor, you can search for its driver on support.hp.com. In most cases, if your monitor is not too old, you should be able to find the driver this way.
- You can update the monitor driver via the Device Manager.
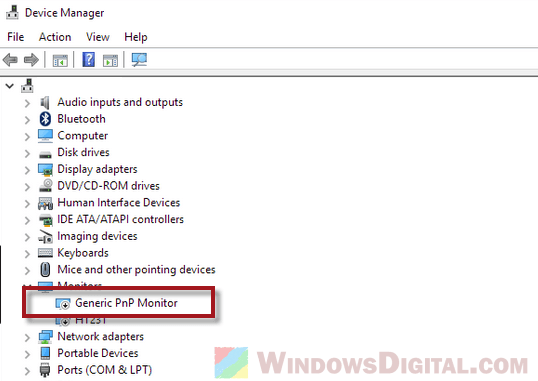
- Go to the Start menu and search for and open “Device Manager.”
- Scroll down the list and expand the “Monitor” category.
- Right-click on the “Generic PnP Monitor.”
- Select “Update driver,” and then select “Search automatically” to allow Windows to automatically search for the right driver from Microsoft’s driver repository for your monitor.
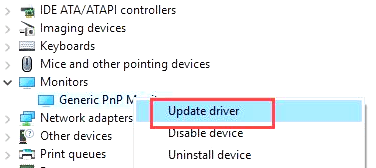
- Once installed, restart your PC.
Alternatively, while you are in the Device Manager, instead of updating the driver for Generic PnP Monitor, you can try to just “Uninstall the device“. Uninstalling the driver and rebooting your computer will allow Windows to automatically re-detect and install the driver for your monitor on the next startup.

