If you’ve tried to push your CPU’s limits with Ryzen Master by undervolting or overclocking, and your PC crashes right when you open the app, it might be because the settings are too risky. As soon as you start Ryzen Master, it puts these settings into action and if they’re not stable, your computer just can’t handle it and crashes. This guide will talk about how to solve this by resetting Ryzen Master to its original settings.
Also see: Windows 11 Crashes When Right-Click on Desktop
Page Contents
What can actually cause Ryzen Master to crash your computer?
If you’re trying to squeeze some more performance out of your CPU by using Ryzen Master for overclocking or undervolting, crashes can happen and it’s very normal. But if your computer crashes as soon as you open Ryzen Master, it usually means your OC settings have a problem. This happens because Ryzen Master automatically puts your saved settings into effect when it starts. If these settings are too overdone or not stable at all, your computer might crash right away.
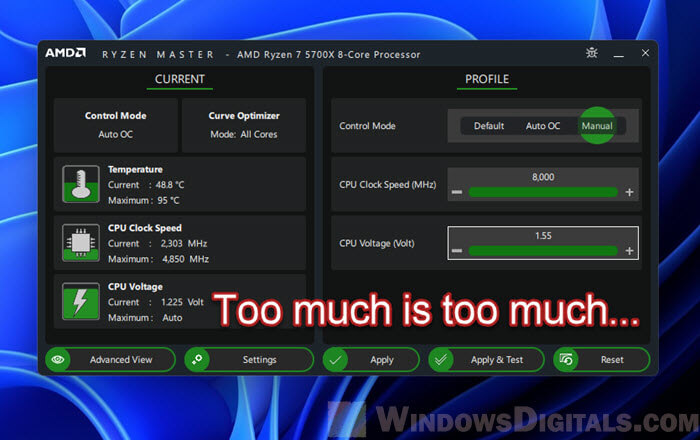
If you don’t already know, overclocking speeds up your CPU beyond its usual pace, which gives you more performance than its default speed. Undervolting cuts down the power to your CPU, which lowers heat and saves energy, all while maintaining good performance. Both methods can give you a slight performance boost, but they can also make it less stable (more crashes) if not done properly.
This problem gets worse if Ryzen Master is set to automatically apply these settings when your computer turns on. If your settings are too much to handle for your hardware, you might end up in a loop of crashing and restarting, and you won’t be able to even open Ryzen Master to fix it.
Linked issue: Ryzen Master unable to initialize Kindly reinstall the program
How to manually reset Ryzen Master to its default settings?
If unstable settings keep making Ryzen Master crash your computer, you need to bring it back to its default state. Just reinstalling the software may not solve the problem because it usually saves your previous settings. Also, just removing and replacing the CMOS battery won’t help if the issue is with Ryzen Master and not the BIOS. To fully reset Ryzen Master, you have to manually delete its configuration file.
- Navigate to the Ryzen Master installation directory, typically at
C:\Program Files\AMD\RyzenMaster\bin. - Look for the file named configRM.json.
- Delete configRM.json to wipe your custom Ryzen Master settings.
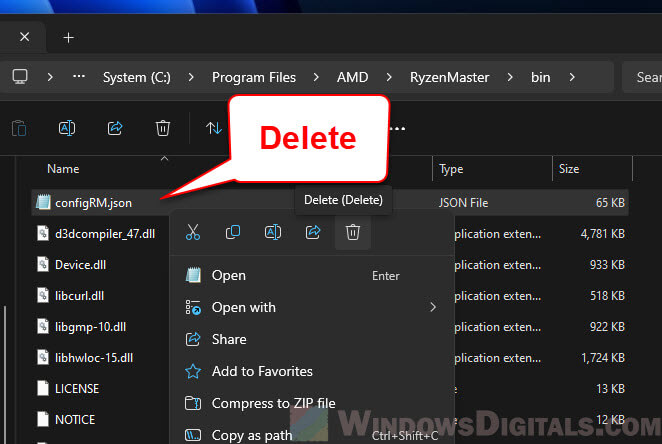
Doing this forces Ryzen Master to create a new default configuration file the next time it runs, bringing your settings back to normal and removing the ones causing the crashes.
Note that deleting this file will erase all your custom settings and profiles in Ryzen Master. You’ll need to set them up again if you want to continue using the app for overclocking or undervolting.
Suggested read: Why is my CPU Overheating and How to Fix it?
What if Ryzen Master auto-launches and crashes before you can even delete the file?
If your PC is set to automatically start Ryzen Master, you might find it crashes and restarts before you can delete the “configRM.json” file. In such situations, booting your computer in safe mode might help.
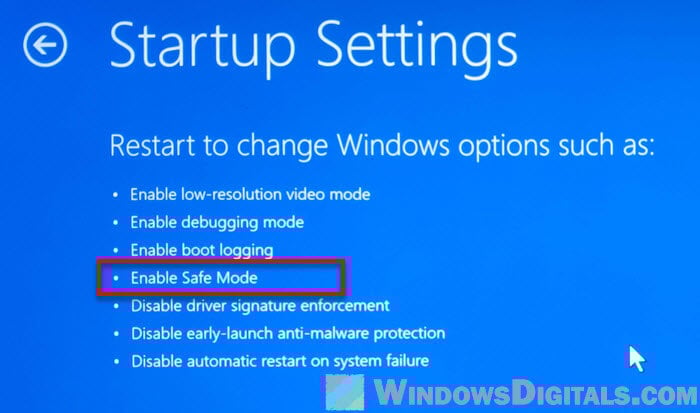
Safe mode is a simple way in Windows that starts your PC with just the basic drivers and services. This can stop Ryzen Master from automatically launching at startup, letting you delete the problem file without the system crashing.
To start your computer in Safe Mode in Windows 11 or Windows 10, follow the steps below.
From the sign-in screen:
- Hold the Shift key and click the Power button at the bottom right of the sign-in screen.
- Keep holding the Shift key down and click Restart.
- After your PC restarts, pick Troubleshoot > Advanced options > Startup Settings > Restart.
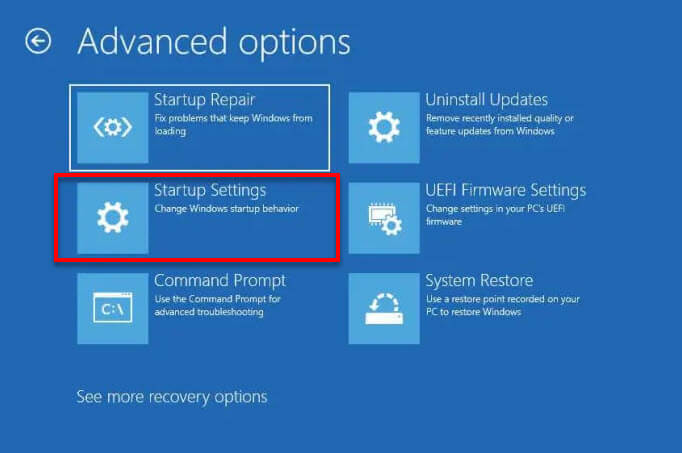
- When your PC restarts again, press the right key (usually F4) to enter Safe Mode.
From within Windows:
- Open the Start menu and click the Power button.
- Hold the Shift key and click Restart.
- After your PC restarts, choose Troubleshoot > Advanced options > Startup Settings > Restart.
- Once your PC restarts again, press the right key (usually F4) to enter Safe Mode.
Using Windows Recovery Environment (WinRE):
- If you can’t get to Safe Mode using the above methods, make your PC go into Recovery Mode by turning on your computer and shutting it down as soon as you see the Windows logo. Do this 2-3 times. After a few tries, Windows should automatically go into WinRE.
- In WinRE, go to Troubleshoot > Advanced options > Startup Settings.
- Click the Restart button in Startup Settings. After your PC restarts, press the right key (usually F4) to start in Safe Mode.
Once in Safe Mode, go to the Ryzen Master installation folder (usually “C:\Program Files\AMD\RyzenMaster\bin“) and get rid of the “configRM.json” file. Then, restart your PC normally to leave Safe Mode. This should stop Ryzen Master from using unstable settings at startup.
Should you use BIOS to overclock instead of Ryzen Master?
Why use BIOS to overclock
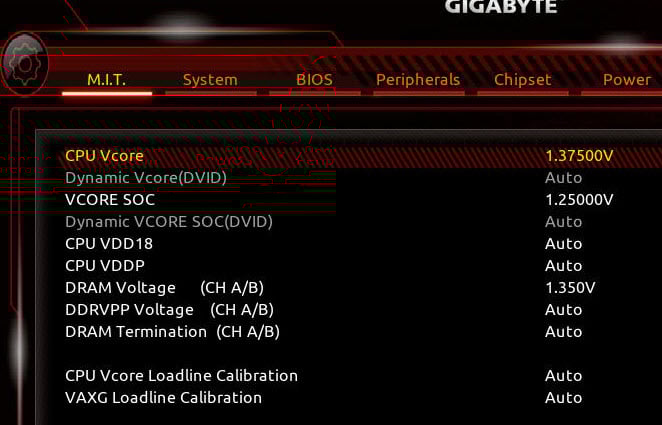
Although Ryzen Master is easy to use and lets you tune settings on the fly, overclocking through the BIOS is often more stable and dependable. Settings made in the BIOS are applied at the system level, making them less likely to clash with Windows or other programs. Also, overclocking through the BIOS takes away the extra layer of software between your adjustments and the hardware, providing a more direct and possibly more precise overclock.
When to use Ryzen Master
Despite all the good things about using BIOS for overclocking, there are times when Ryzen Master might just be the better choice. For example, if you’re new to overclocking, Ryzen Master provides an easier interface with the very benefit of real-time changes without the need to restart your PC. It’s very useful for trying different settings quickly before settling on the best setup in the BIOS.


