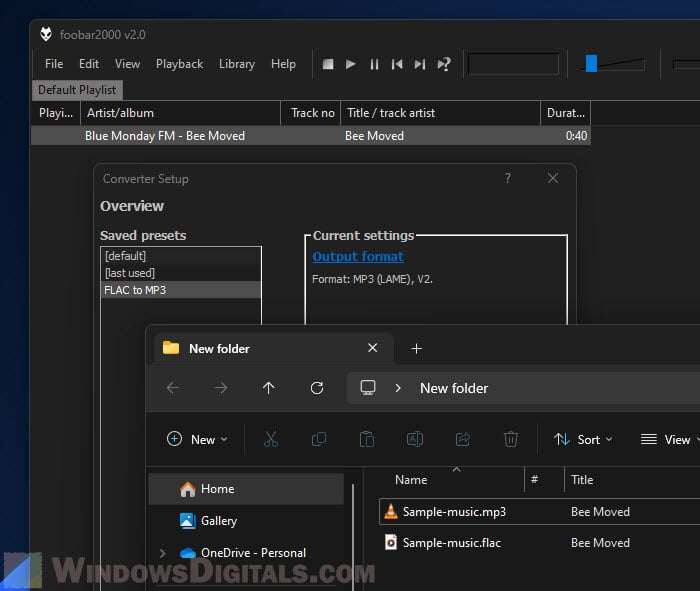
Foobar2000 is known for not just for playing music but also an amazing tool for changing audio files from one format to another. Foobar2000 can convert audio files from FLAC to MP3, or to other formats like WAV, ALAC, DSF, APE, DSD. This guide will show you how to use foobar2000 to convert your audio files.
Also see: How to Remove Album Art From MP3 in Windows 11/10
Page Contents
Step 1: Install foobar2000 and the required encoders
The very first step is to, of course, install foobar2000 on your PC.
- Go to
https://www.foobar2000.org/downloadand grab the latest version. - Run the installer and follow the steps to finish setting it up.
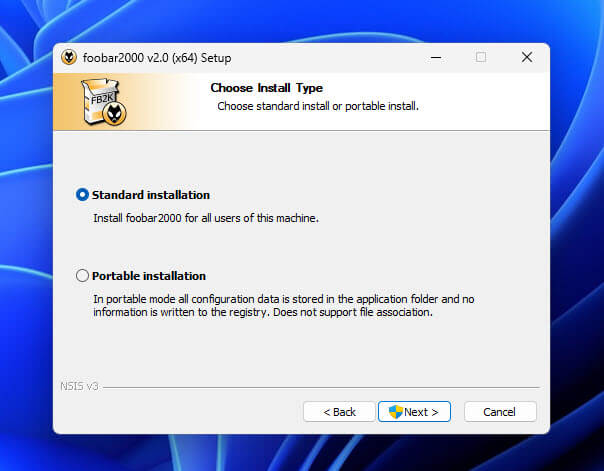
- For MP3 conversions, you’ll need the LAME encoder. Get it from
https://www.free-codecs.com/lame_encoder_download.htm. Unzip the LAME files into a folder, something like “C:\Program Files\lame\” or “C:\Program Files (x86)\lame\“.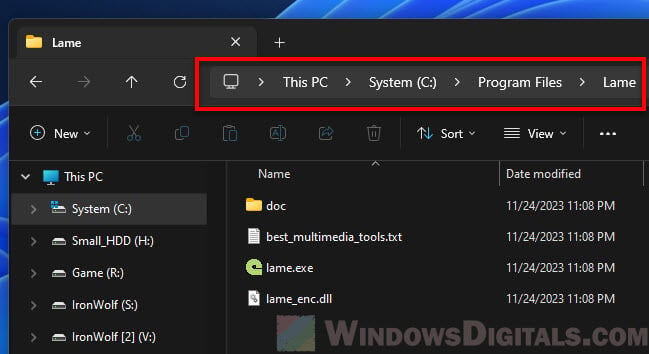
- For ALAC (Apple Lossless) and other formats, grab the Free Encoder Pack from
https://www.foobar2000.org/encoderpack. This pack includes the ‘Apple Lossless (refalac)’ encoder and more, all ready to be used right after installation.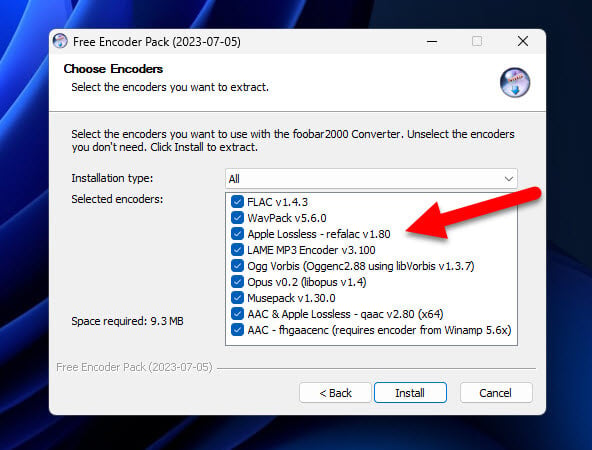
- For other formats like Ogg Vorbis or AAC, you might need additional encoders. You can usually find these on websites like
rarewares.org.
Once foobar2000 and the necessary encoders are installed, you can proceed to the next steps to start converting audio files.
Step 2: Open the converter in foobar2000
The next step is to access the audio converter.
- Start the foobar2000 app.
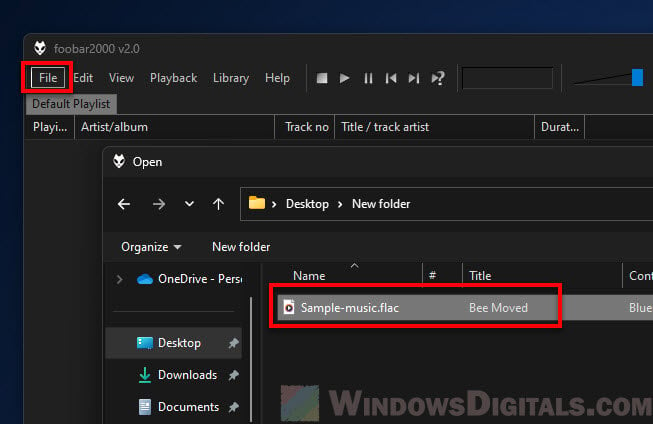
- You can drag and drop a music file into foobar2000 or use ‘File’ > ‘Open’ to load a song. This file will be used for setting up the conversion process.
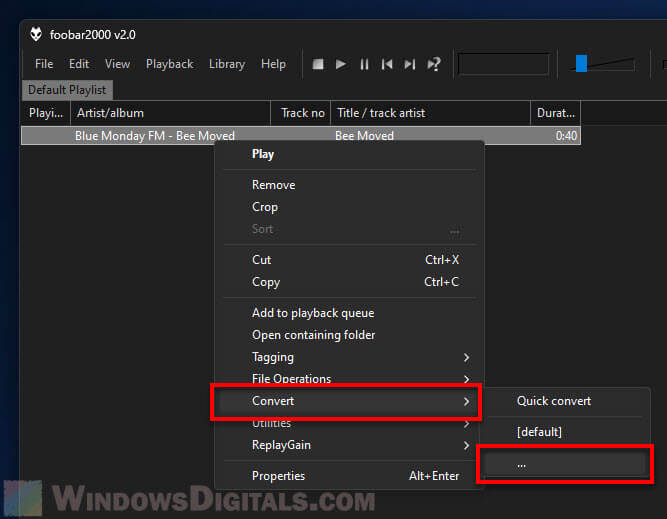
- Right-click on the loaded song in your playlist to bring up the context menu.
- Hover over ‘Convert’, and select ‘…’ to open the Converter Setup dialog. This is where you will manage all the conversion settings.
Related resource: Convert SRT to 3D Subtitles and Add them to 3D Movies
Step 3: Configure the conversion settings
Next, you’ll need to configure the conversion settings to match your desired outcome.
- In the Converter Setup window, click ‘Output format’.
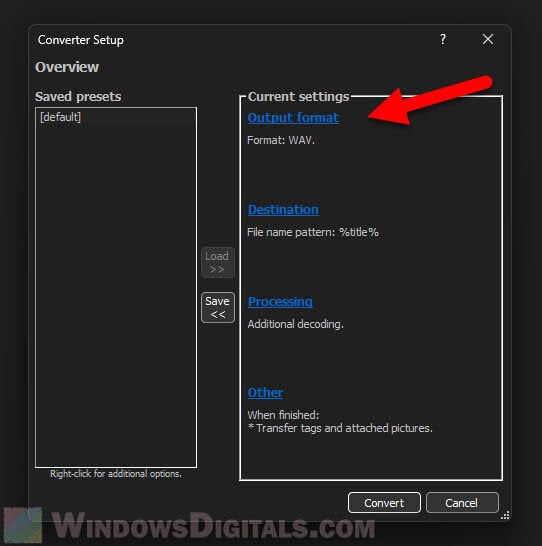
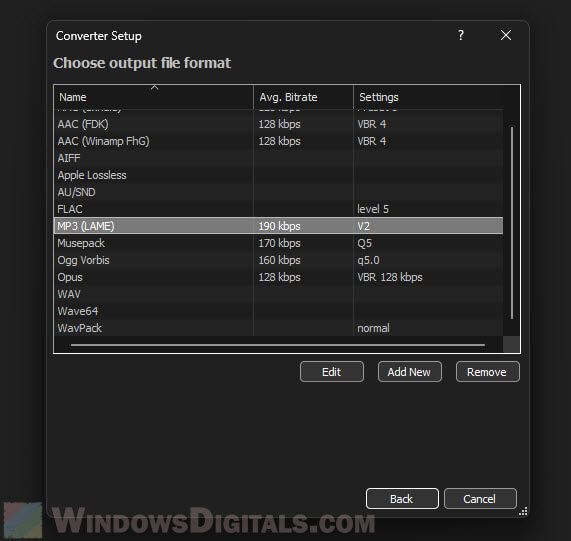
- Pick the format you want (e.g., MP3, FLAC, WAV, Ogg Vorbis) from the list. foobar2000 supports many formats, and you can add more with custom encoder settings.
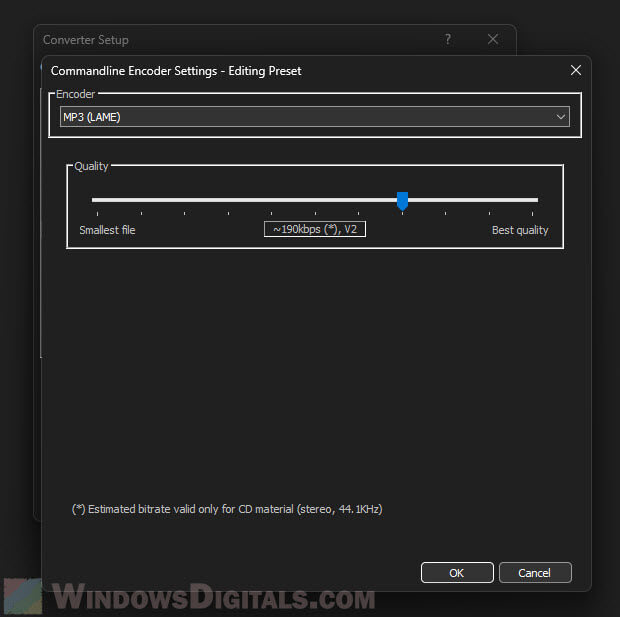
- If your chosen format allows it, click ‘Edit’ next to the format selection to adjust settings like bitrate or quality. For MP3, you can use a slider to do this. Remember, higher quality usually means the files will be bigger.
- Click ‘Destination’ to choose where to save the converted files. You can pick a default directory or decide each time you convert. You can also set up how the files are named to keep things organized.
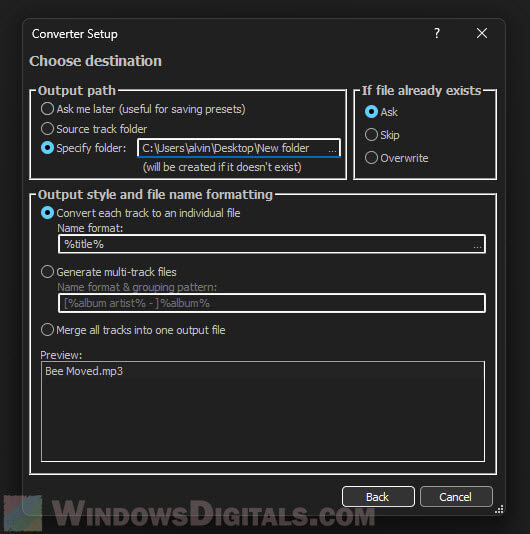
After setting up these configurations, your converter will be ready to do its job.
Step 4: Save and use presets
Once you’ve got the conversion settings how you like, saving these settings as a preset can make your next conversions much quicker.
Save current settings as a preset:
- In the Converter Setup dialog, you can save your current settings as a new preset. This is handy if you often convert files to the same format with the same settings.
- Click the ‘Save’ button, usually found between the ‘Saved presets’ and ‘Current settings’ sections.
- Give your preset a clear name so you can easily find it later.
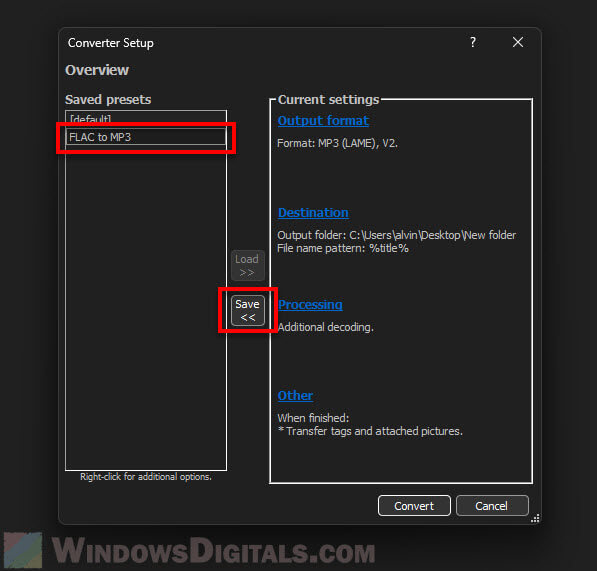
Use the preset for conversion:
- Once you’ve saved your preset, it’s ready to use from the ‘Convert’ menu in the context menu.
- Just right-click on any audio file or a group of files, hover over ‘Convert’, and pick your saved preset. This skips the setup steps each time.
This preset feature is what makes foobar2000 amazing if you need to convert files frequently.
Step 5: Start the conversion
Now that you have everything set up and your settings saved, it’s time to actually convert the audio files.
- Right-click on the audio file(s) you want to change.
- Choose ‘Convert’ and then your saved preset. If you haven’t saved a preset, choose ‘…’ to adjust the settings on the spot.
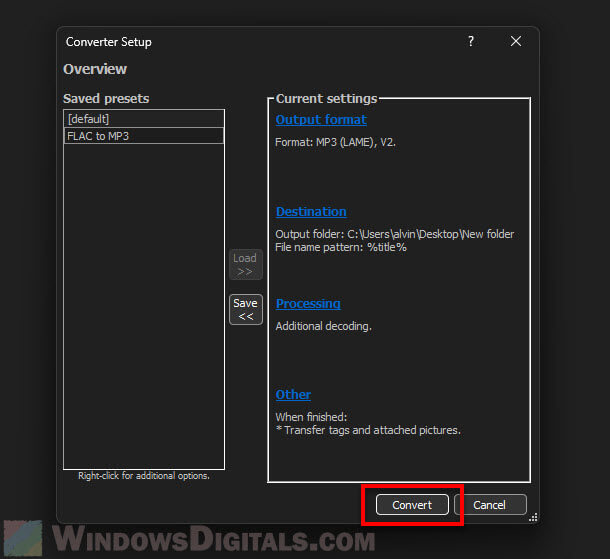
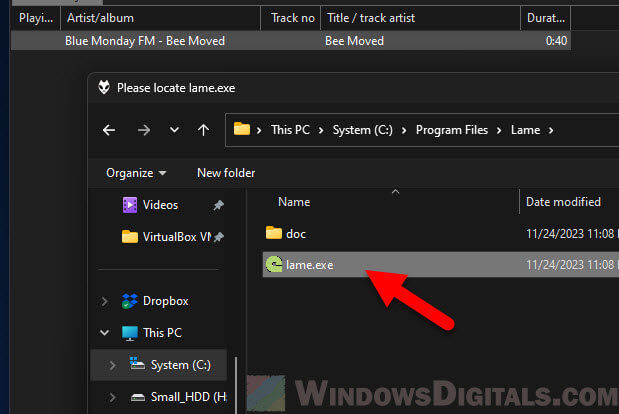
- If you’re using external encoders (like LAME for MP3), you might need to find the encoder file (e.g., lame.exe) when prompted.
- foobar2000 will show a progress bar, so you can see how the conversion is going. How long it takes depends on how many and how big the files are.
- When the conversion’s done, a confirmation window will pop up.
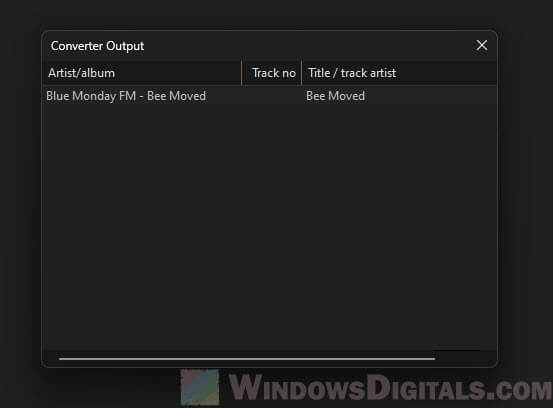
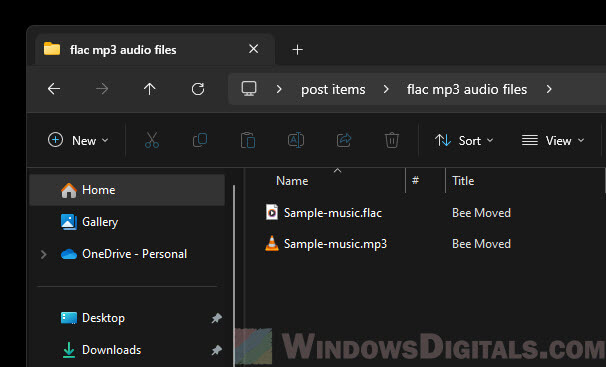
- Go to the folder you chose to save the converted files in. It’s good to check if everything looks right.
You might also like: Windows 95, 98, XP, 7, 10 and 11 All Startup Sounds
Some common issues in audio conversion with foobar2000
The following are some commonly reported issues when converting audio files using foobar2000.
High system resource usage
Turn off DSPs (Digital Signal Processing) you don’t need, as some can really slow your computer down.
Adjust memory settings in DSPs like the crossfader or gap remover to use less memory.
Turn off certain output modes, like Kernel Streaming, if they’re making your CPU work too hard.
Output issues with ASIO/WASAPI
It’s usually best to stick with standard output settings like ASIO or WASAPI only if you really need them. WASAPI is generally more stable than ASIO for most setups.
Files not seen by Media Library
Make sure the files or folders are not hidden. If you’re using formats that aren’t usually supported, add the right decoder component. You might need to tweak the Media Library settings if it’s still not working right after that.
Similar issue: VLC could not open the mpga/mp4v/mp4a audio encoder
Component DLL loading issues
Check for duplicates of the same DLL file or missing parts that are needed. Also, make sure the component works with your version of foobar2000.
Steps that should always help
Removing add-ons and resetting the settings or reinstalling foobar2000 can fix a lot of issues. Just be sure to back up your foobar2000 folder before you do this.
