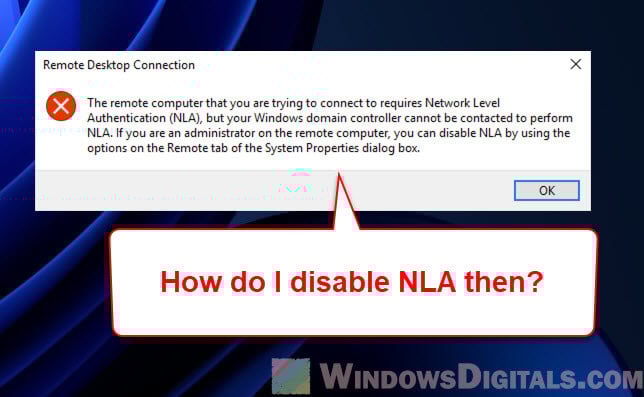
Network Level Authentication (NLA) is a security feature from Microsoft that makes the Remote Desktop Protocol (RDP) safer. NLA checks who you are before connecting to the RDP server. Sometimes, you might need to turn it off if it’s not working correctly with older computers or certain network setups.
In this guide, we’ll show you how to turn off Network Level Authentication in Windows 11 and 10. Before you start, know that turning off NLA can make your computer less safe from unwanted remote access. So, be careful and make sure you have other security steps in place.
Page Contents
What you’ll need
Below is what you need to know before you start:
- Make sure you have admin rights on the computer. You need these to change settings for Network Level Authentication.
- Your computer should have at least “Remote Desktop Connection 6.0”.
- It should also run on Windows 10 or Windows 11 which support the Credential Security Support Provider (CredSSP) protocol.
- Turning off NLA can make your computer open to unauthorized access.
- Have another way to get into your system, like a local account, other remote software, or just being able to physically access the computer.
Also see: How to Remote Desktop Over The Internet in Windows 11
What’s so good about Network Level Authentication?
Before you turn off NLA, you should at least know what it does and why it’s sometimes important.
- NLA uses fewer resources when you first connect, instead of starting a full remote desktop connection right away.
- It also helps keep your system safe from attacks by making it hard for unauthorized users to mess with your system.
Linked issue: Windows 11 Remote Desktop “An authentication error has occurred”
How to disable Network Level Authentication
The following are the steps to turn off NLA on your Windows PC.
Step 1: Open System Properties
- Press “Windows + R” on your keyboard to open the “Run” dialog box.
- Type “sysdm.cpl” and press Enter to open the “System Properties” window.
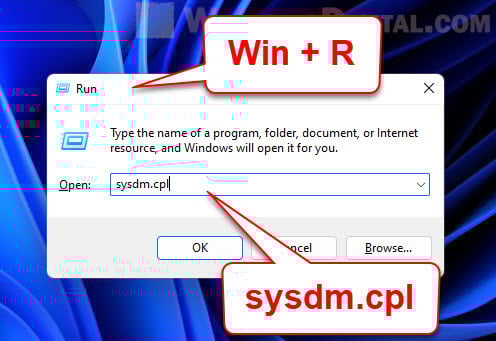
- Go to the “Remote” tab at the top of the window.
Step 2: Disable NLA via Remote Desktop settings
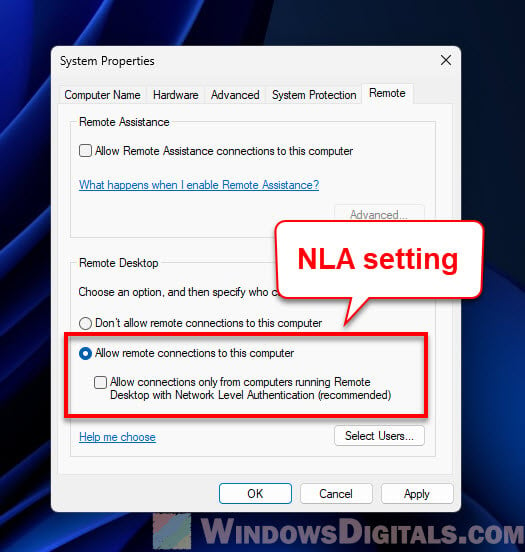
- In the “Remote” tab, find the section “Remote Desktop”. Check the box that says “Allow remote connections to this computer”.
- Beneath that, there’s a checkbox labeled “Allow connections only from computers running Remote Desktop with Network Level Authentication”. Uncheck this to turn off NLA.
Useful tip: How to Open an RDP Connection via CMD in Windows 11
Step 3: Apply changes
- Click the “Apply” button at the bottom of the “System Properties” window.
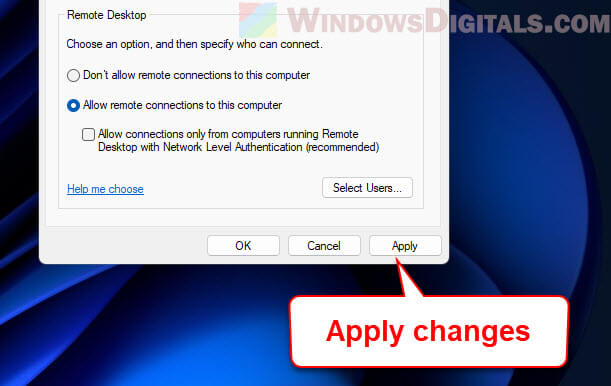
- Then click “OK” to confirm the changes and close the window.
Step 4: Restart Remote Desktop Service (optional)
- Press “Windows + R” again, type “services.msc” into the “Run” dialog, and press Enter.
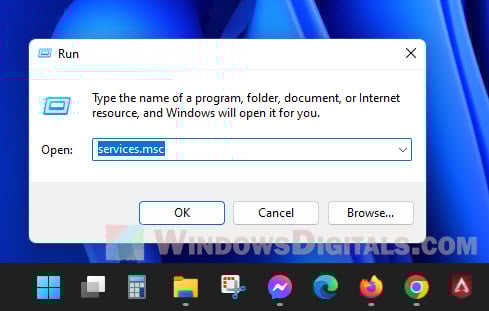
- Find “Remote Desktop Services” in the list, right-click on it, and choose “Restart”. Give it a moment to restart.
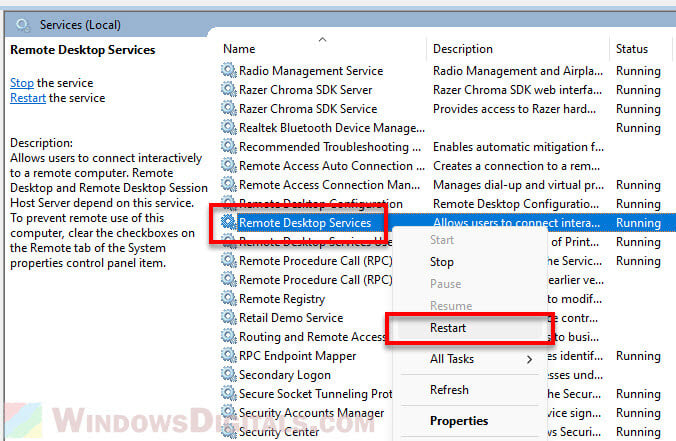
Now, Network Level Authentication should be off on your Windows 11 or 10 system. Make sure you have other security steps in place when you turn off features like this, especially if your computer can be accessed from far away.
Related resource: How to Open an RDP Connection via CMD in Windows 11
Things to consider after disabling NLA in Windows
After you turn off Network Level Authentication, below are some things to keep an eye on.
Make sure you have good security measures
- Use strong passwords for all accounts, especially those that can be accessed remotely.
- Check your firewall settings to block unwanted connections.
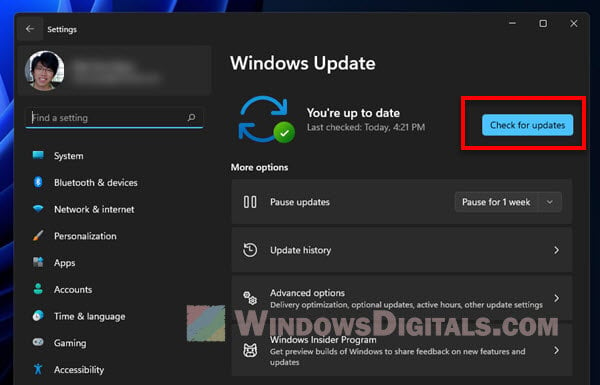
- Keep your software, including Windows, updated to protect against security holes.
Keep an eye on remote access
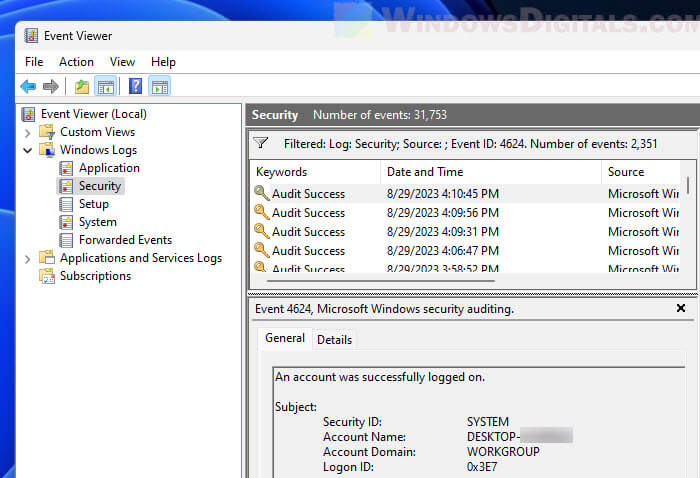
- Check your Remote Desktop connection logs now and then for any strange activity.
- If you can, limit how many people can access your system from afar.
Maybe think about turning NLA back on later
Even if you need to turn off NLA now, think about turning it back on later. Things change, and what’s a problem today might not be one later.
