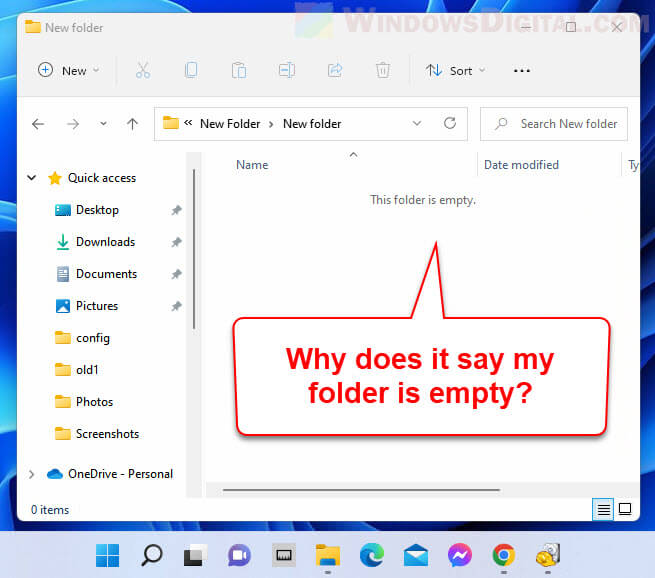
When you open a folder via File Explorer in Windows 11, it shows you “This folder is empty” while you are expecting to see your files in the directory. This guide explains what could be the cause of “This folder is empty” issue in Windows 11 and what you can do to get your files back.
Also see: How to Search for Files in Windows 11 Start Menu Search
Page Contents
Why does it say “This folder is empty” in Windows 11?
When File Explorer shows you the “This folder is empty” message in an empty folder with absolutely nothing in it, it just means that there is nothing visible in the directory. It could indicates that there is no file in the directory in the first place, the files have been deleted or moved, or the files are currently hidden.
Why does my folder show empty but not? There could be a number of reasons for the sudden empty folder issue. It could be due to:
- A malware or virus infection that hid, moved, deleted or modified your files without your consent.
- You have accidentally moved, deleted or hidden the files in the folder.
- An anti-malware or antivirus program removed (or put into quarantine) the files because it think the files are infected and could potentially pose threats to your computer.
- You are signing into the wrong Windows user account, resulting in browsing the wrong folders (that doesn’t belong to your usual user account) such as Downloads, Pictures, Videos, Documents, etc.
- You accidentally booted into the wrong or old Windows (may happen if you previously clone your Windows on a different disk), and are browsing the old folders.
Related: How to Find Huge Files in Windows 11
Unhide files and folders in a directory
The first thing you should try is to configure File Explorer to show hidden files and folders so that all hidden files and folders can be visible again in the File Explorer (if they were accidentally or unknowingly set as hidden).
Read: How to Unhide a File or Folder in Windows 11
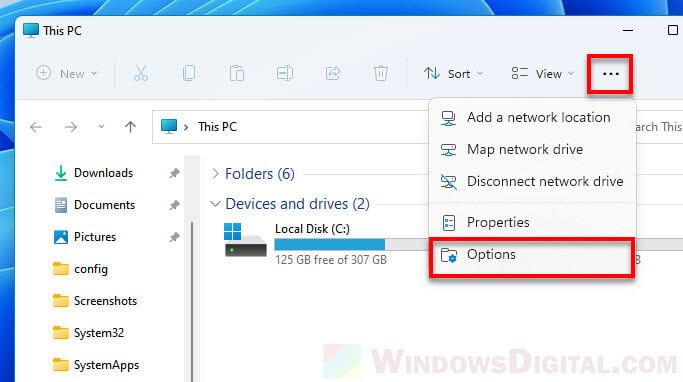
1. To do so, open File Explorer, click the triple-dotted menu button at the top right corner of the window, and then select Options.
2. Next, go to View tab. In the Advanced settings section, select “Show hidden files, folders, and drives” under Hidden files and folders.
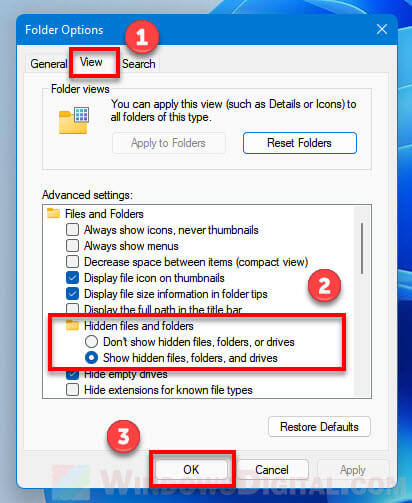
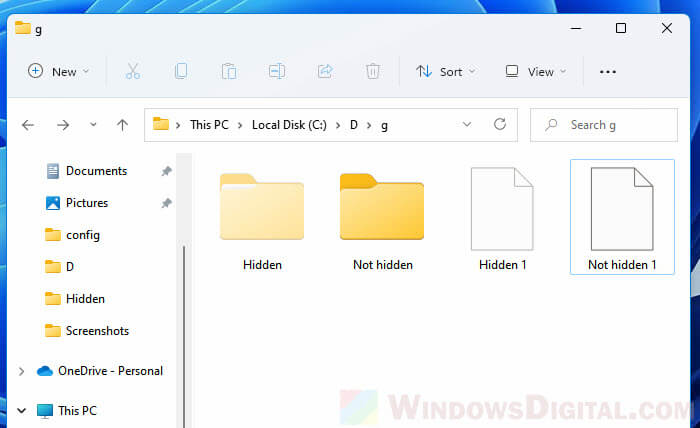
3. Click OK to save the changes and retry opening the problem folder. All hidden files and folders will now show up in the File Explorer regardless if they are set as hidden.
Check the quarantine of your antivirus software
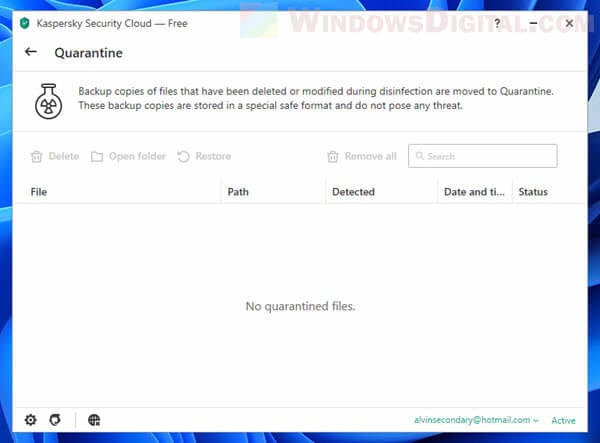
If the files are considered a possible threat to your computer, your antivirus software will flag it as potential threats and put them in its quarantine. Depending on your antivirus settings, your antivirus may also delete the files right away without putting them into the quarantine first.
Check your antivirus or anti-malware quarantine area to see if your files are being quarantined. If you find them in the quarantine, it means they are likely infected and may pose threats to your computer (due to virus infection or were originally a malware).
You are browsing the wrong folders
Because each user account in Windows 11 will have its own set of personal folders such as Documents, Pictures, Videos, Downloads, Desktop, etc., if you sign in to a different user account, you are browsing the personal folders of that particular user account.
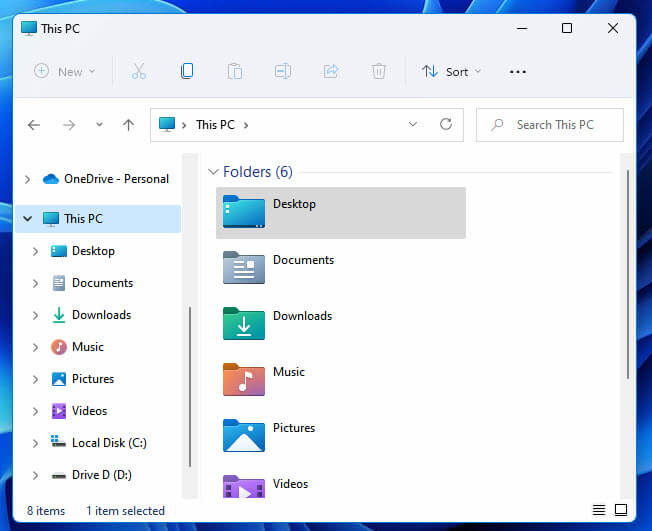
If you happen to sign in to a wrong user account in Windows, you may be browsing a folder that originally doesn’t have anything in it. Check if you are signing into the correct (your usual) user account in Windows.
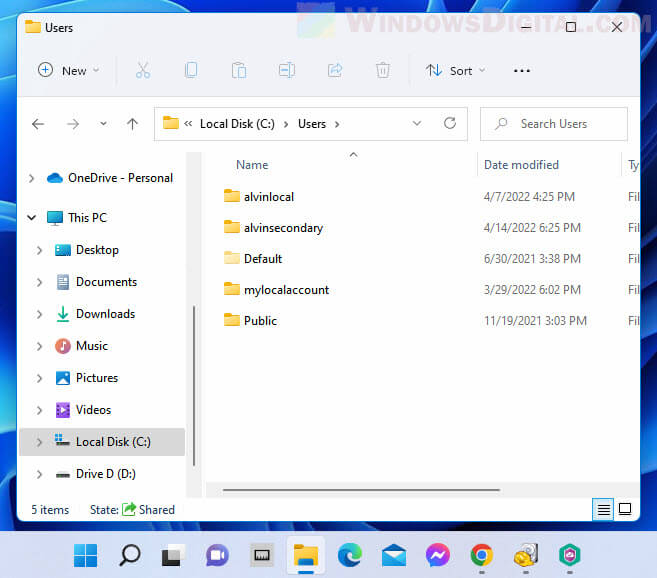
There are cases where a user account would get corrupted and Windows forces you to use a new user account instead, especially after upgrading from Windows 10 to Windows 11, or moving from an old PC to a new one.
In that case, check the C:\Users folder to see if your old user account is still there. Browse into the old user account and check the folders in it.
Also read: How to Search Only Video Files in Windows 11
Recover deleted files
If you come to a conclusion that your files may have been accidentally deleted, you can try to use a recovery software to scan the folder for deleted files and a chance to recover them if they weren’t deleted too long ago. While most file recovery software are not free, we will show you how to use a free file recovery app called Recuva.
1. You can get Recuva from the following page.
https://www.ccleaner.com/recuva/download
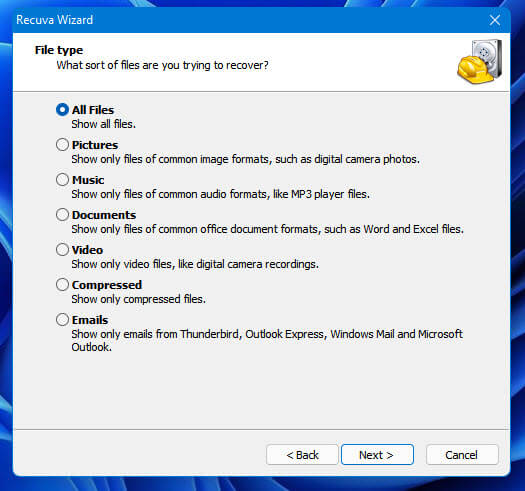
2. Once installed, search for “Recuva” via Start and run the app. In the wizard, select which file type you want the app to show. For example, if you are looking for only deleted photos and images, select Pictures. If the deleted files are of different file types, simply select All Files.
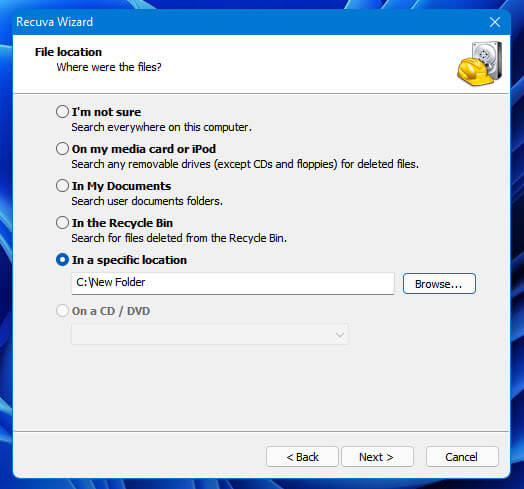
3. Next, select the location you want the app to scan for. For example, if you only want to scan a specific folder, select “In a specific location” and browse to the folder you want to scan. If the files were deleted from the Recycle Bin, select “In the Recycle Bin“.
4. When prompted to choose if you want to enable Deep Scan, it’s up to you if you want to use deep scan for the search. Deep scan requires MUCH longer time to complete. You can try to do a normal search without deep scan first, then repeat the scan with deep scan enabled if previous scans failed to find your files.
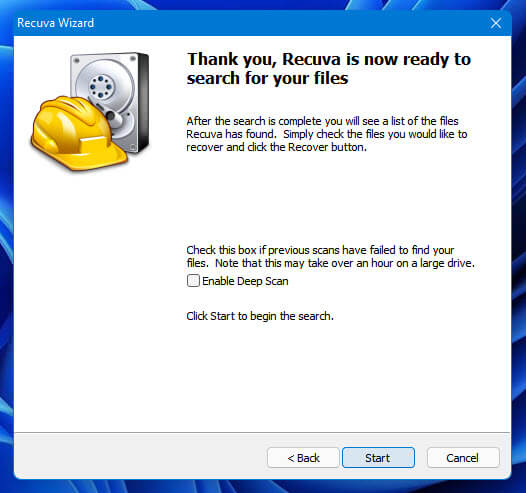
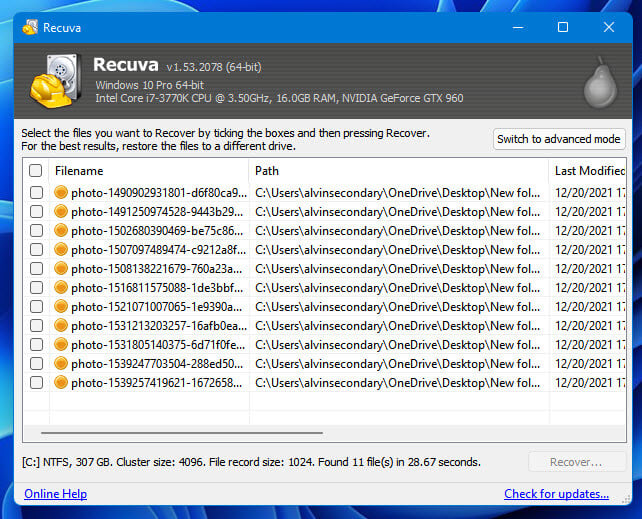
5. Once the scan is completed, you will see a list of deleted files that the app may still be able to recover. Select the files you want to recover and click Recover to recover them.
